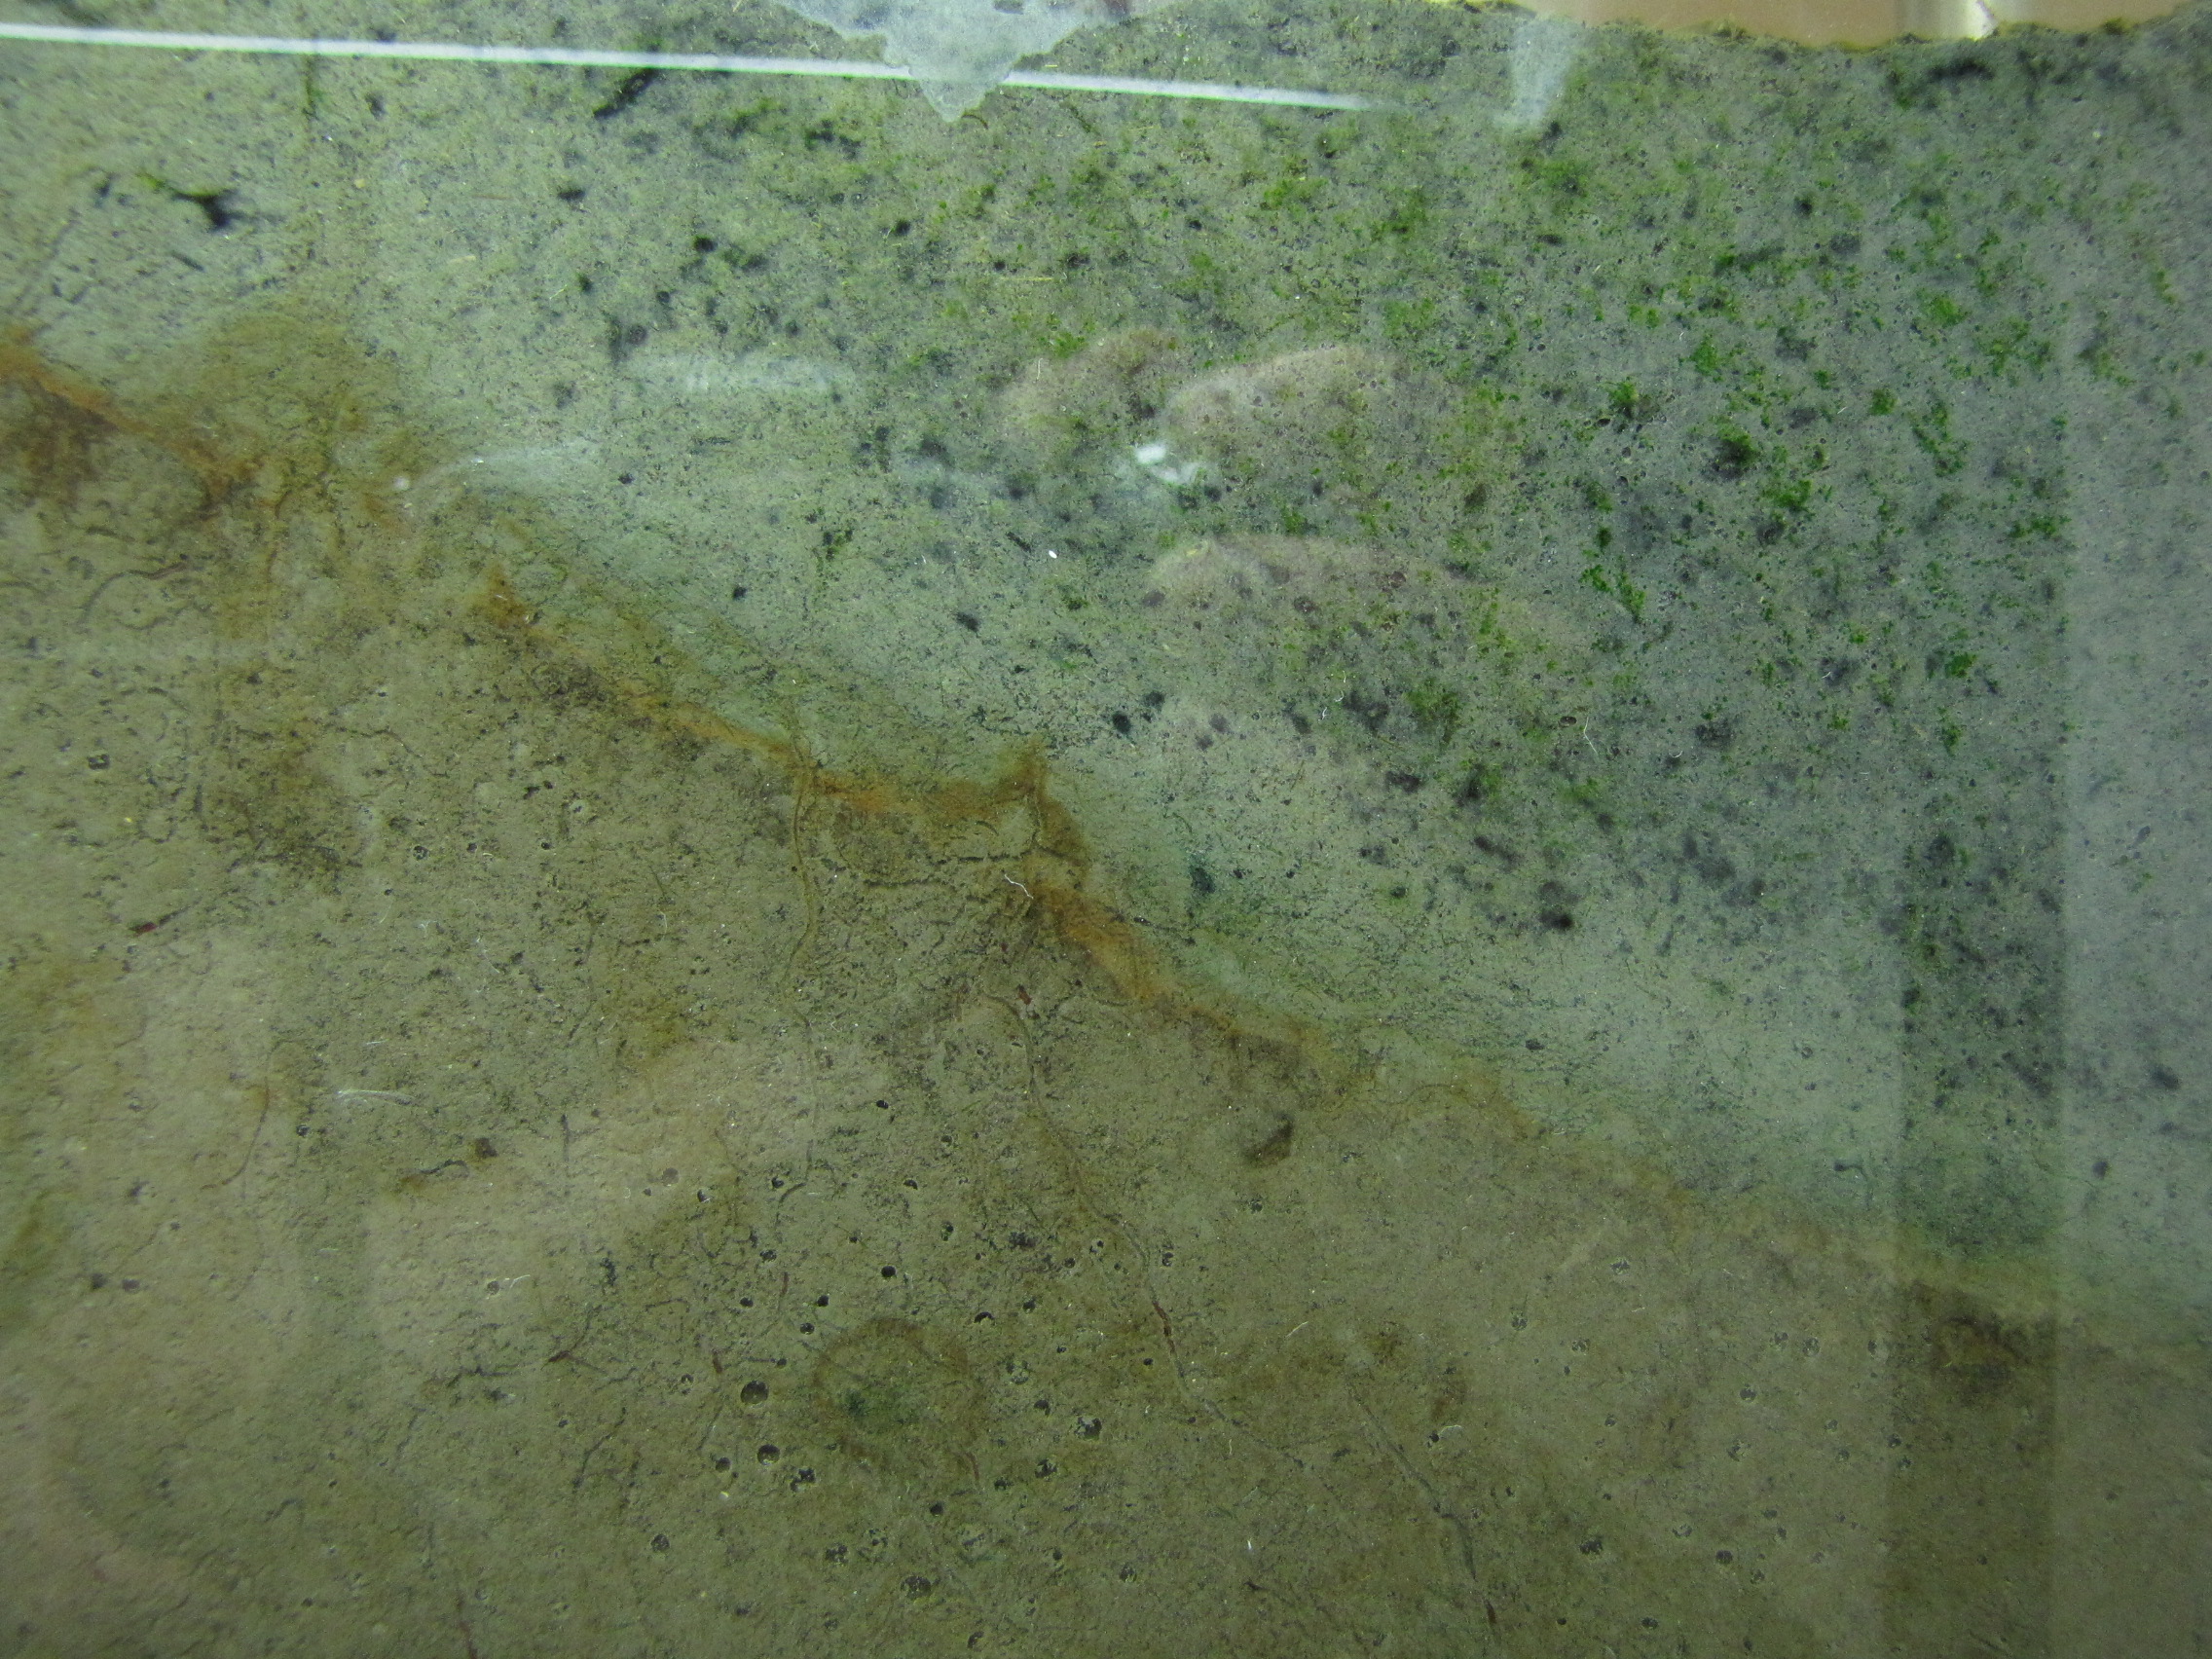
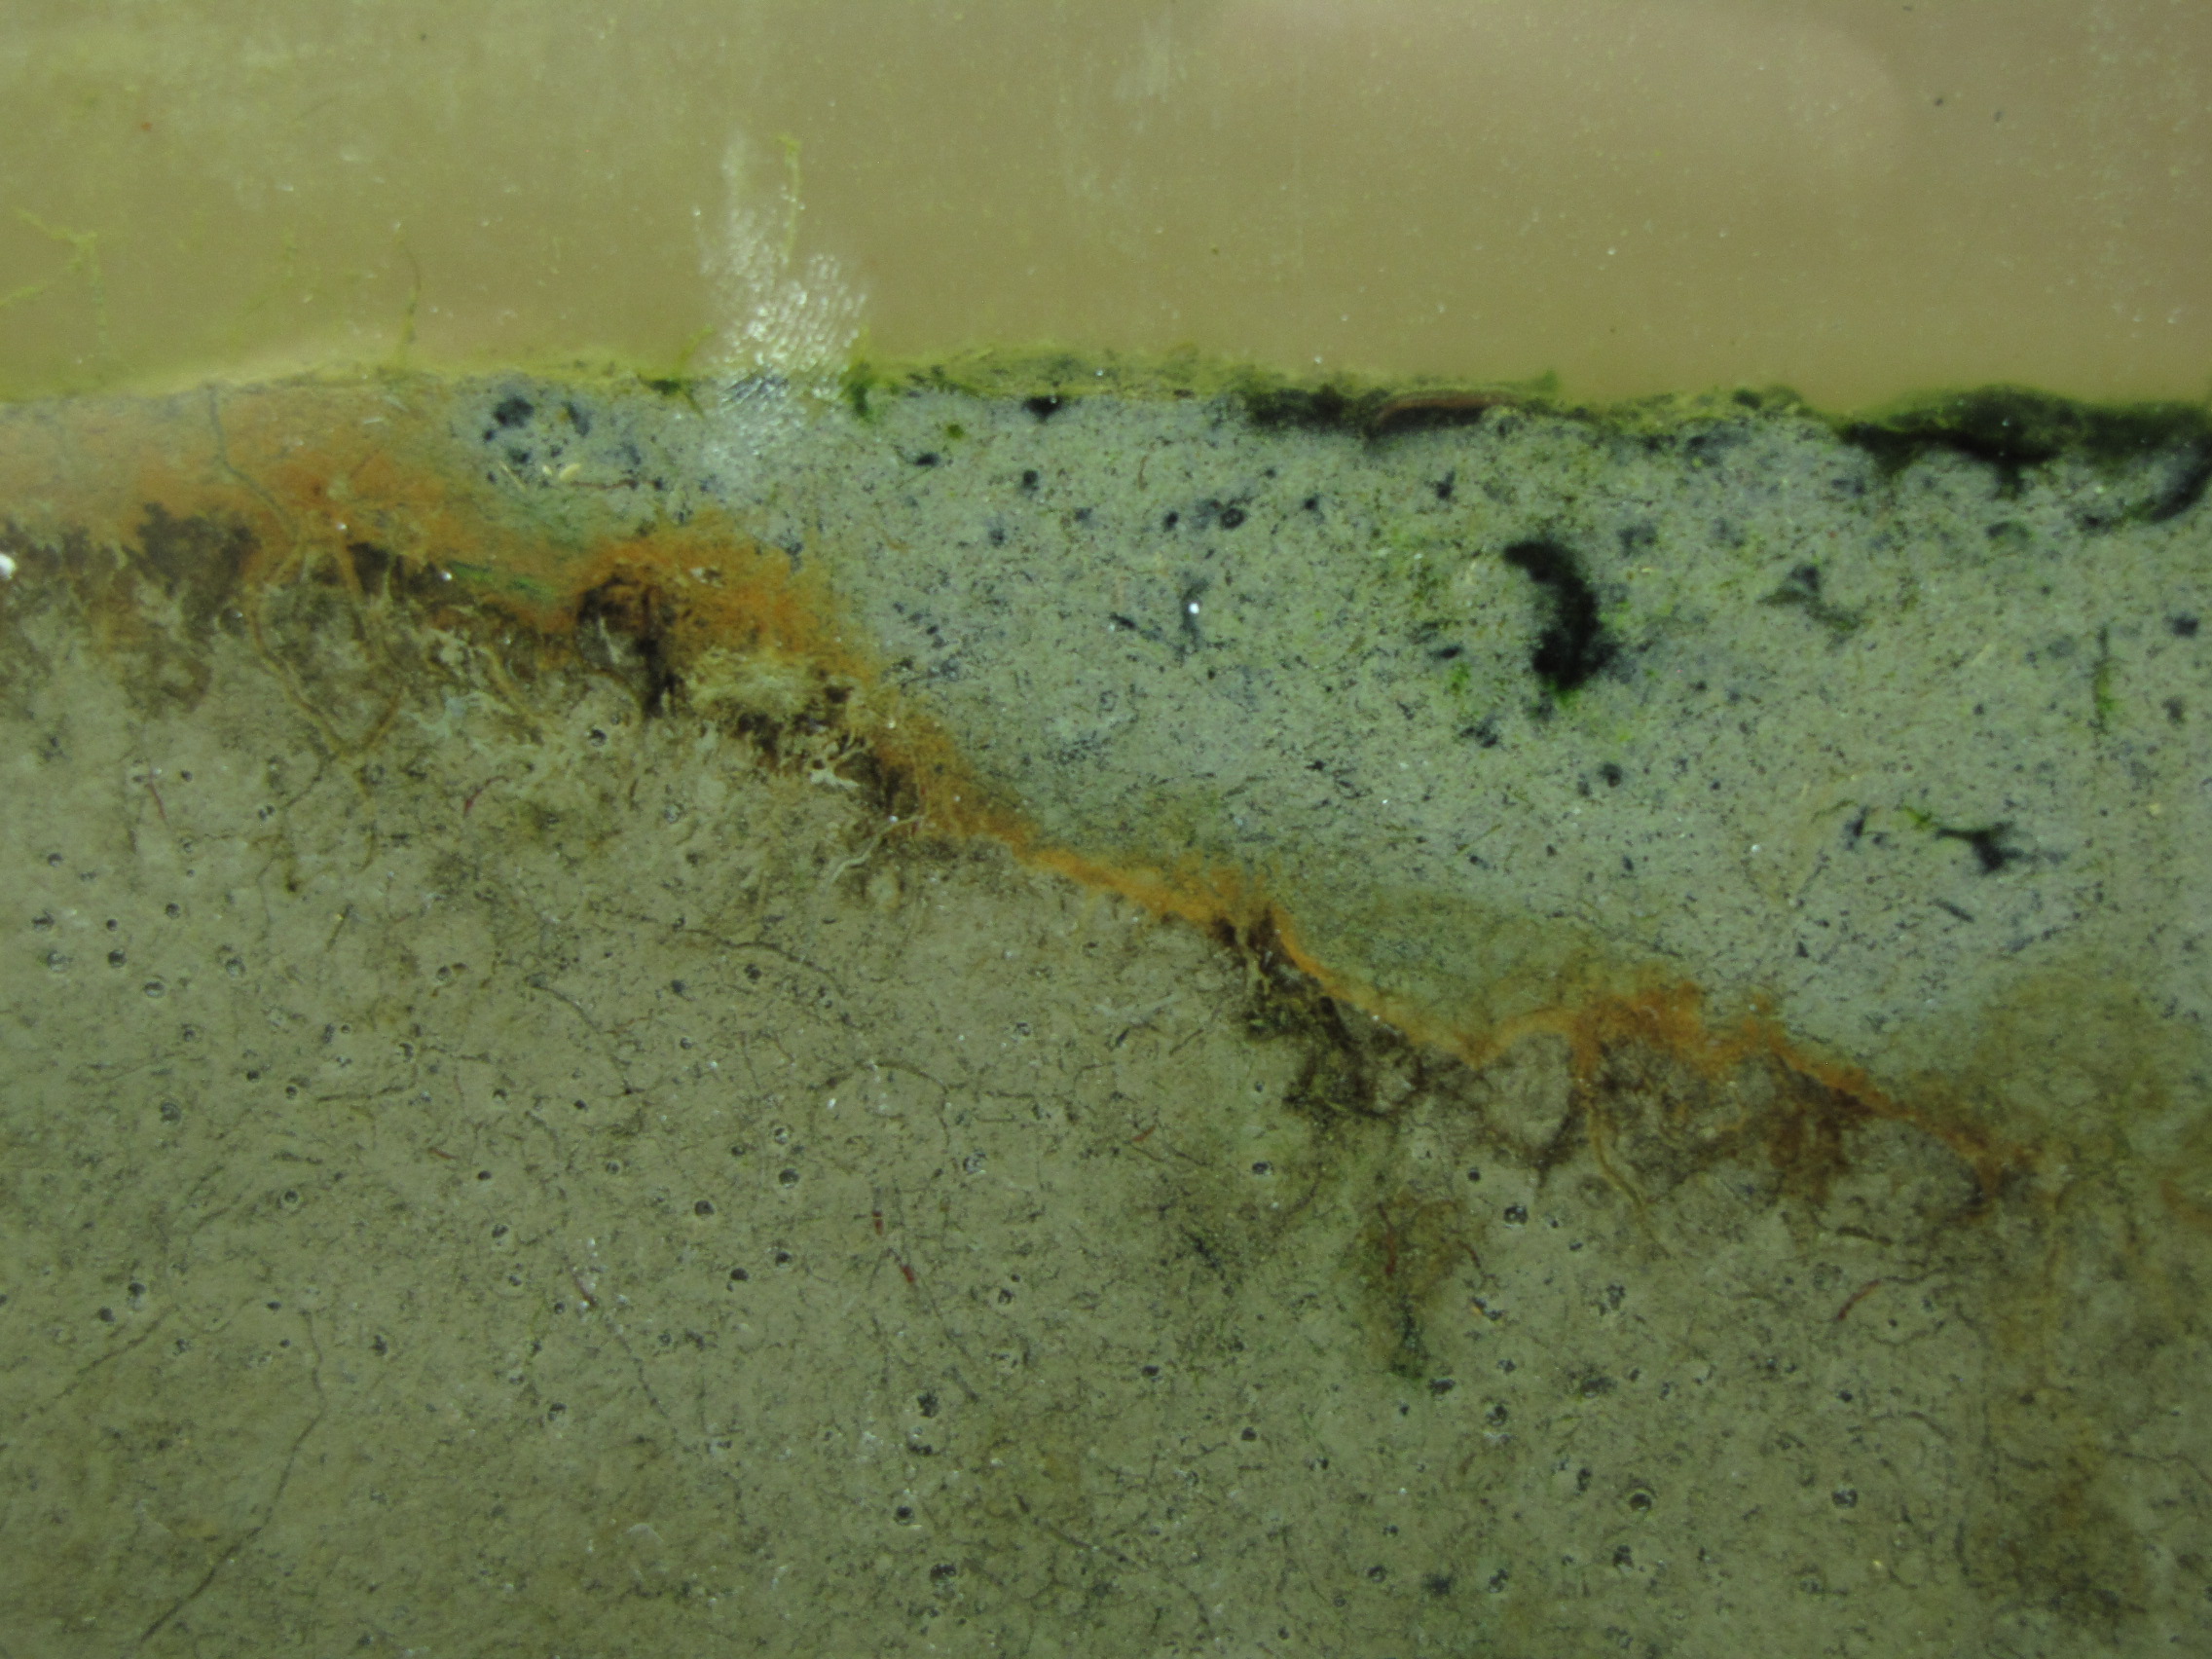
One of the research projects in my lab is to investigate the microbial communities present in Winogradsky columns. You can read more about what a Winogradsky column is here. Over the next little while, I will be carefully watching the development of the microbial communities over time. This will help me set up a future experiment in which I will take samples over time and determine what bacteria are present and at what abundance to see how the community changes. I will be posting regular updates as the Winogradsky panel develops.
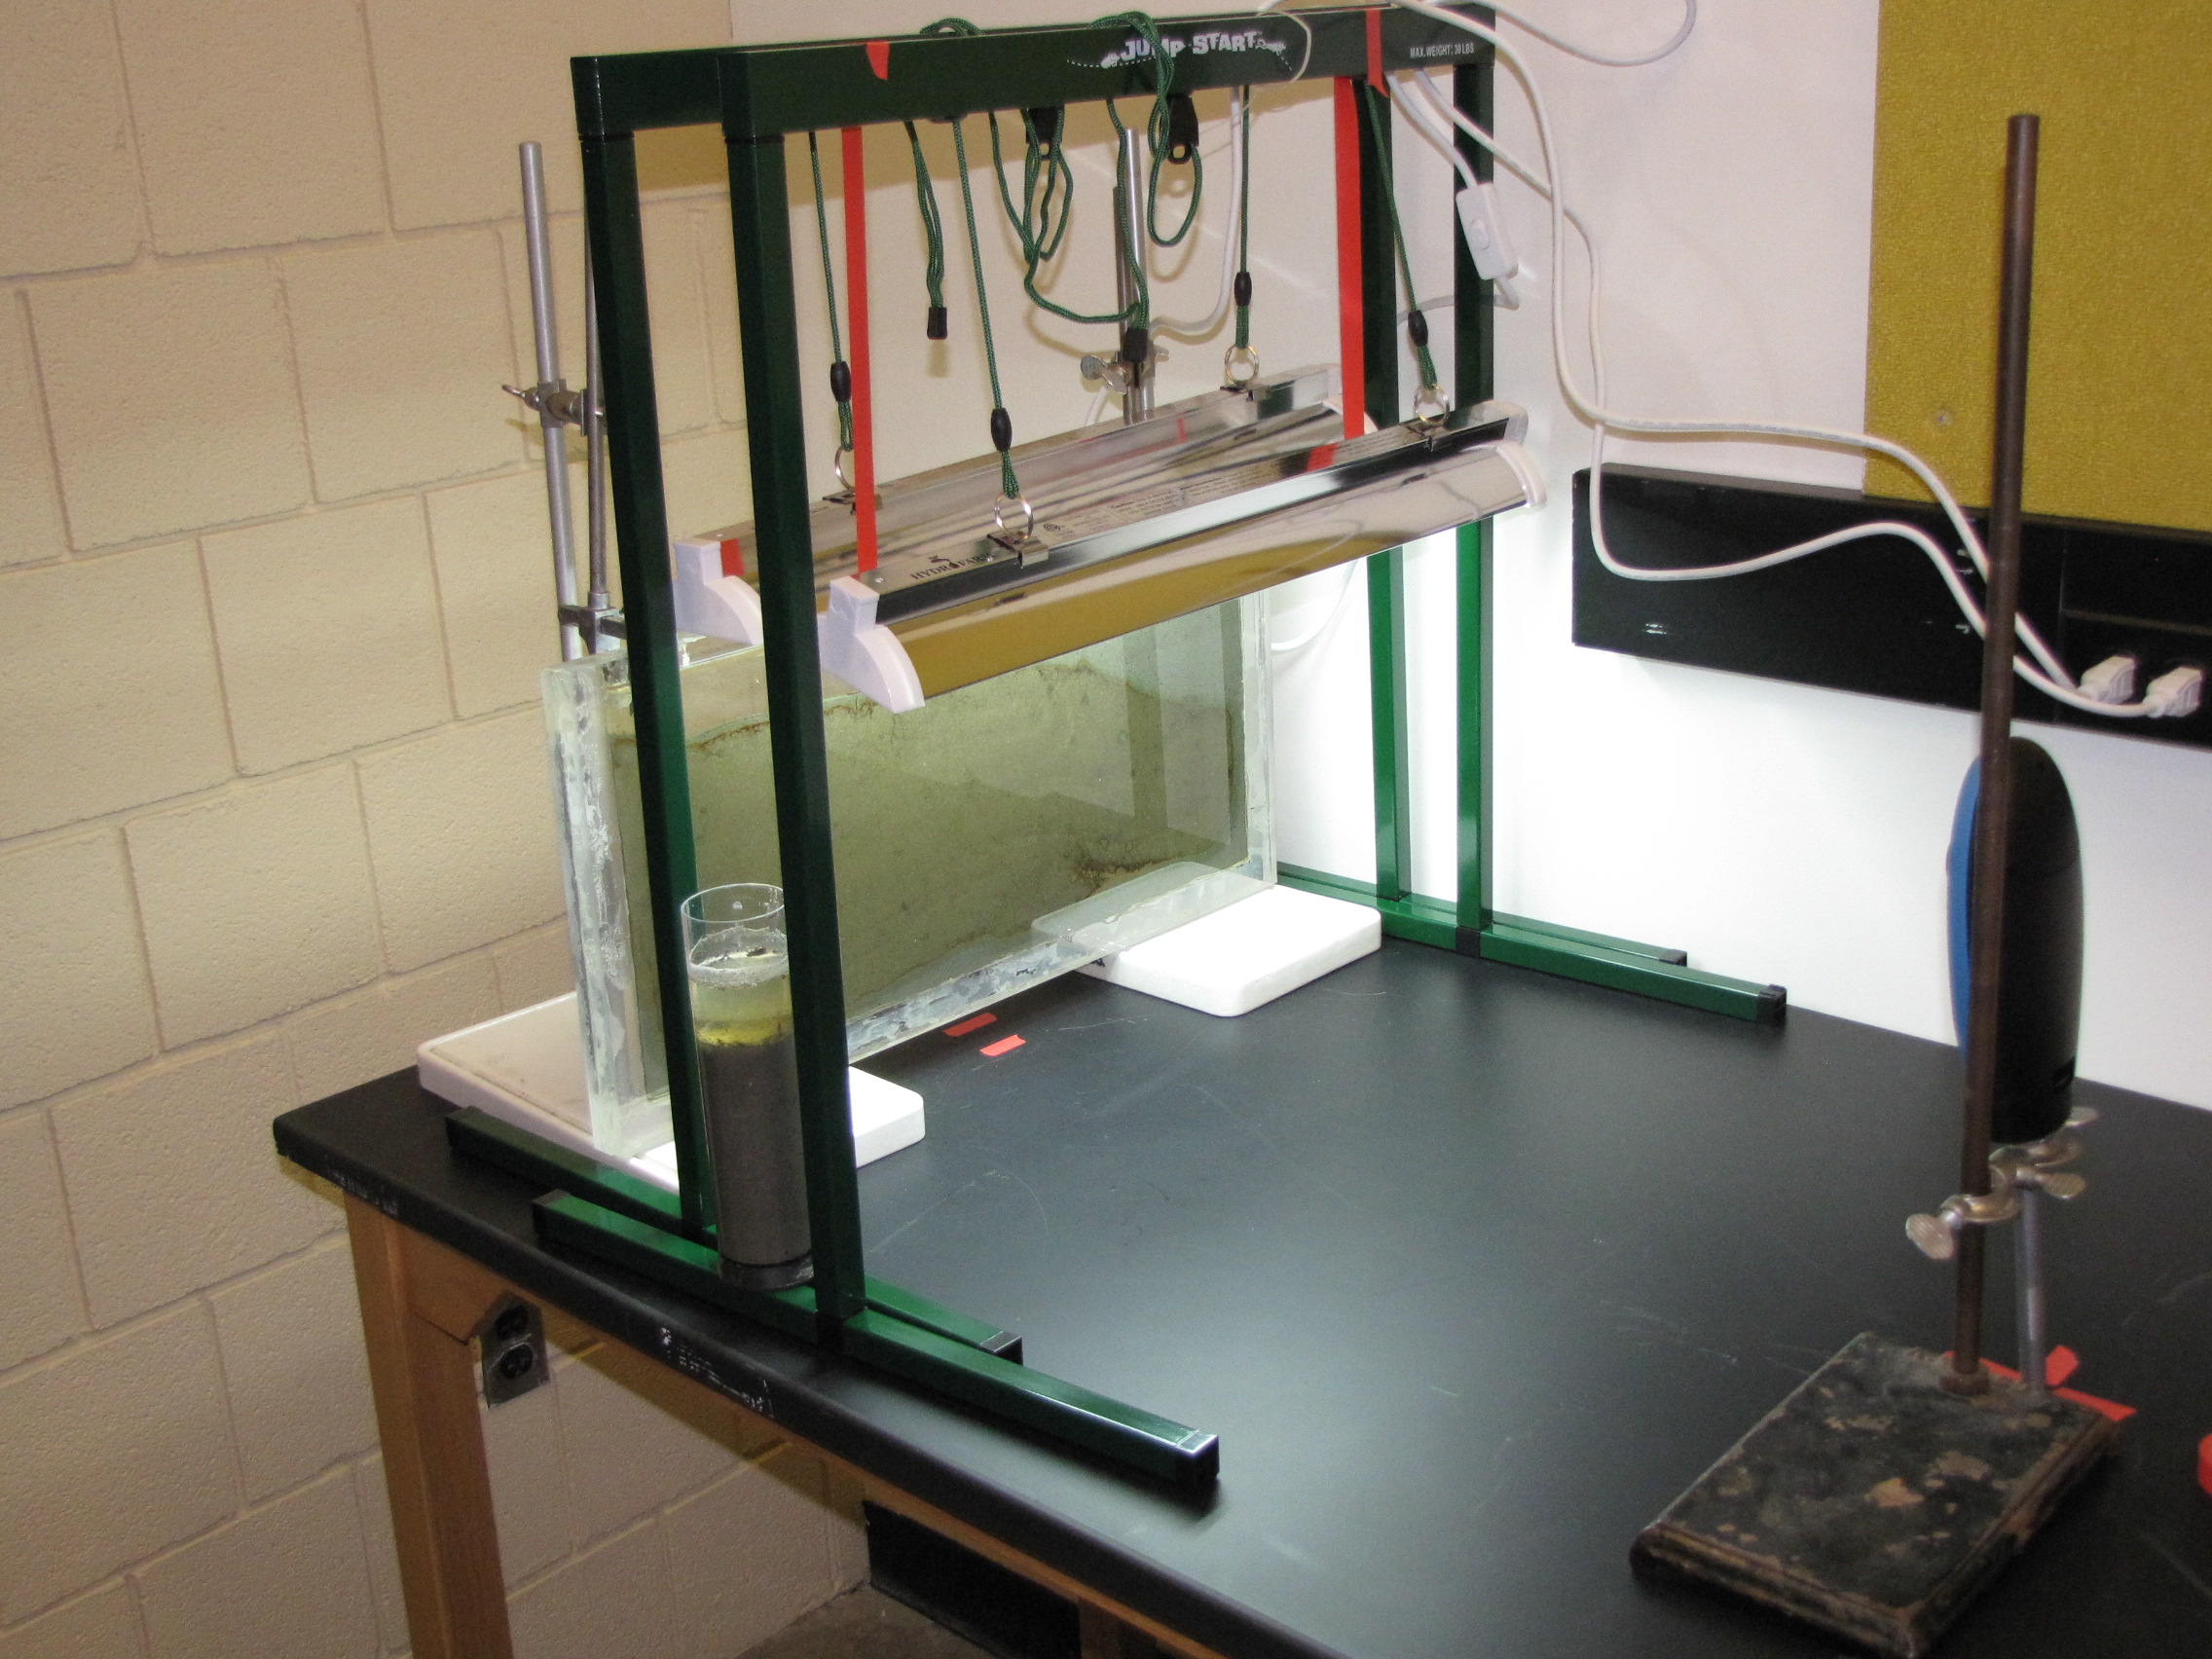
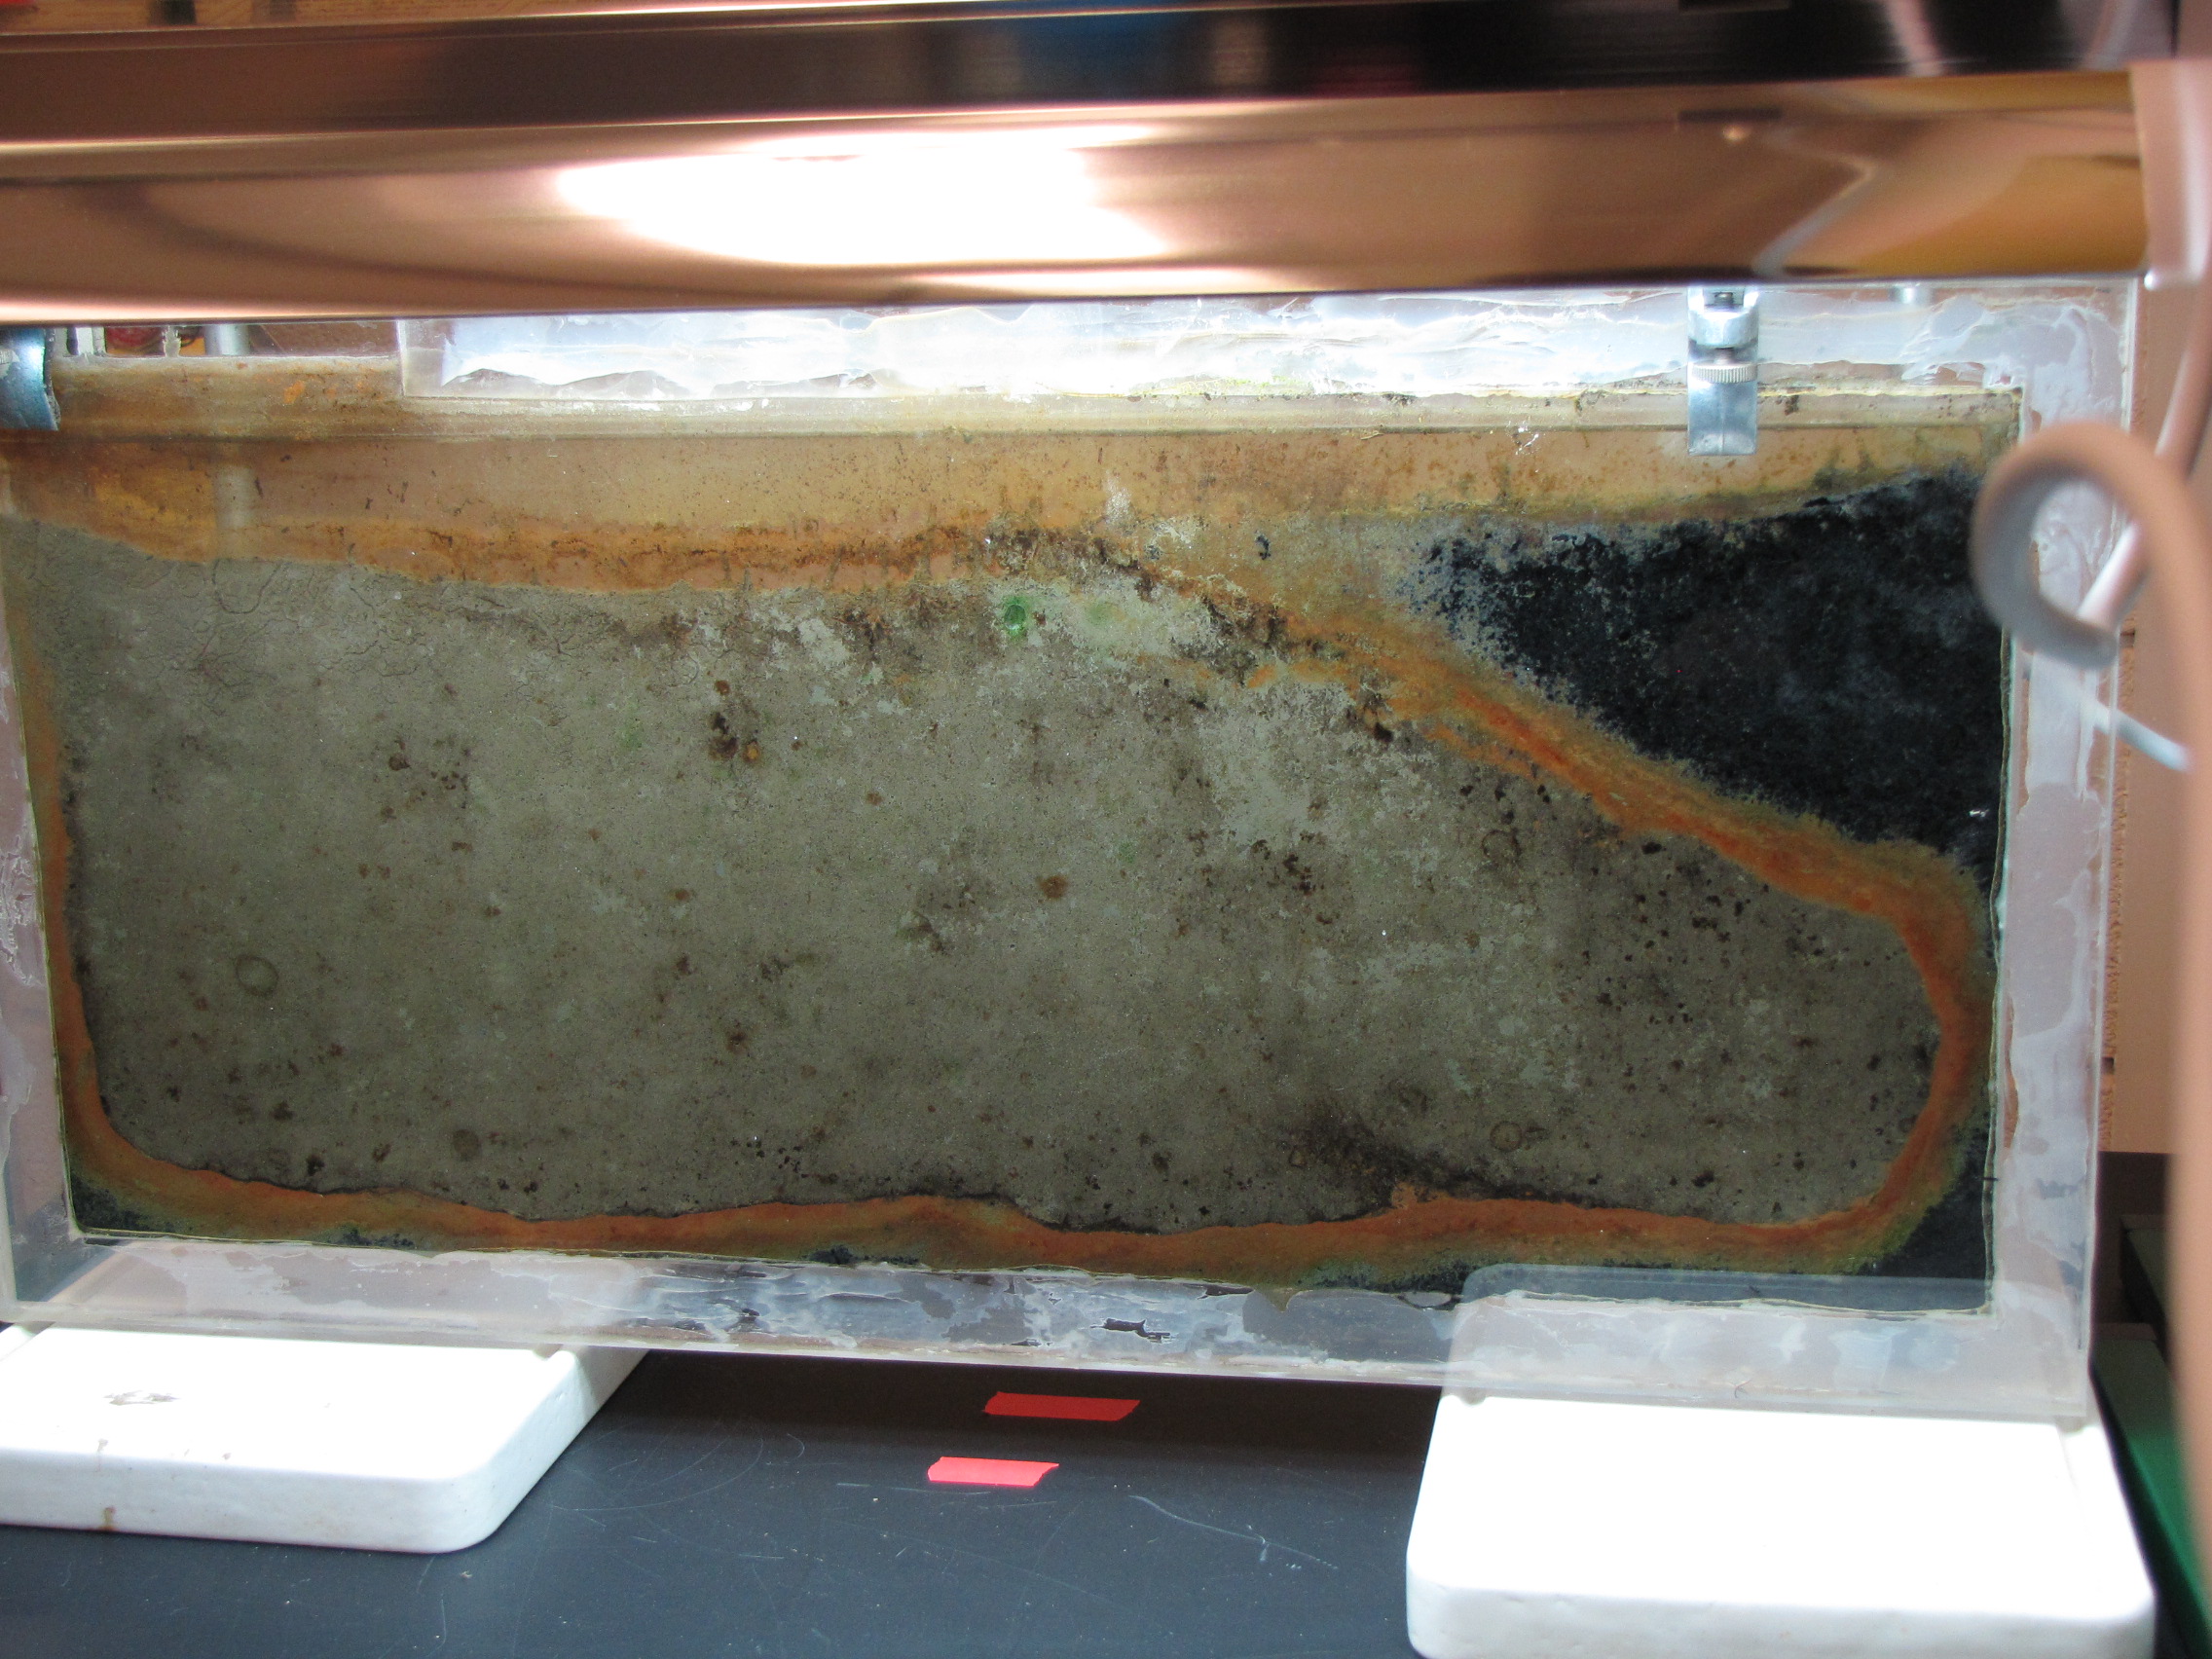
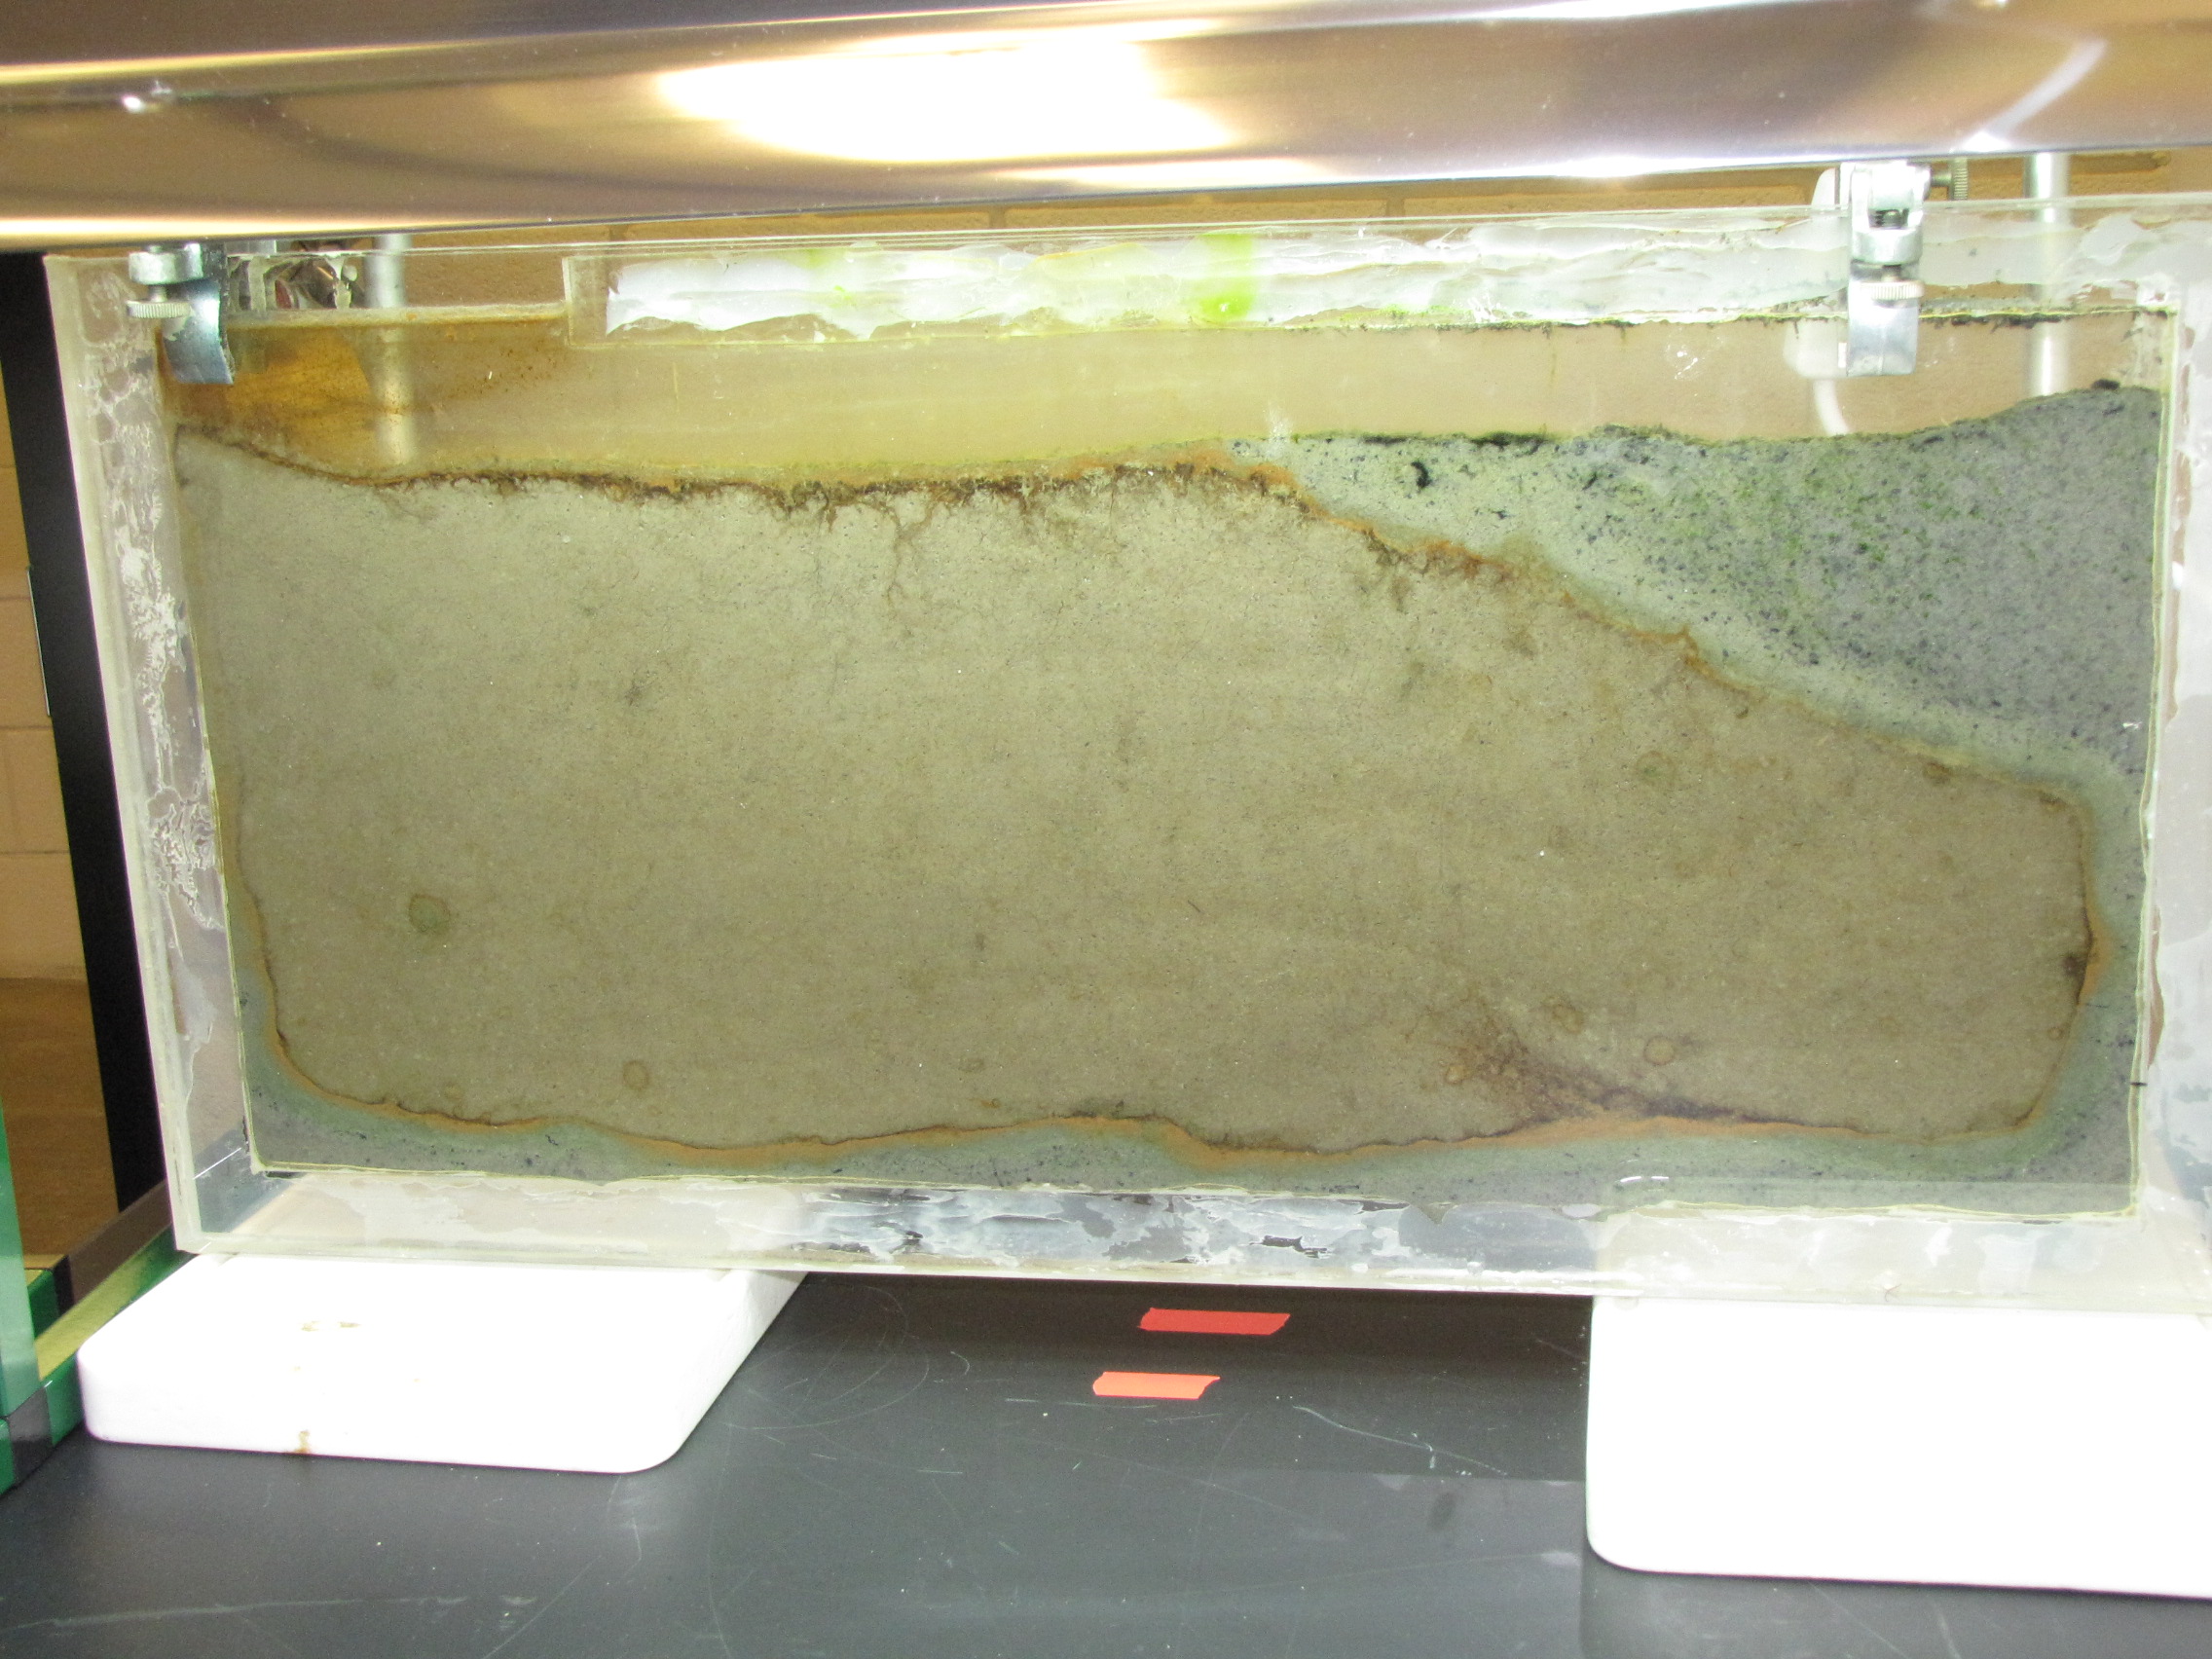
The set-up: the panel is 1′ x 2′ plexiglass with a 1/4″ gap filled with mud from a pond on Vassar campus, grow lamps, and time-lapse camera.
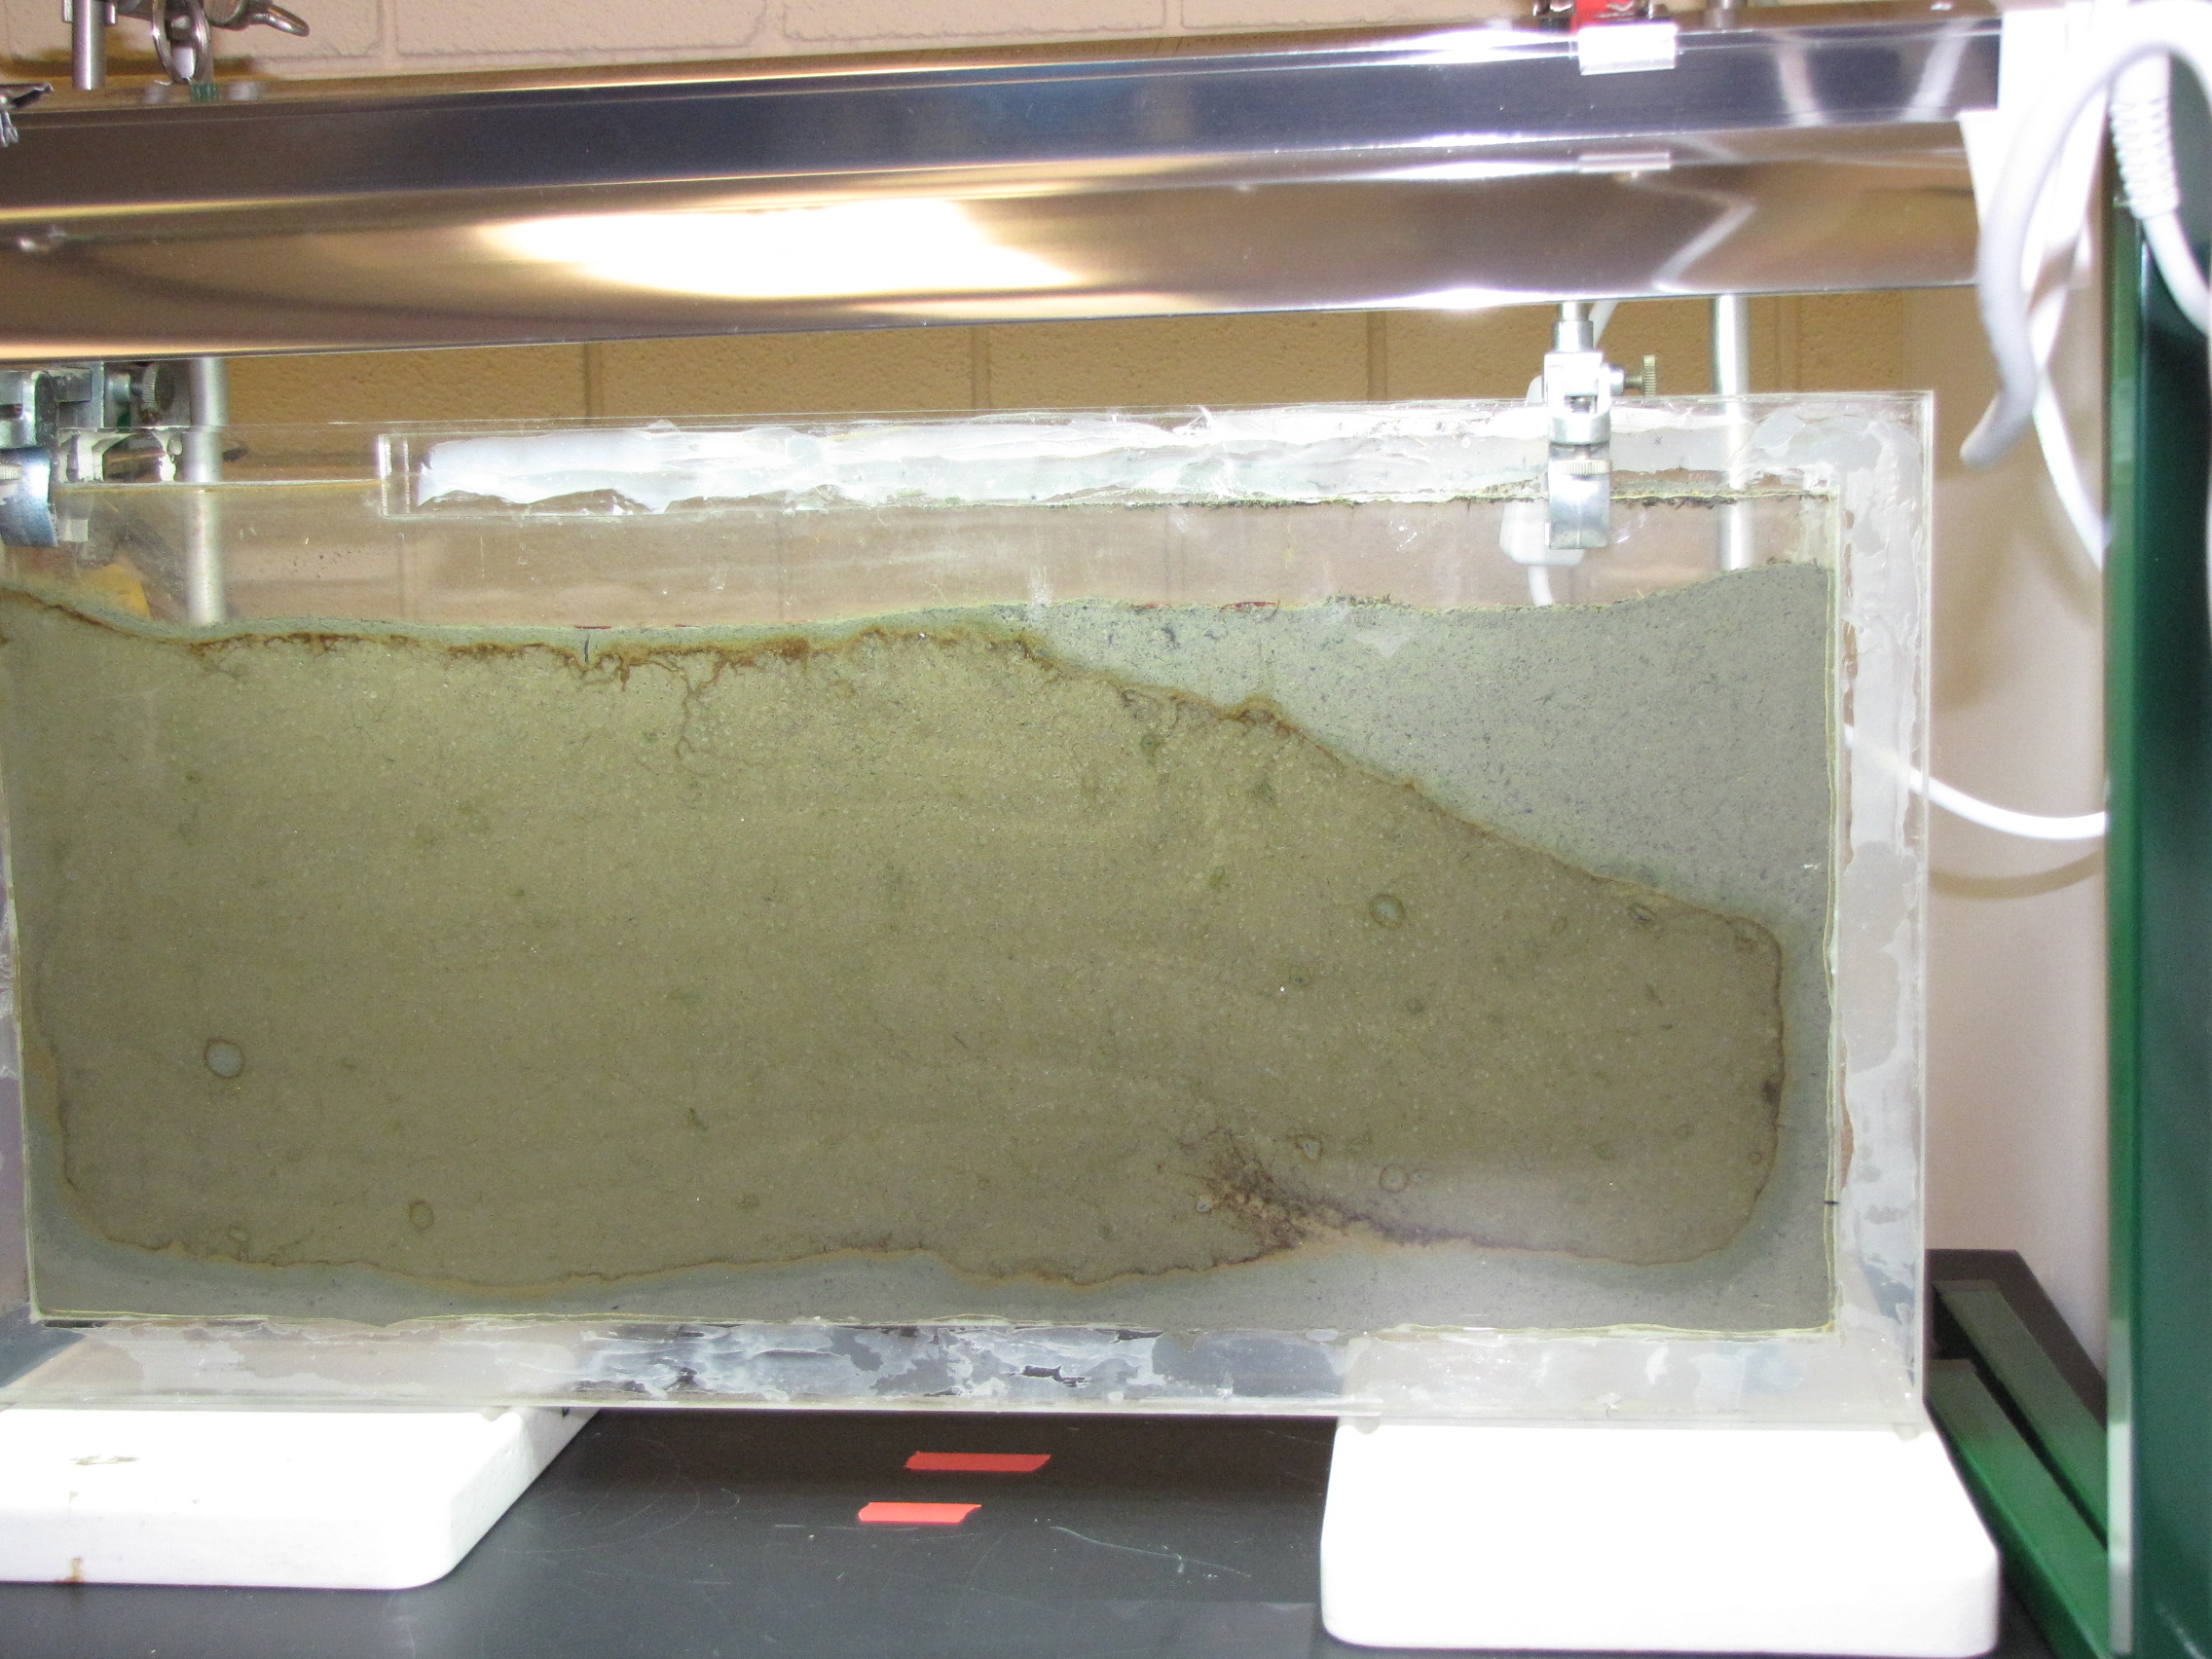
The panel after 2 days. The panel was prepared by adding calcium carbonate, calcium sulfate, and dried leaves to mud from a pond on Vassar campus. We sifted the mud to make a fine slurry. We collected leaves from near the pond and baked them to dry them, then blended in a blender to make as fine a powder as possible. The leaves serve as a source of cellulose. This supplemented mud was poured to a depth of about 4 cm. Then we poured unmodified mud (no additives) on top. Instead of just layering on top though, the bottom layer was displaced, and most of it was pushed to the right side and up to the top. You can see it clearly here: the mud with additives has the lighter grey color.
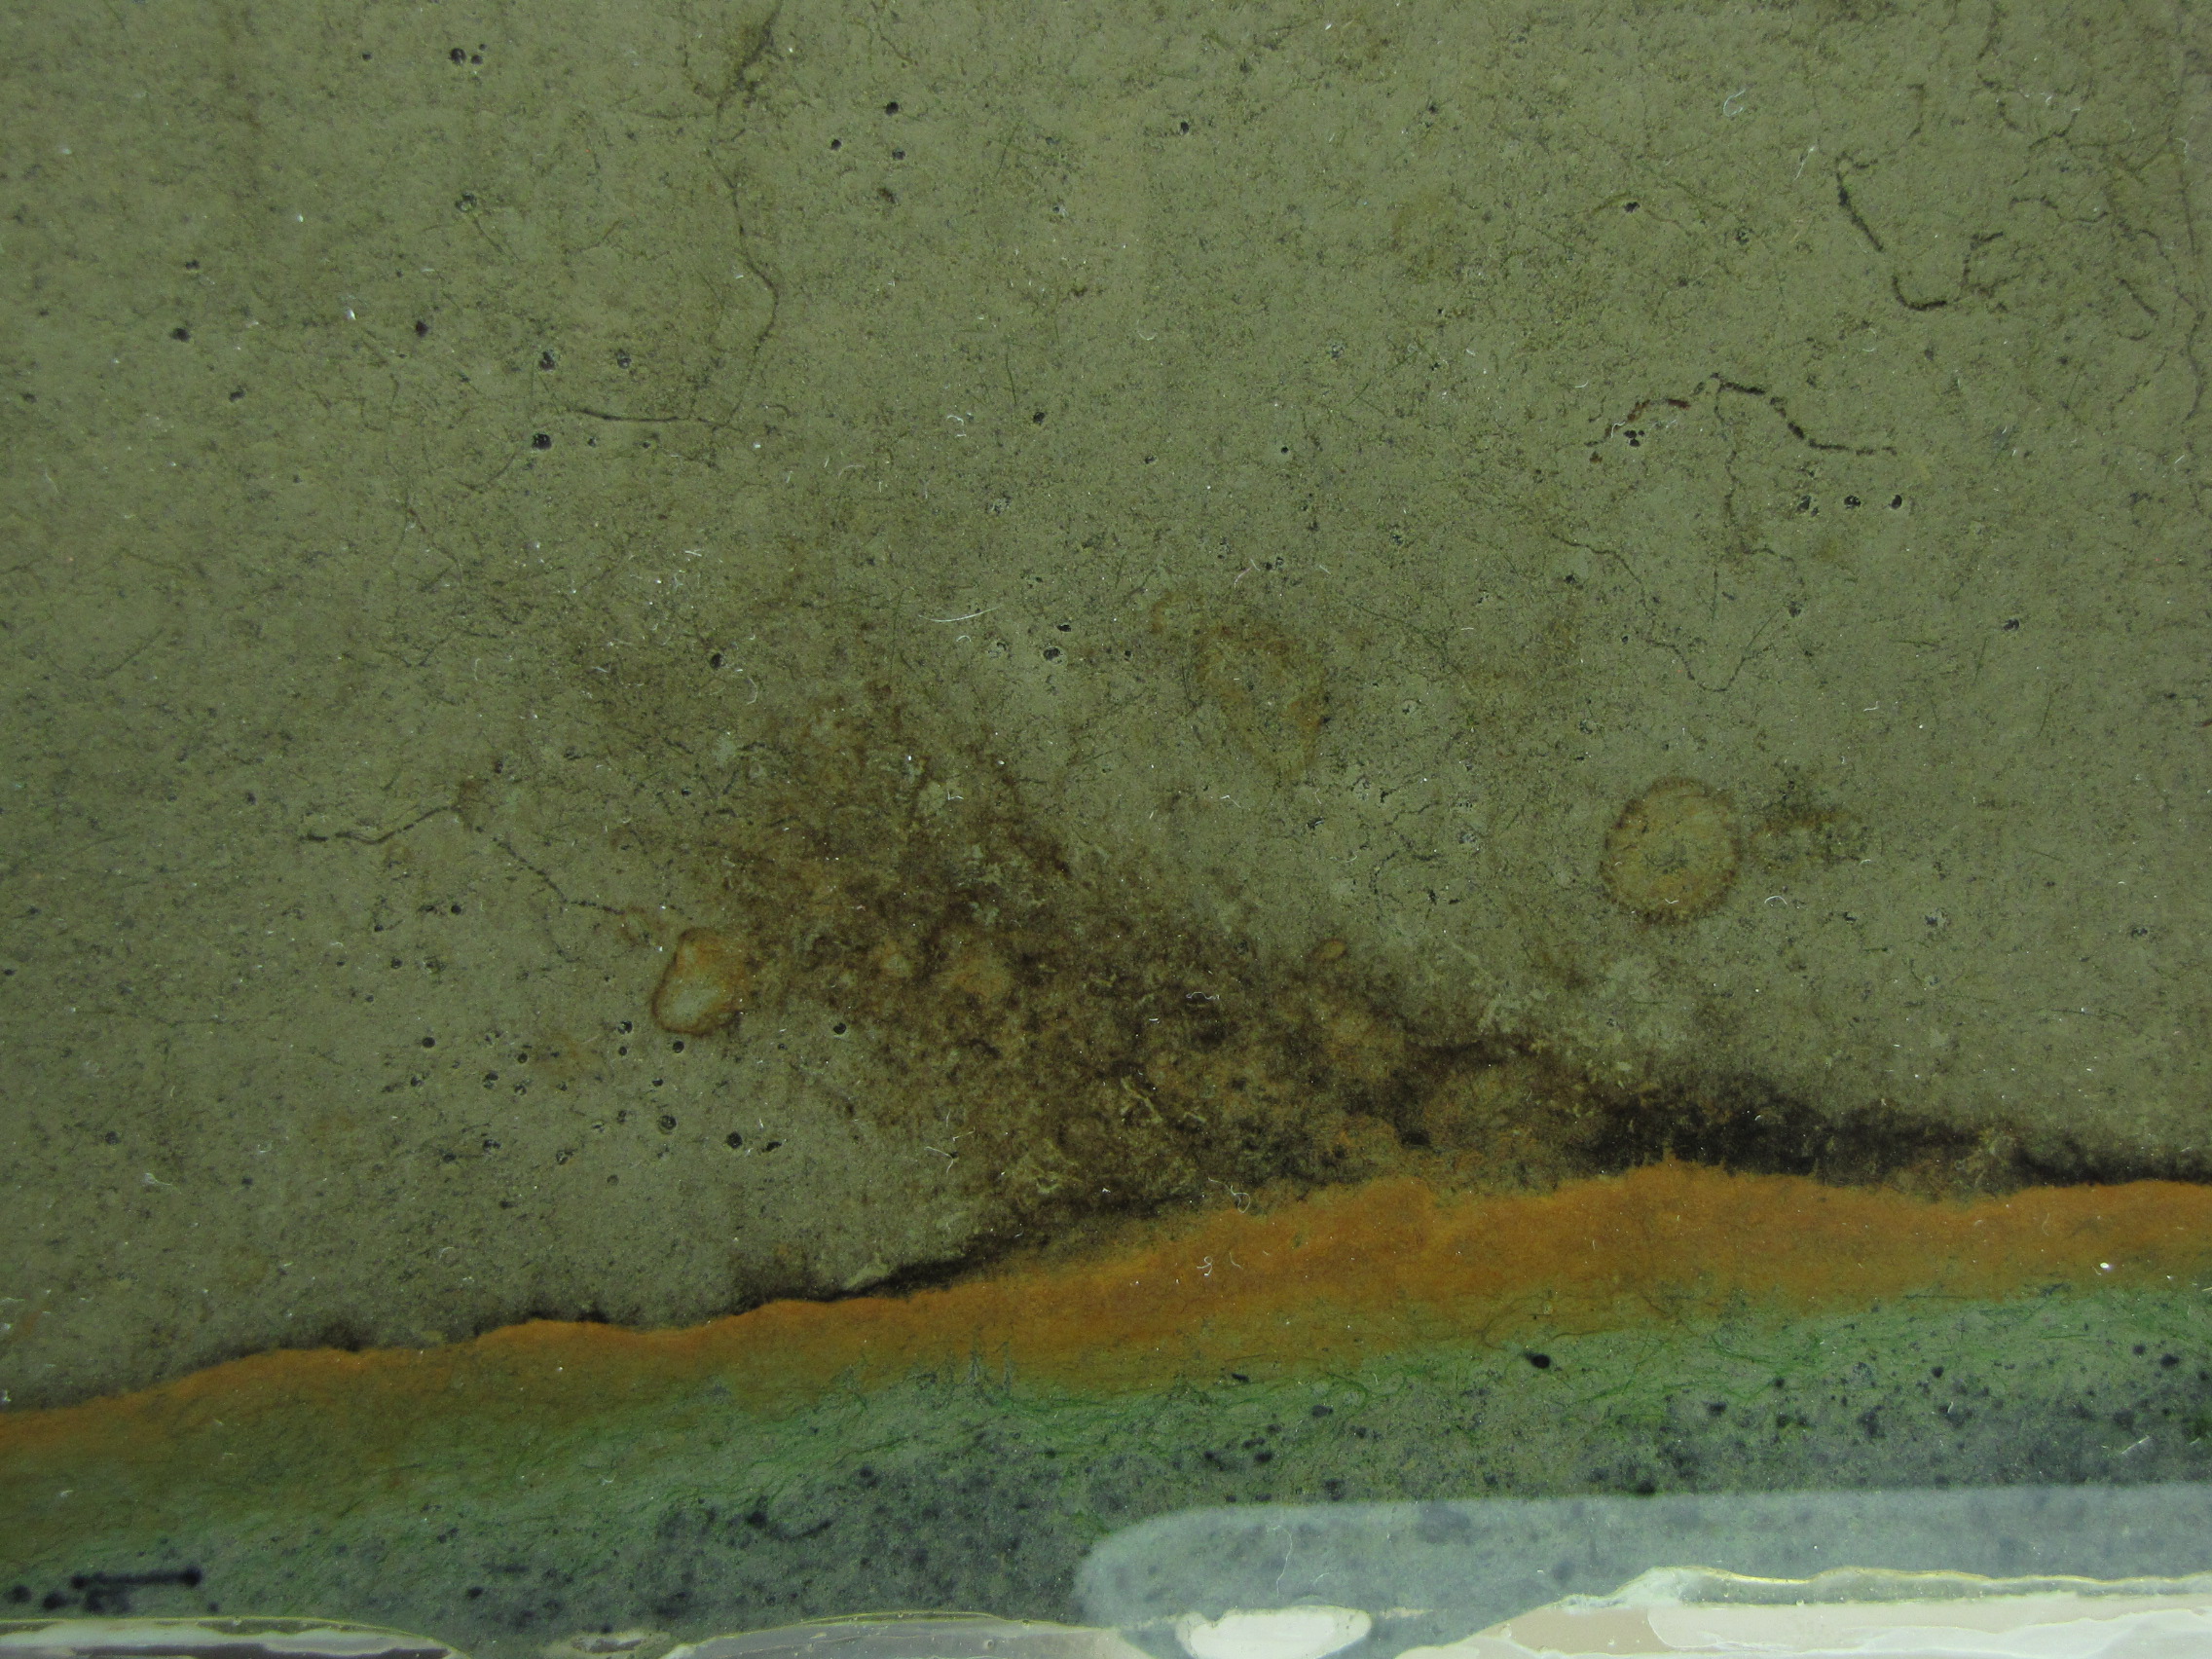
Note the orange and brownish-orange along the junction between the two muds. This is microbial growth, probably the phototrophic “purple bacteria.” Purple bacteria come in many colors, including red, orange, brown, and yes, purple. They use light for energy but unlike plants they use H2S instead of water (H2O) as an electron source, and produce sulfur instead of oxygen. You can also see it in the little circles where a spot of sulfur-enriched mud got surrounded by unmodified mud.
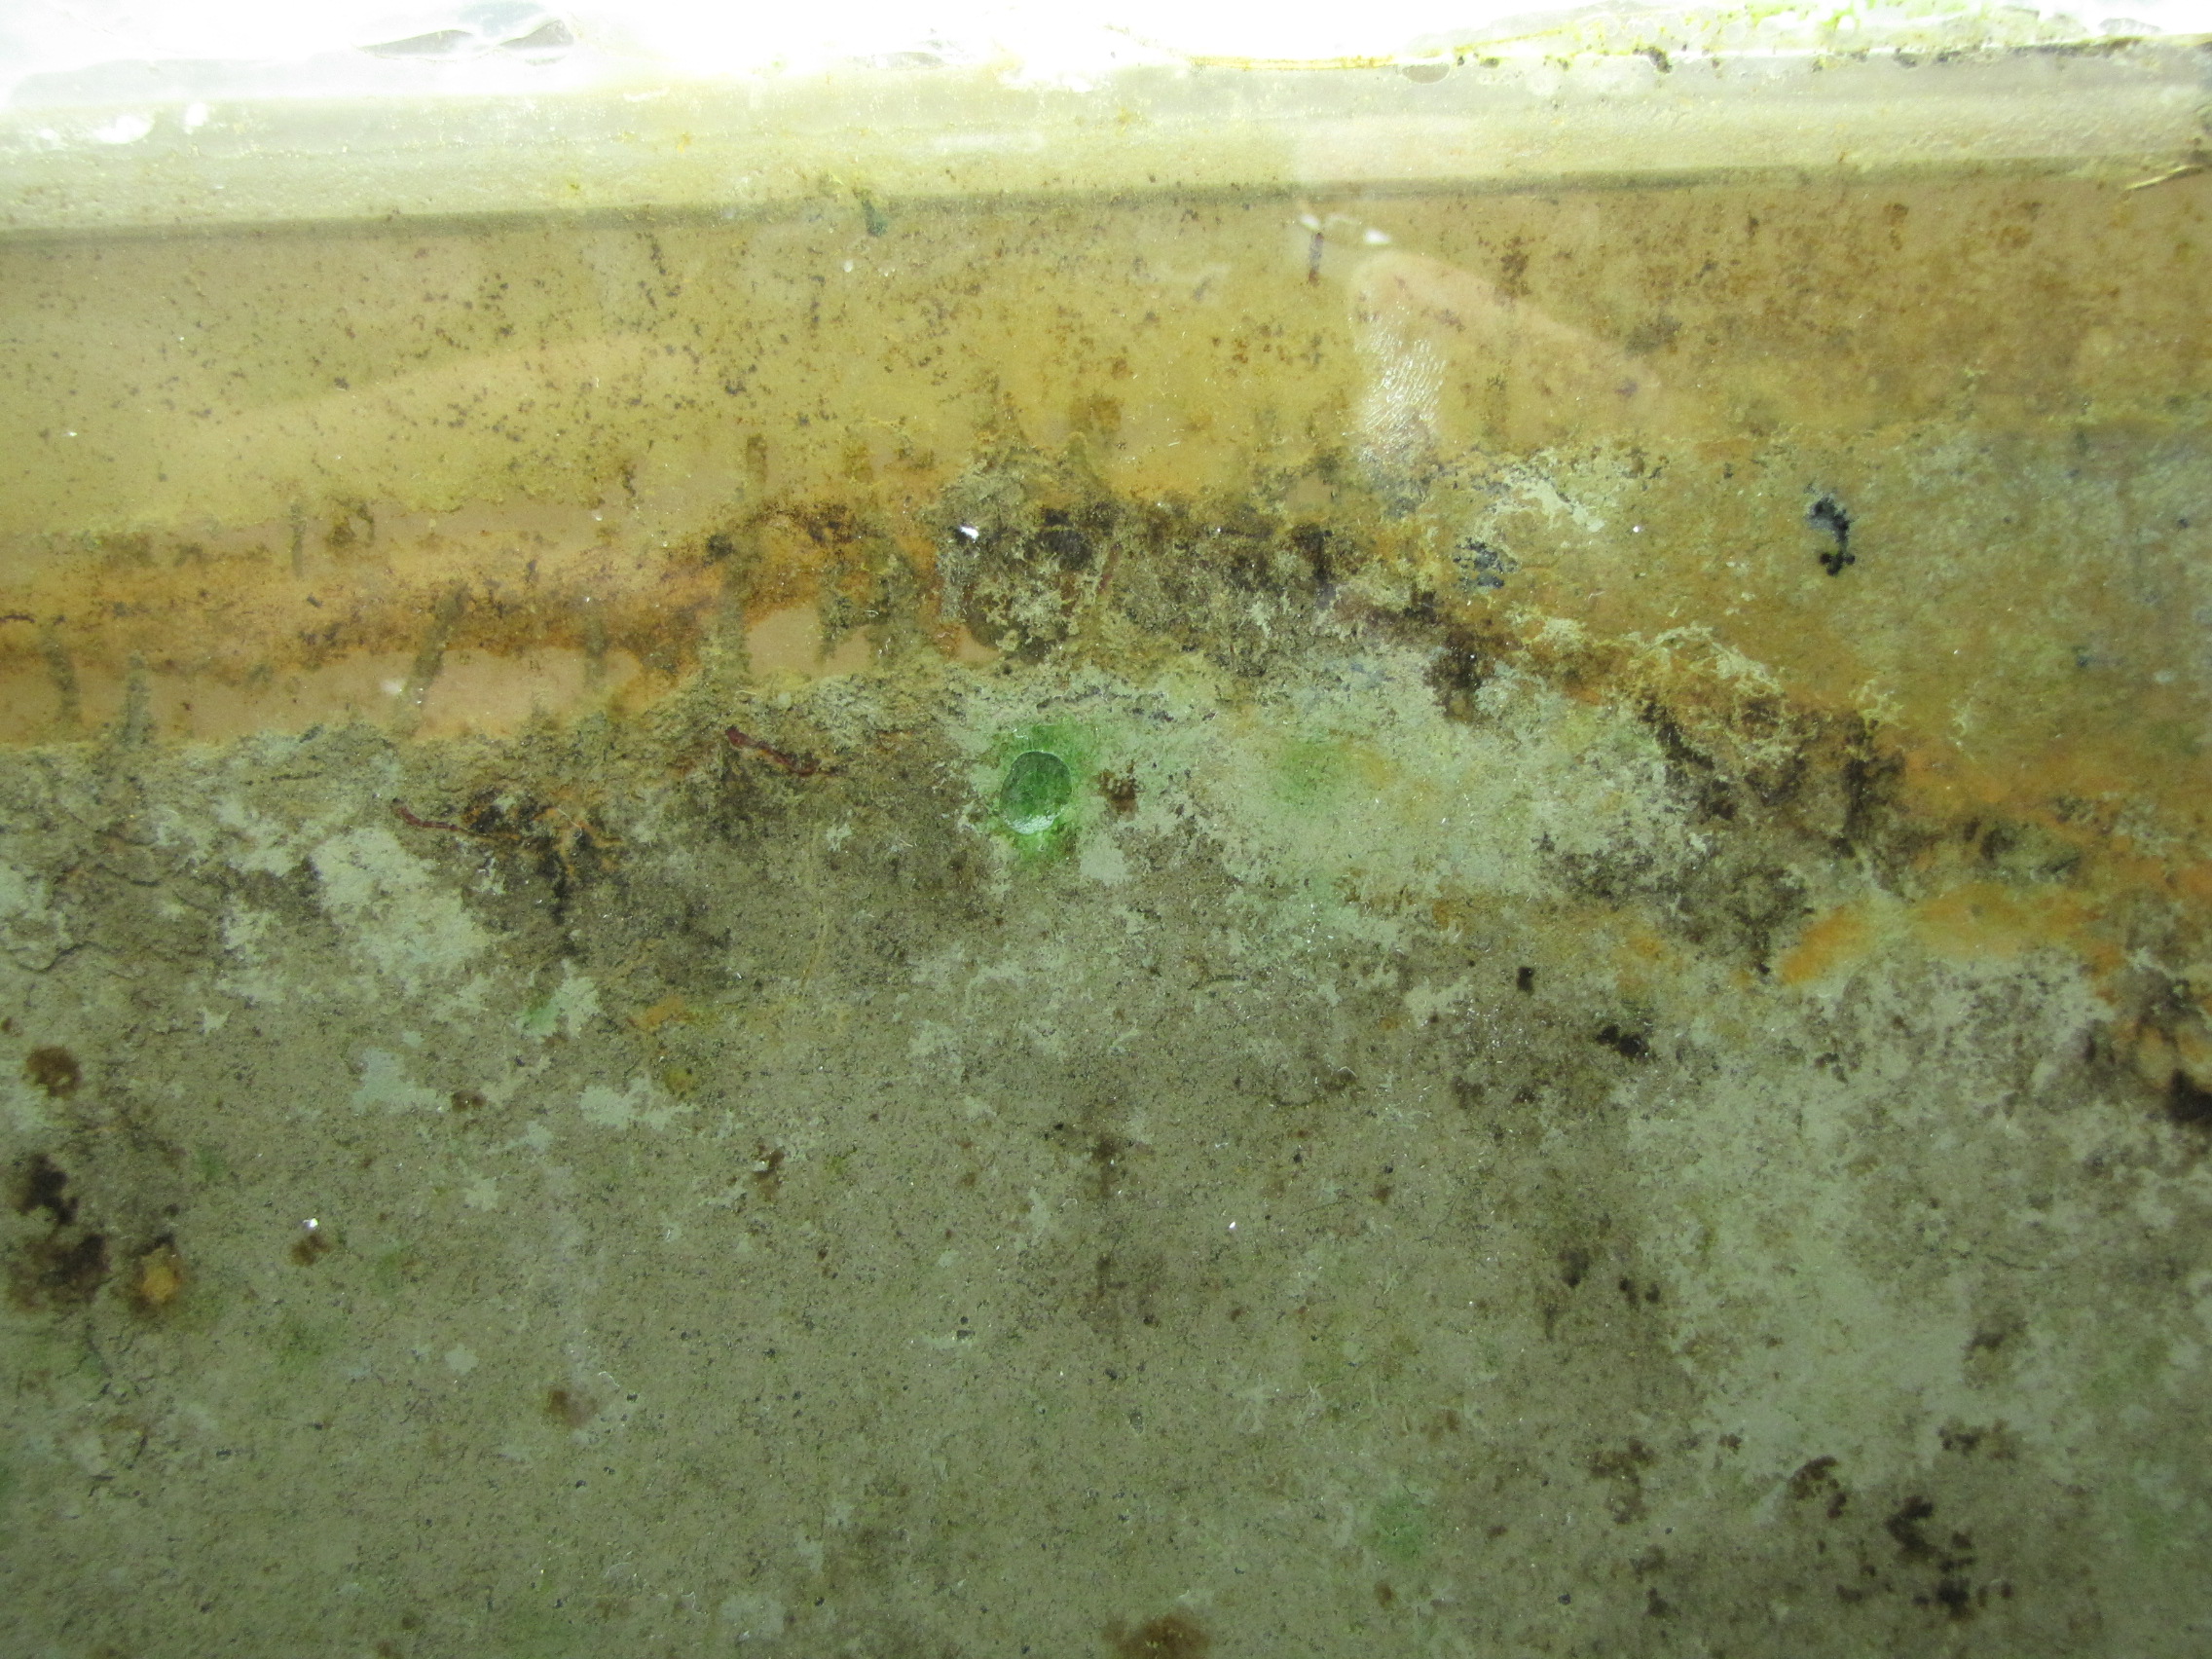
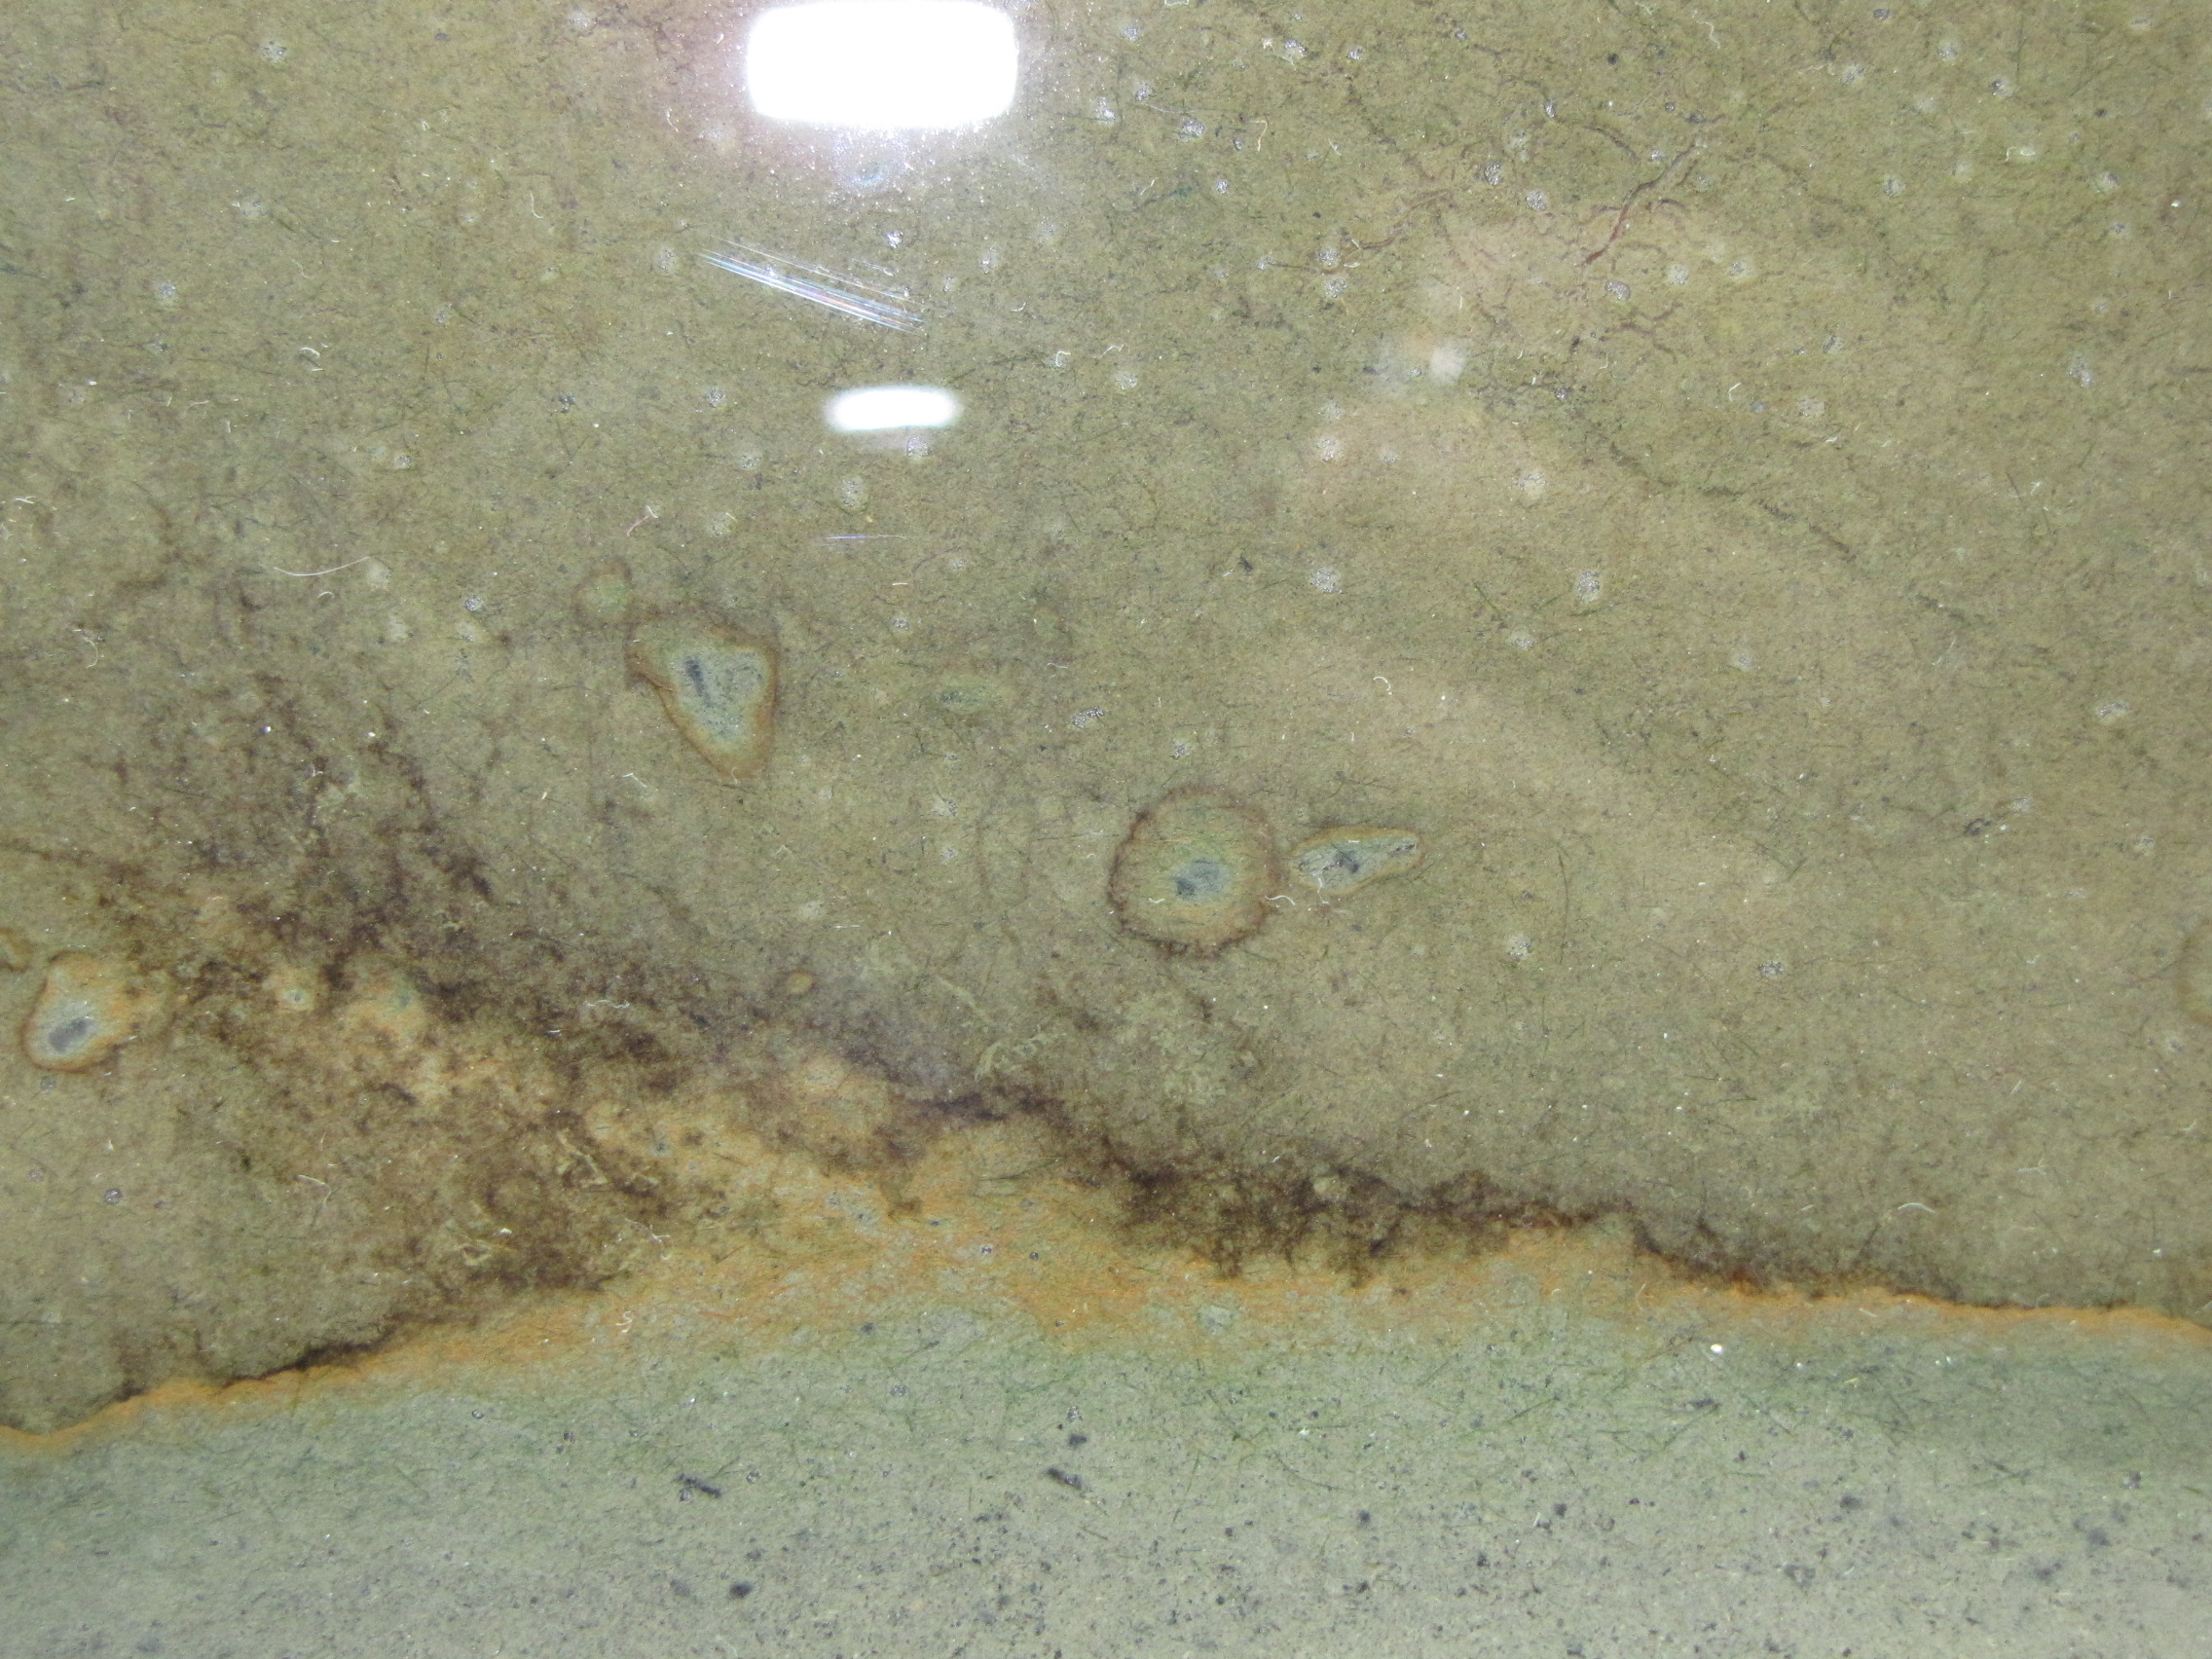 Close-up of the layers. There is a faint hint of green below the orange layer, these are green sulfur bacteria.
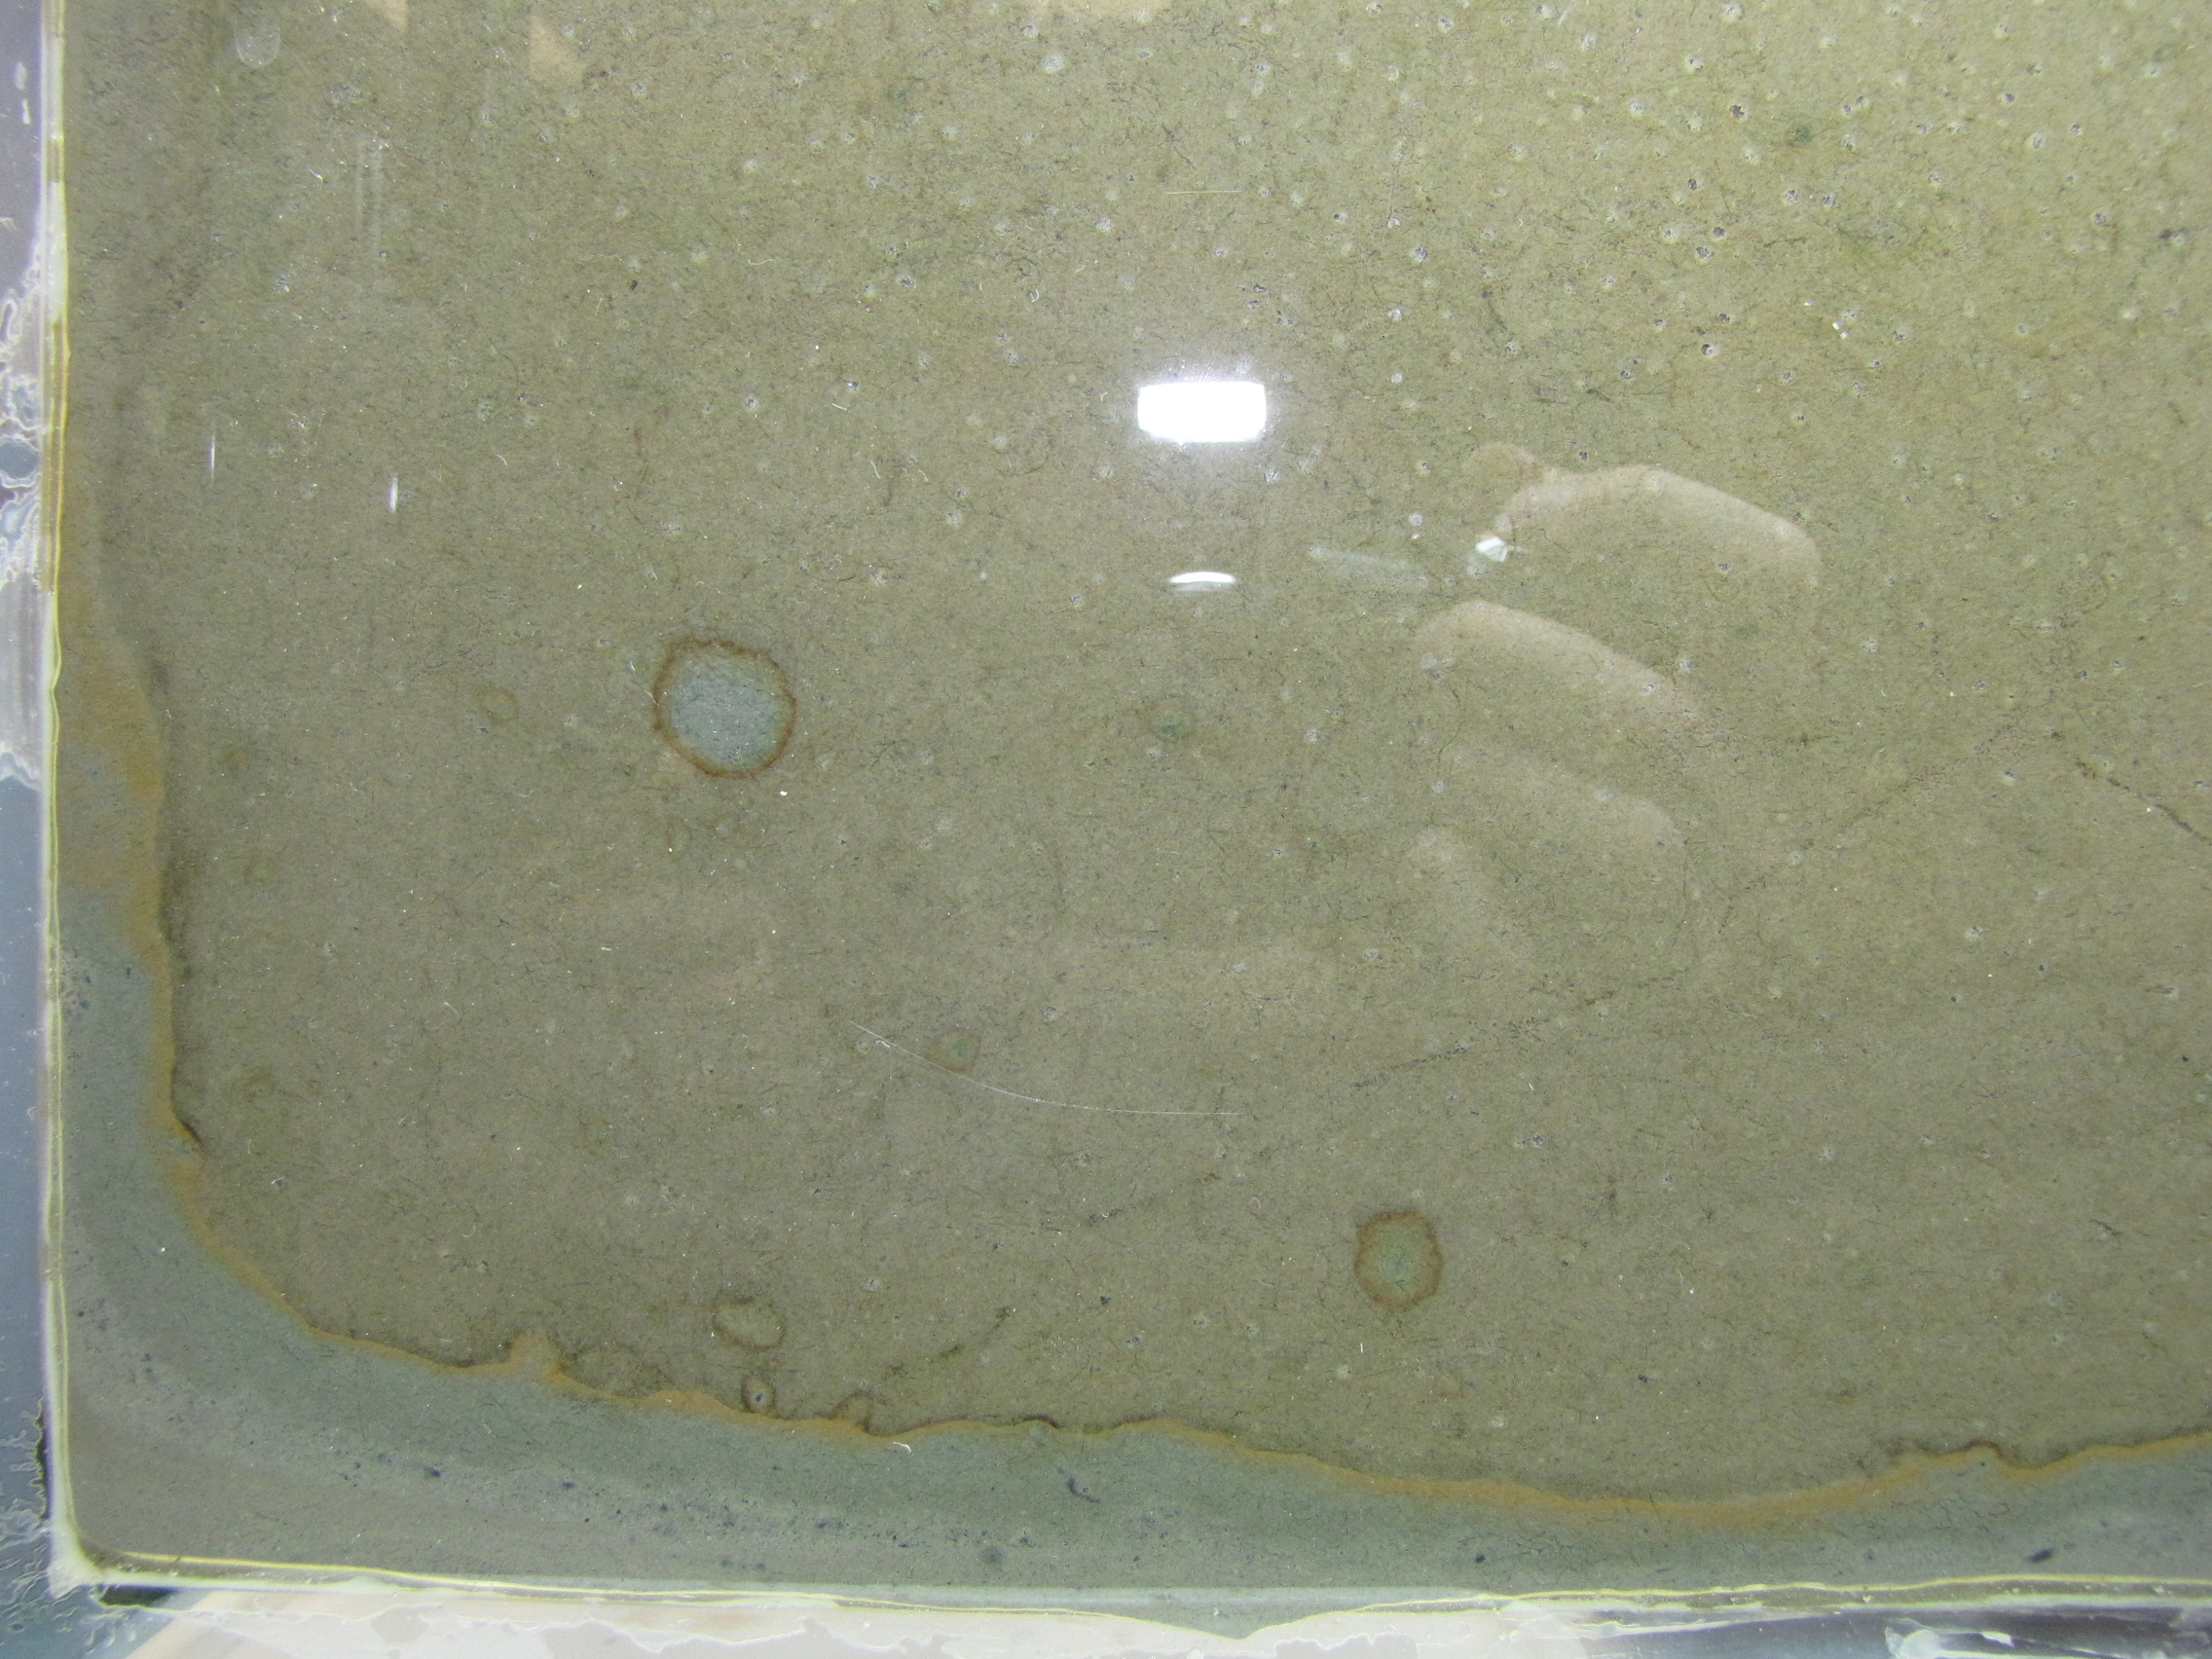
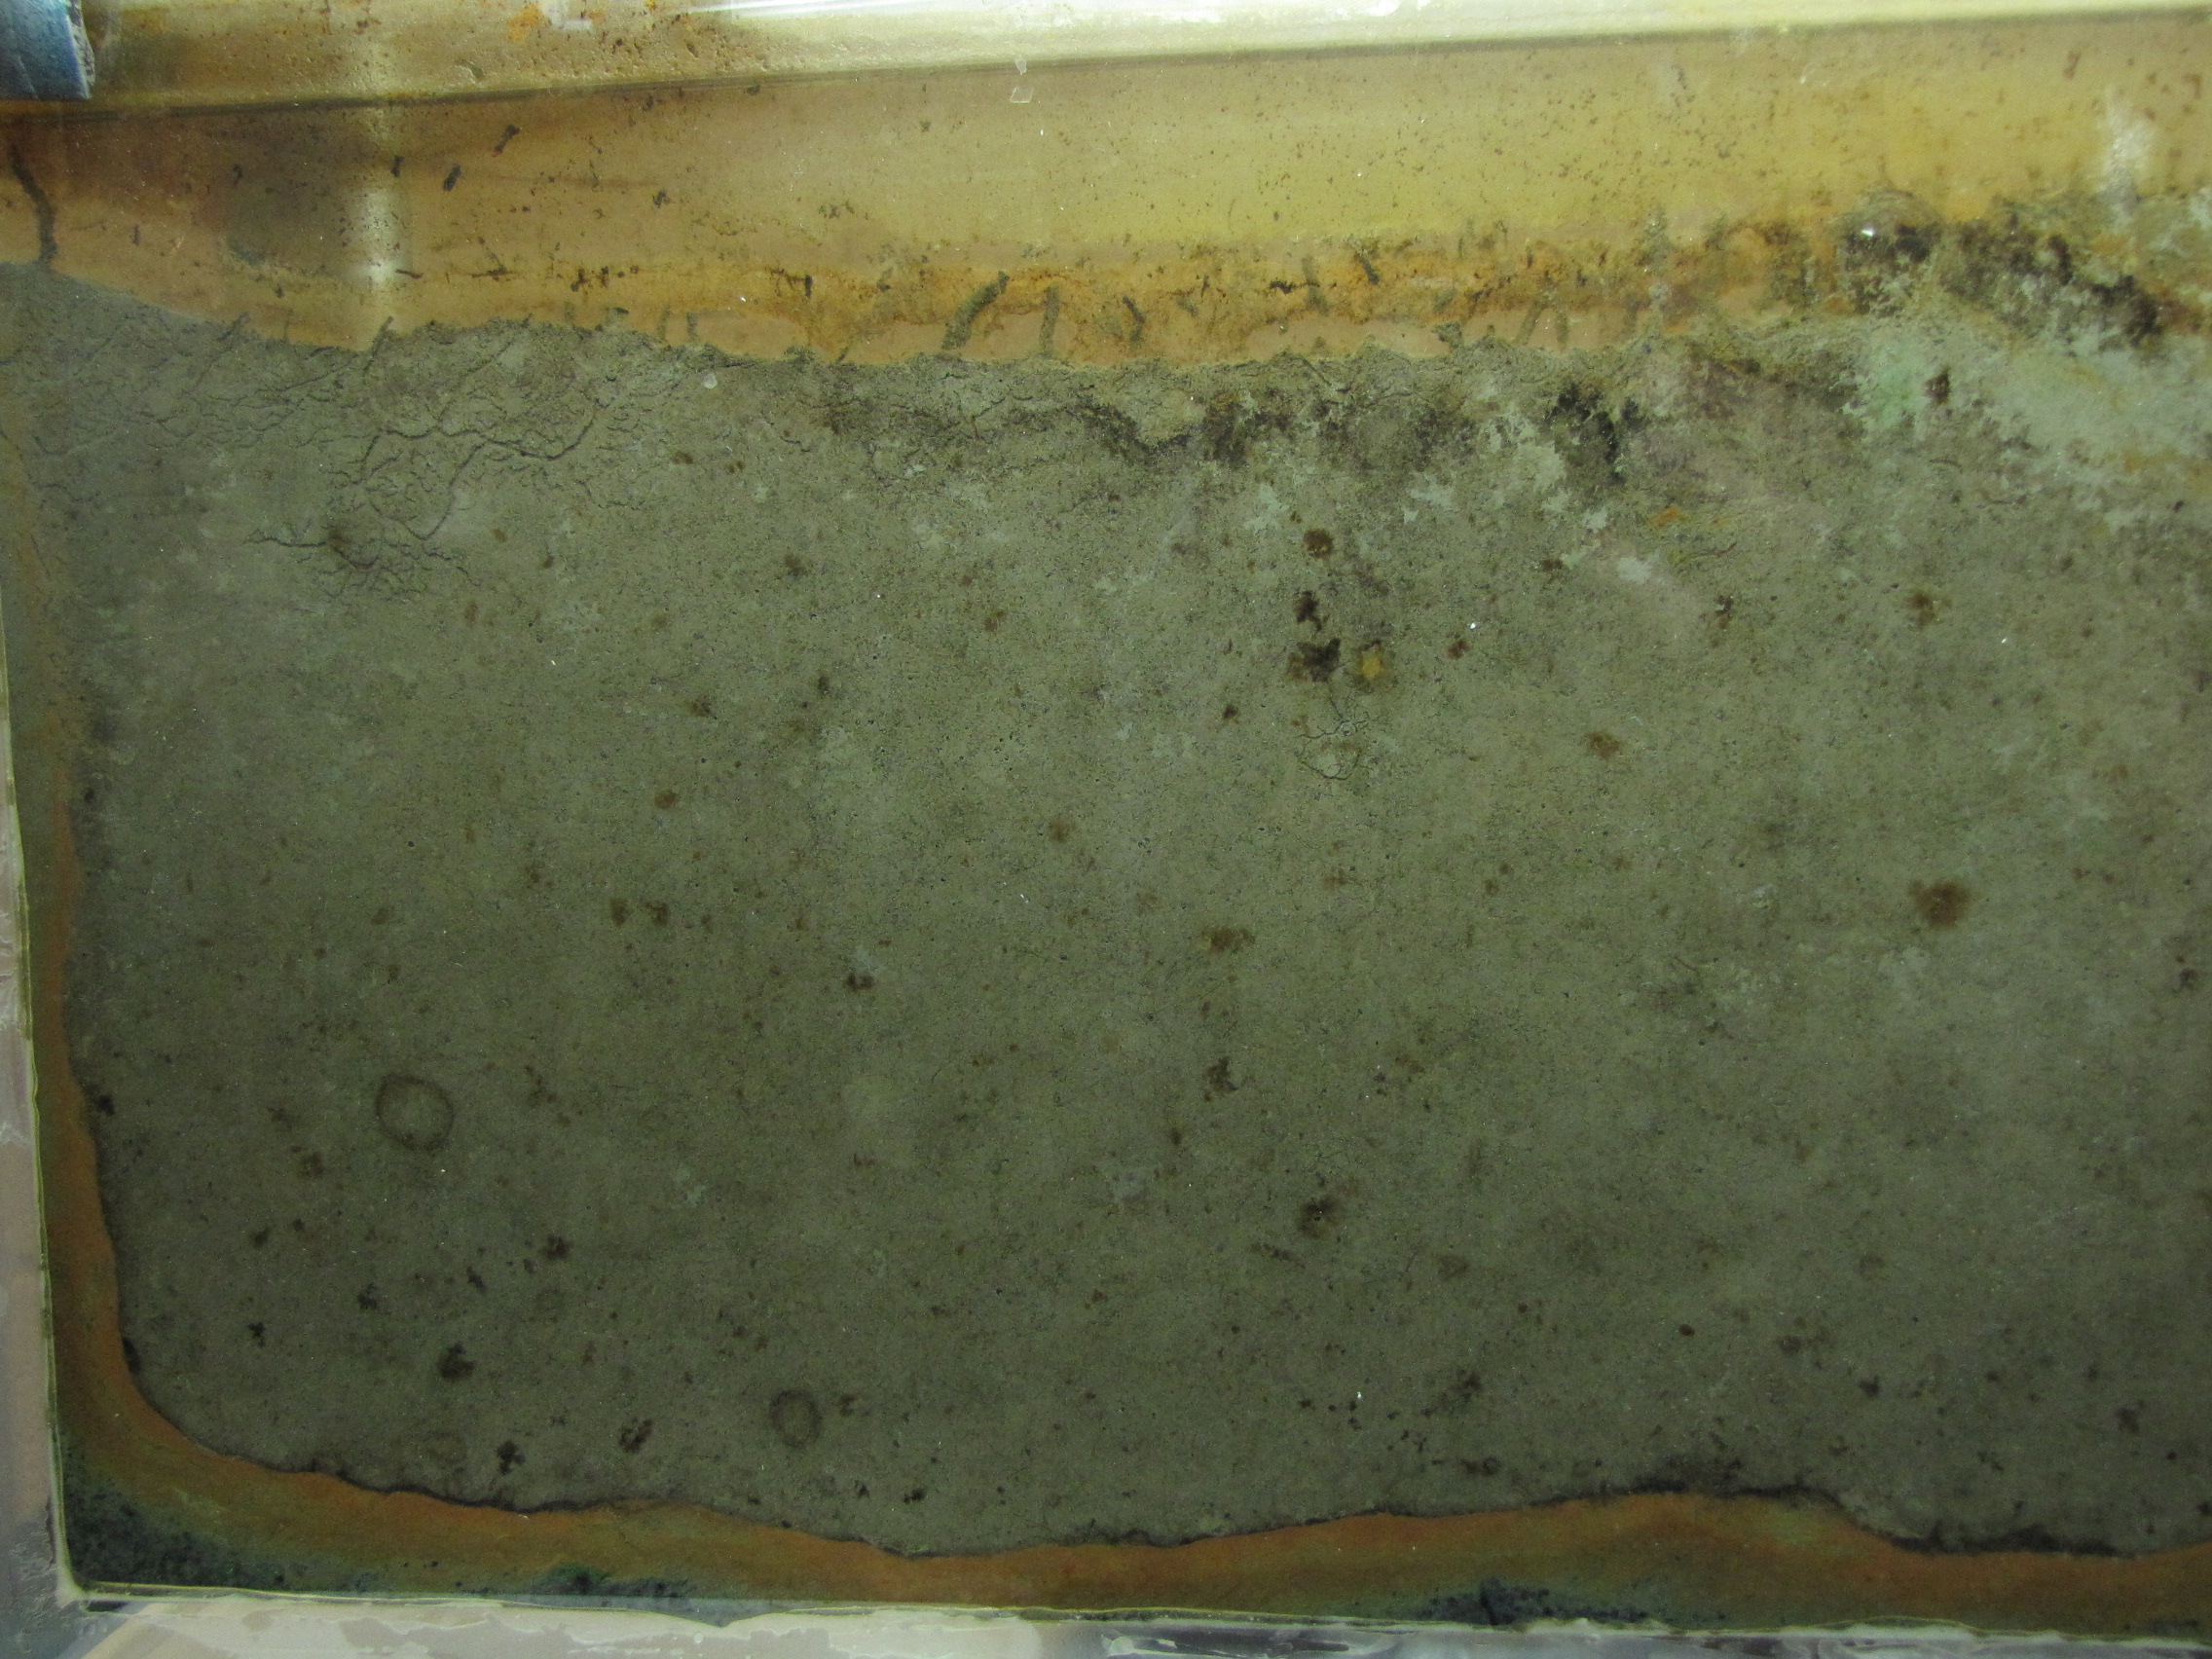
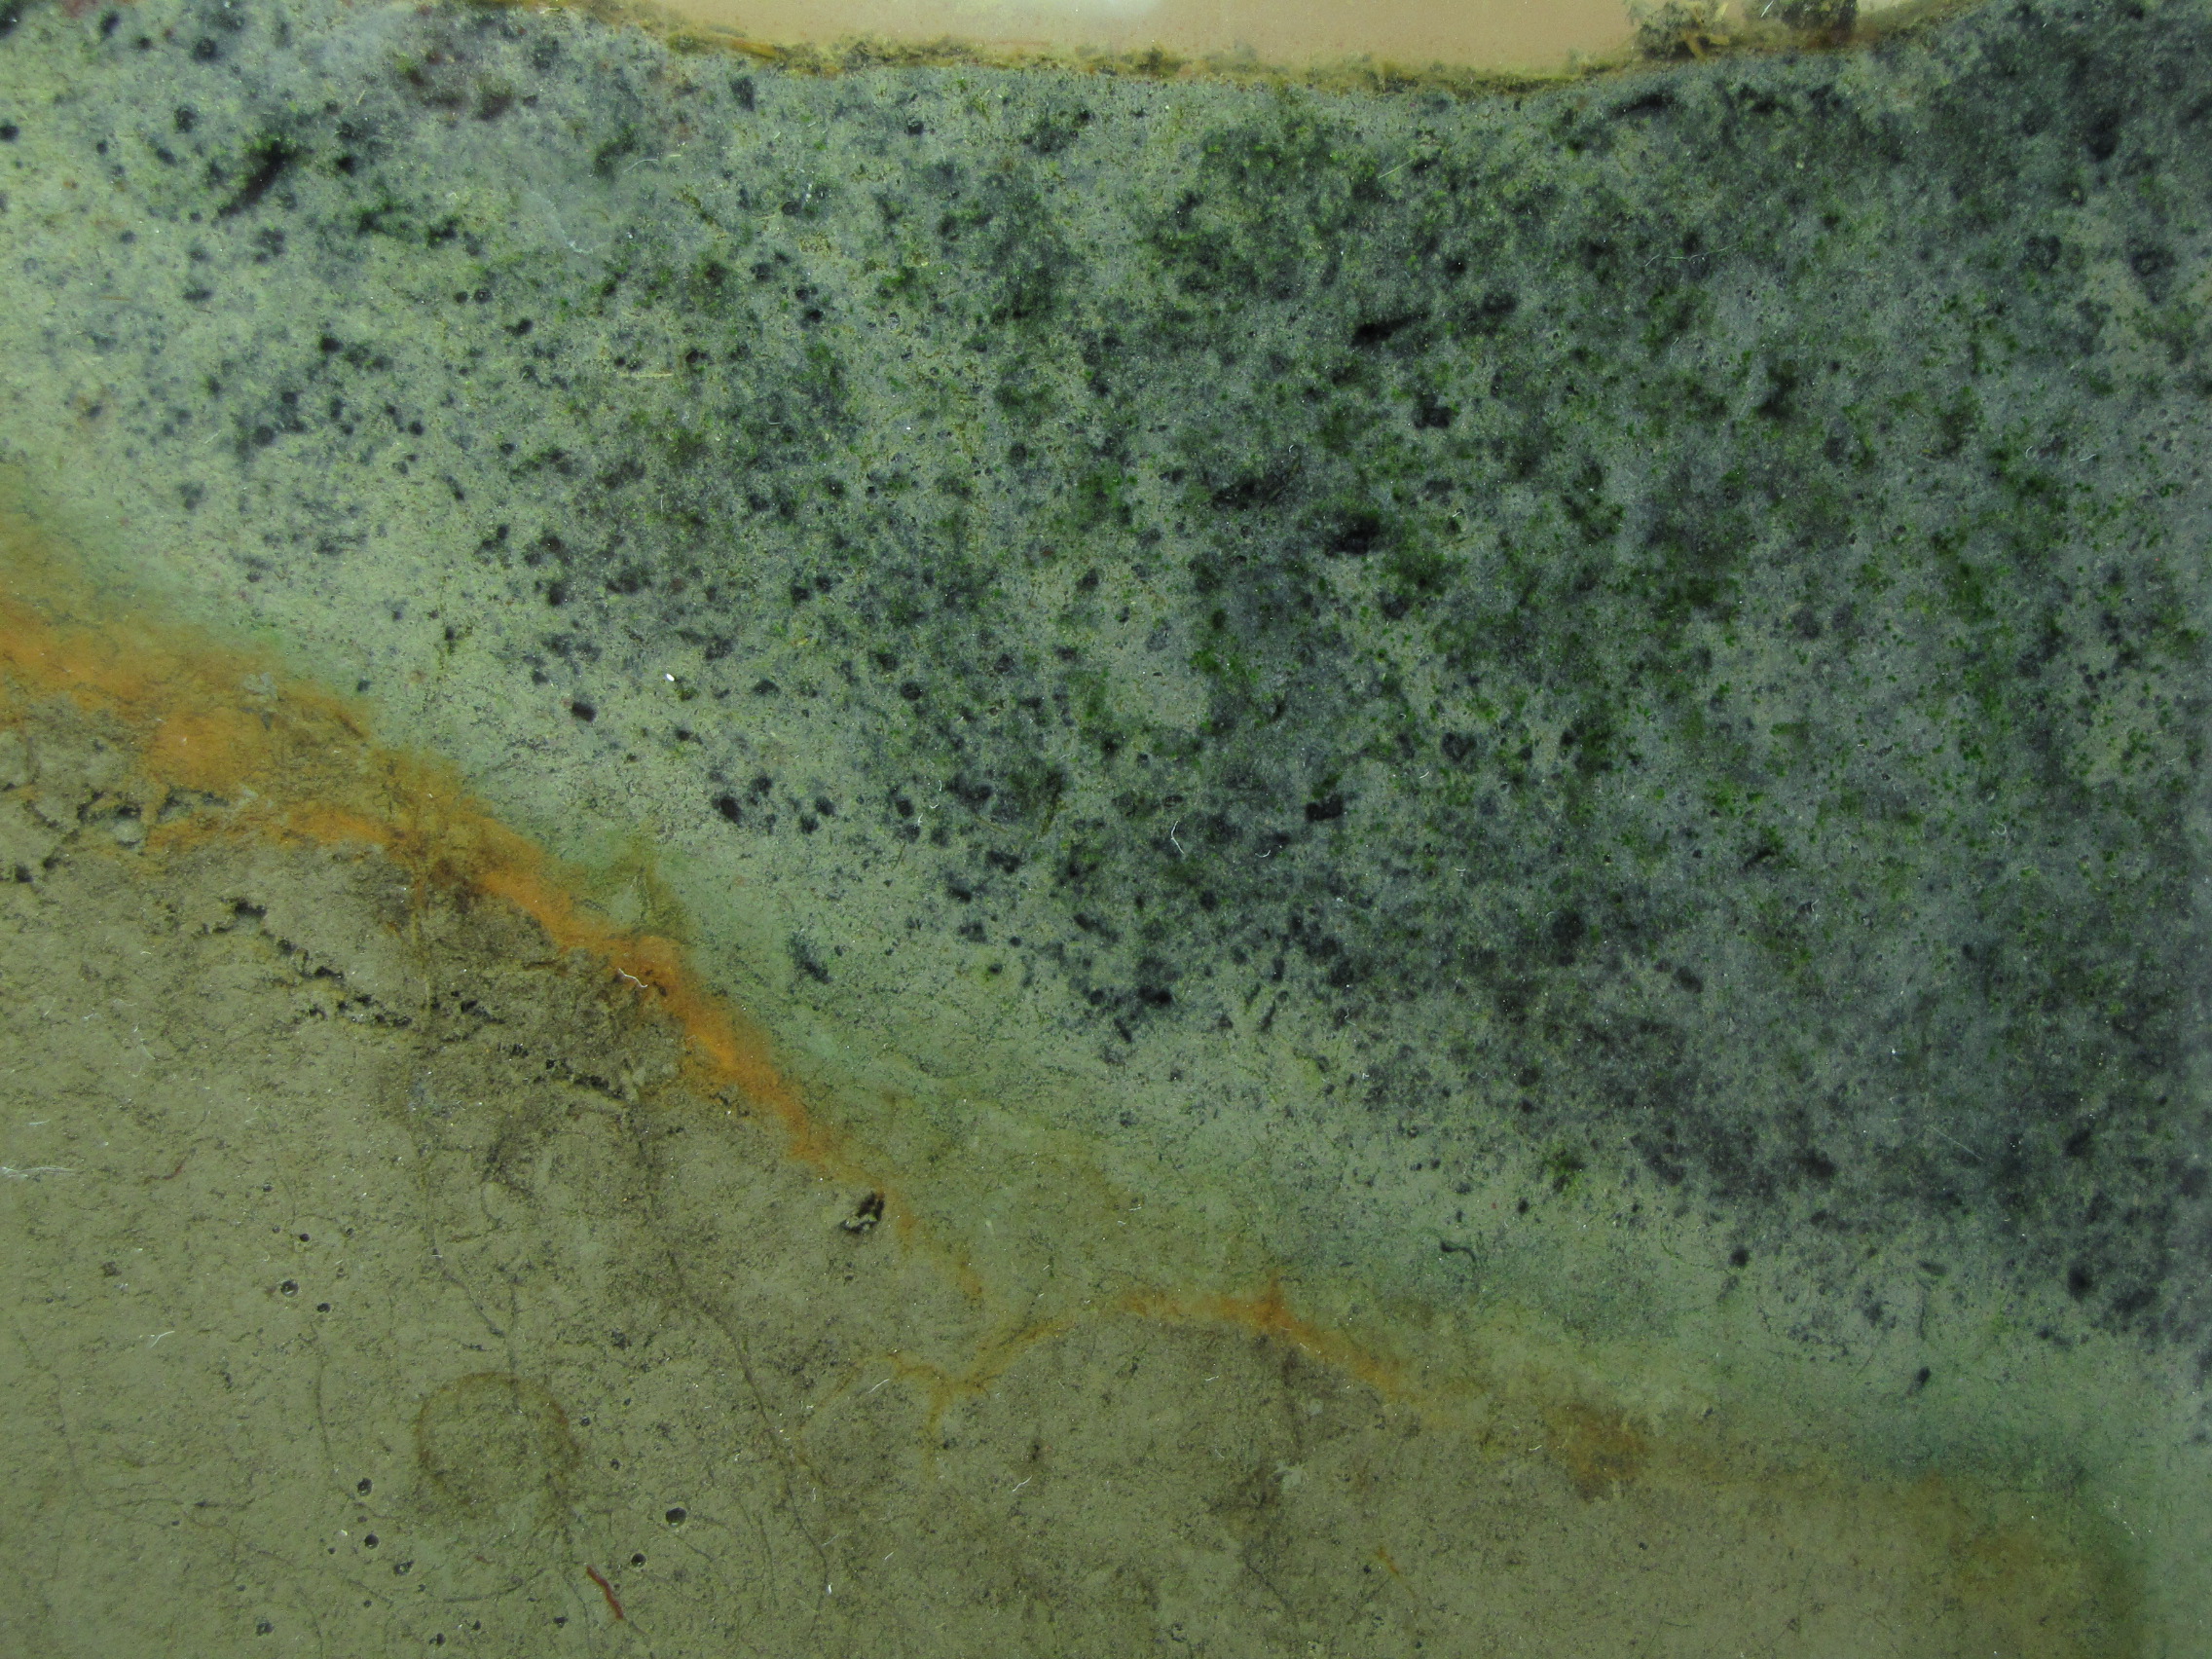
Another close-up.
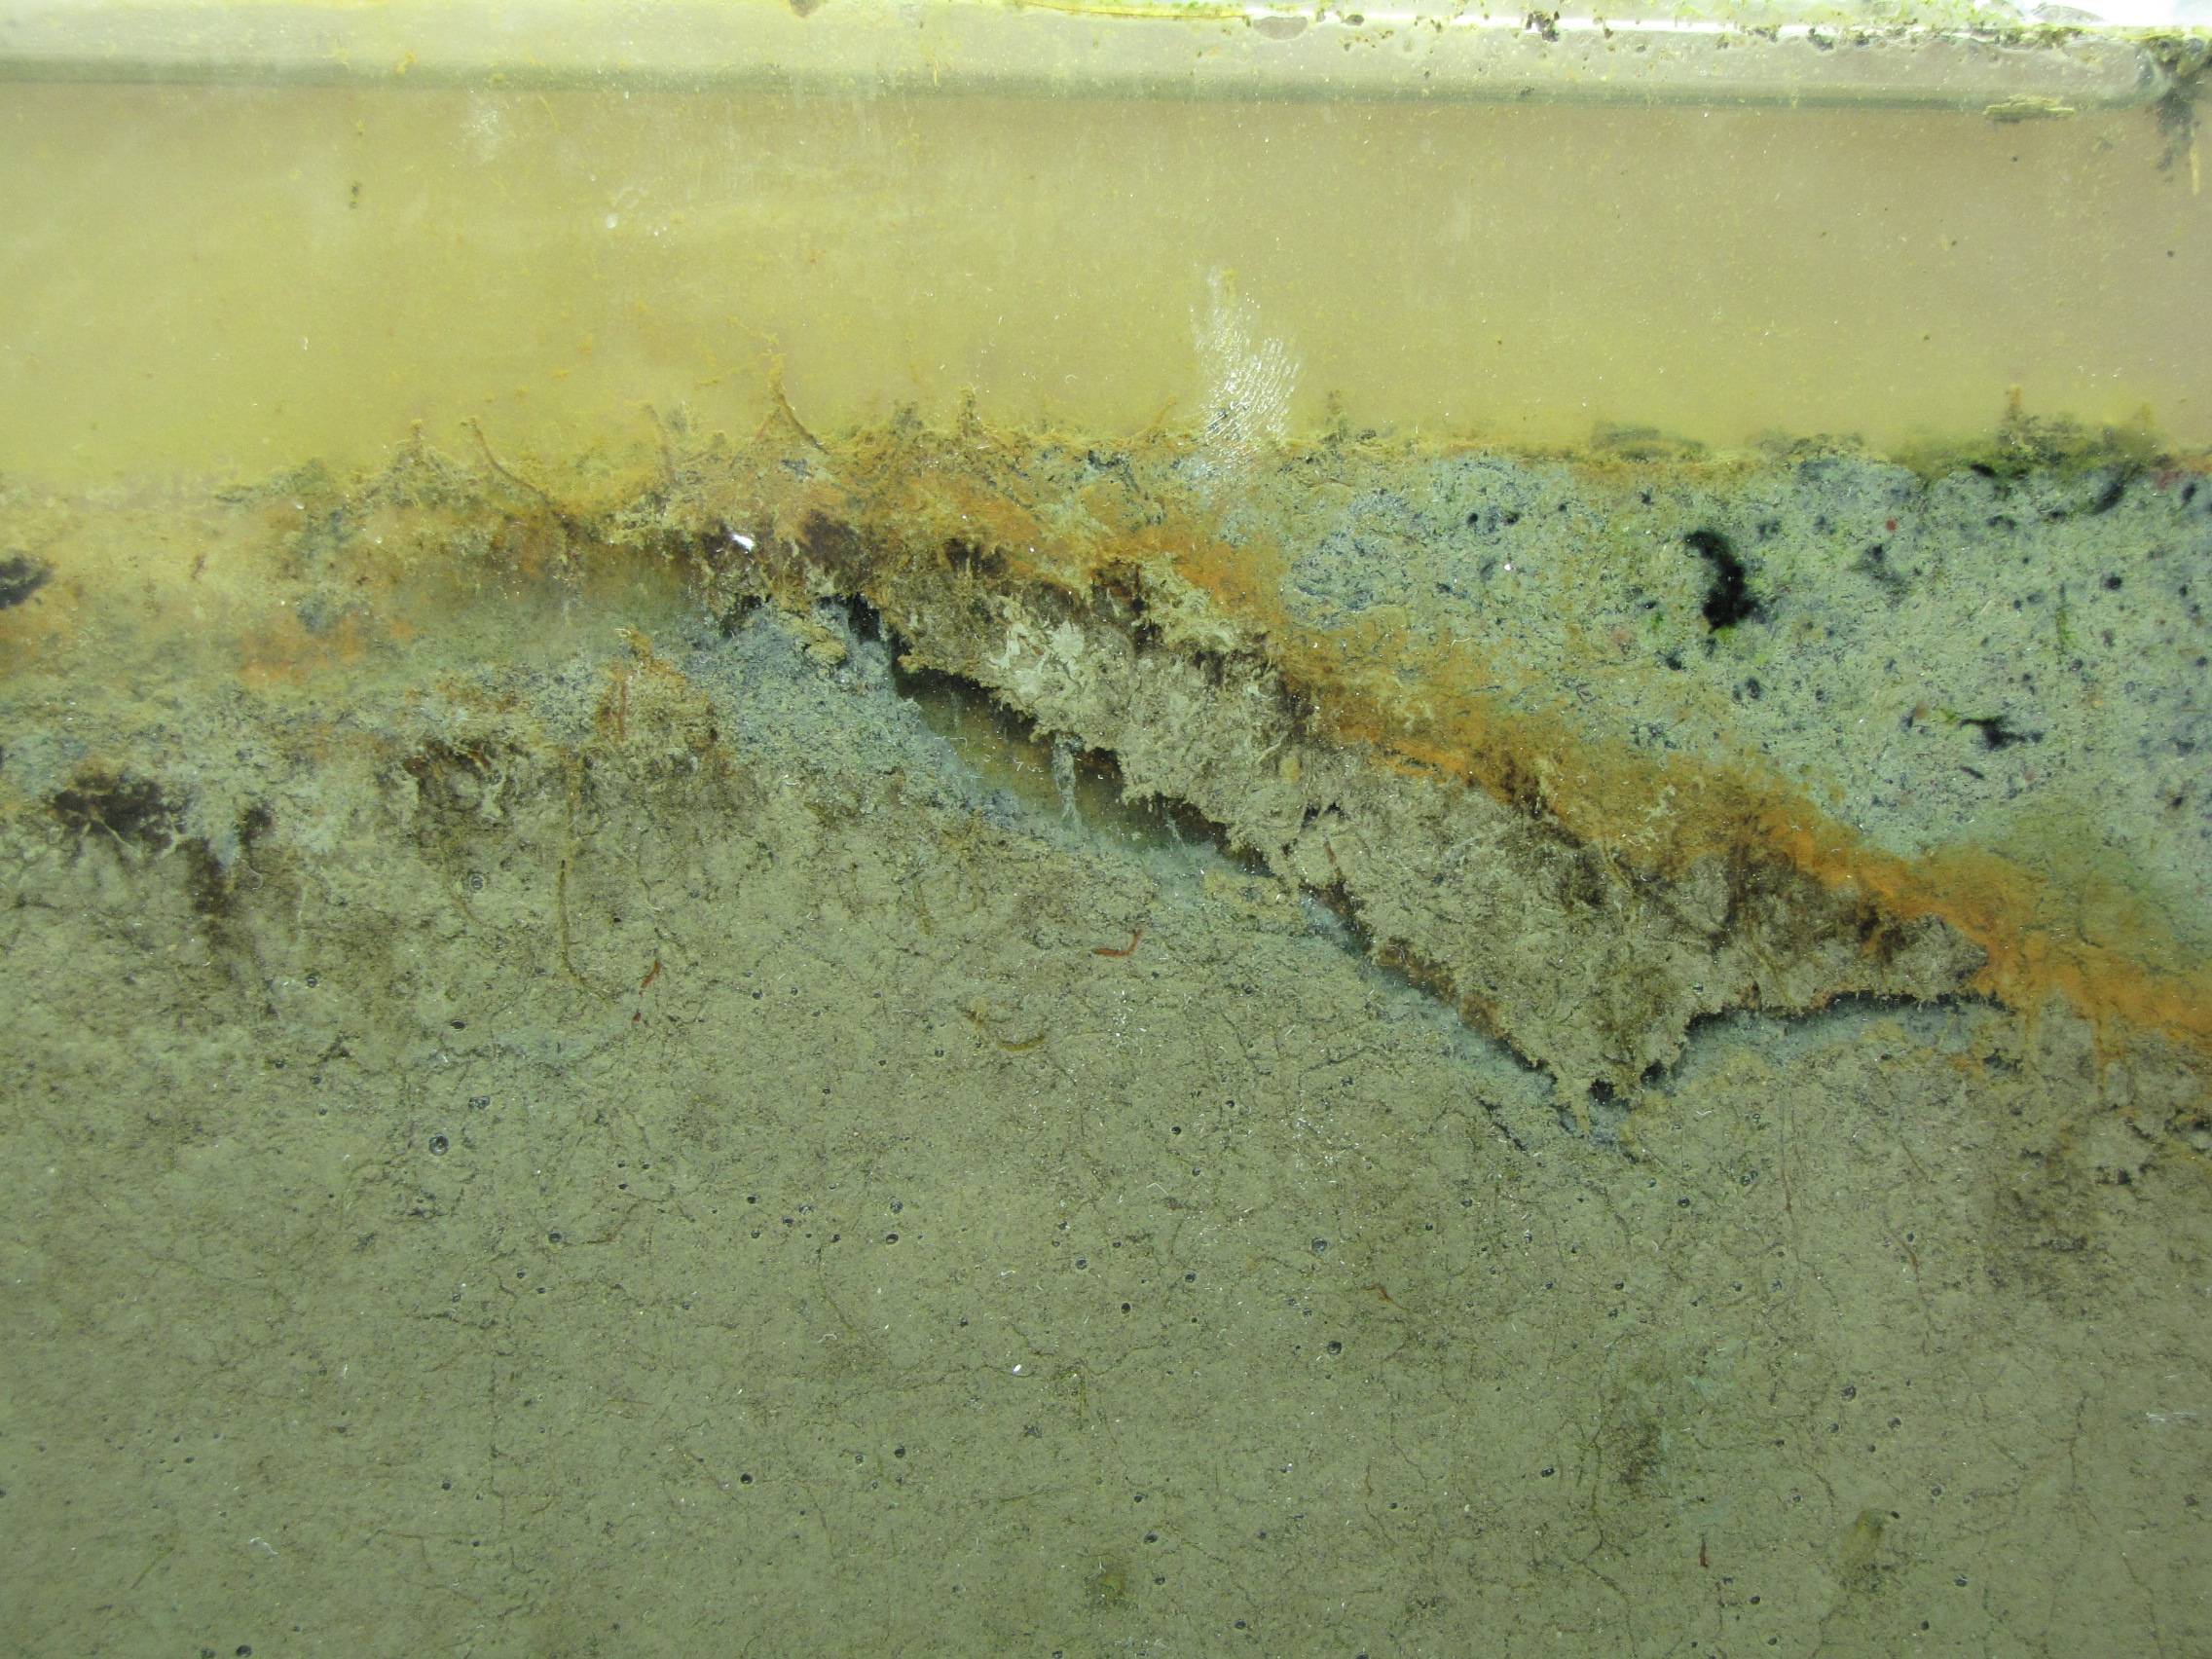
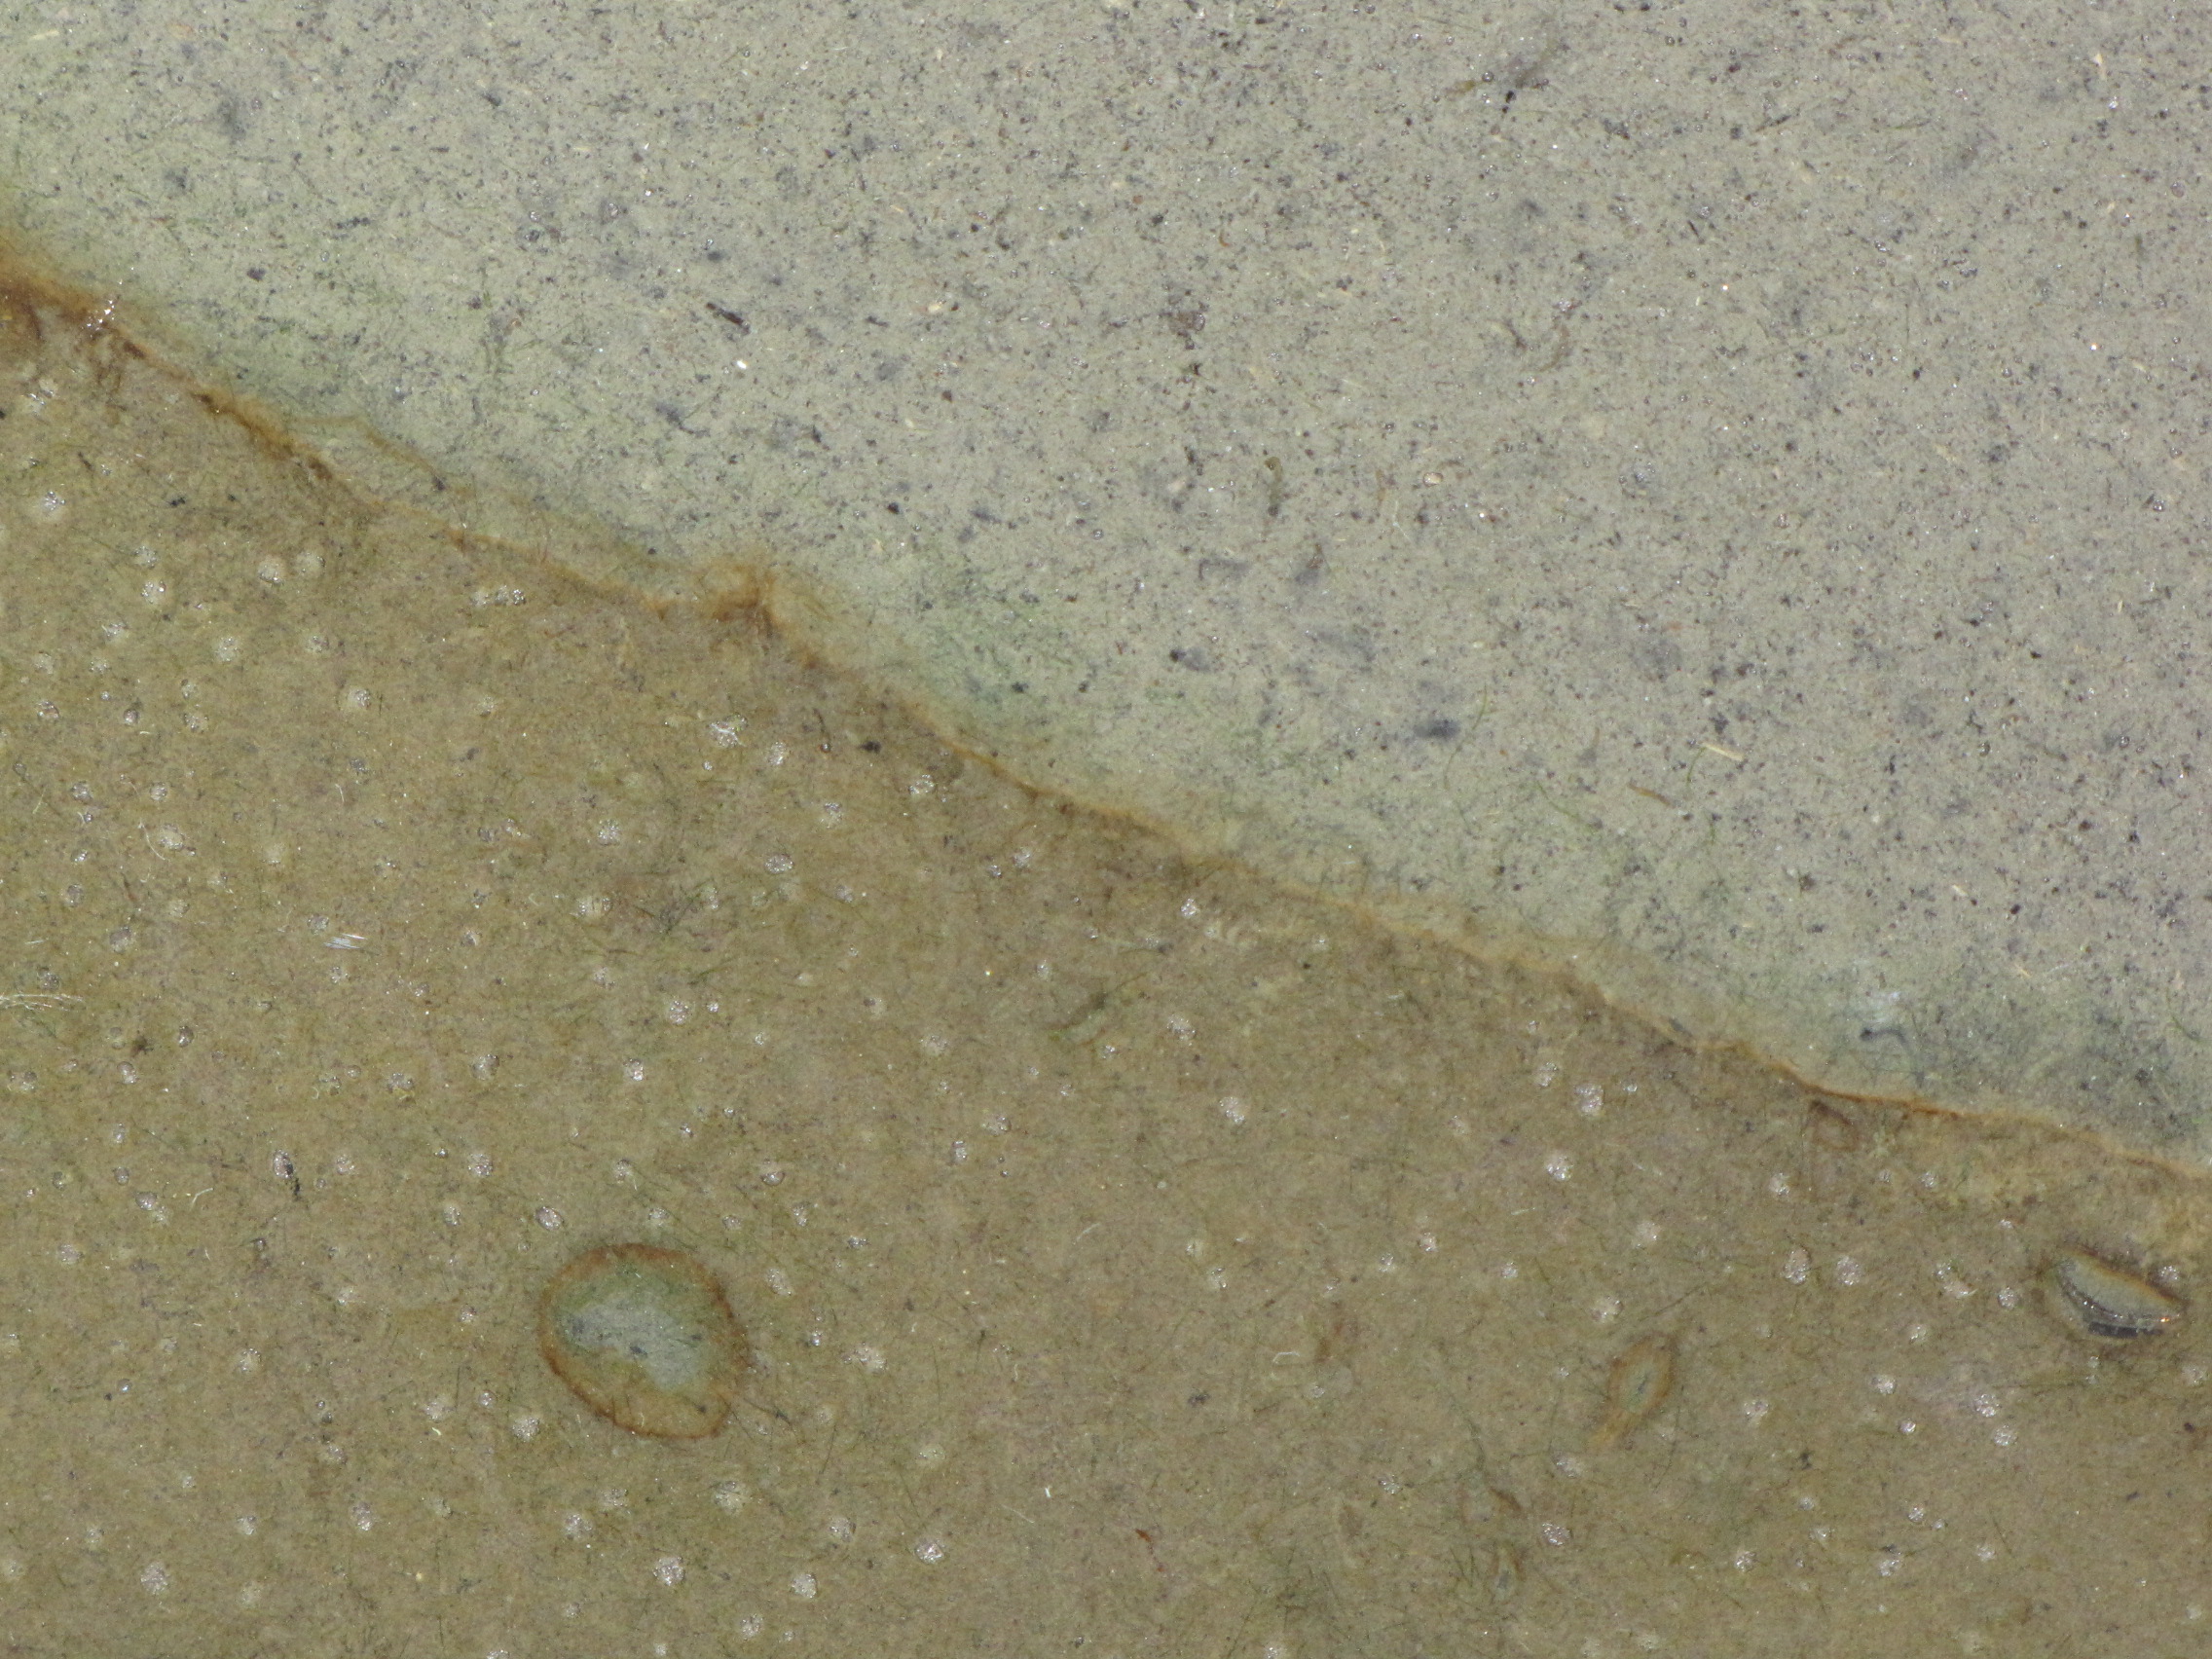 Close-up. You can clearly see the layers of color starting to develop. The whitish spots are actually gas bubbles, possibly CO2 or H2 produced from fermentation. That CO2 will serve as a carbon source for autotrophs, and the H2 will serve as an energy source for hydrogenotrophs. Some black specs are showing up in the modified mud. Black is due to microbial production of hydrogen sulfide (H2S), which reacts with iron in the mud producing pyrite, which is black.
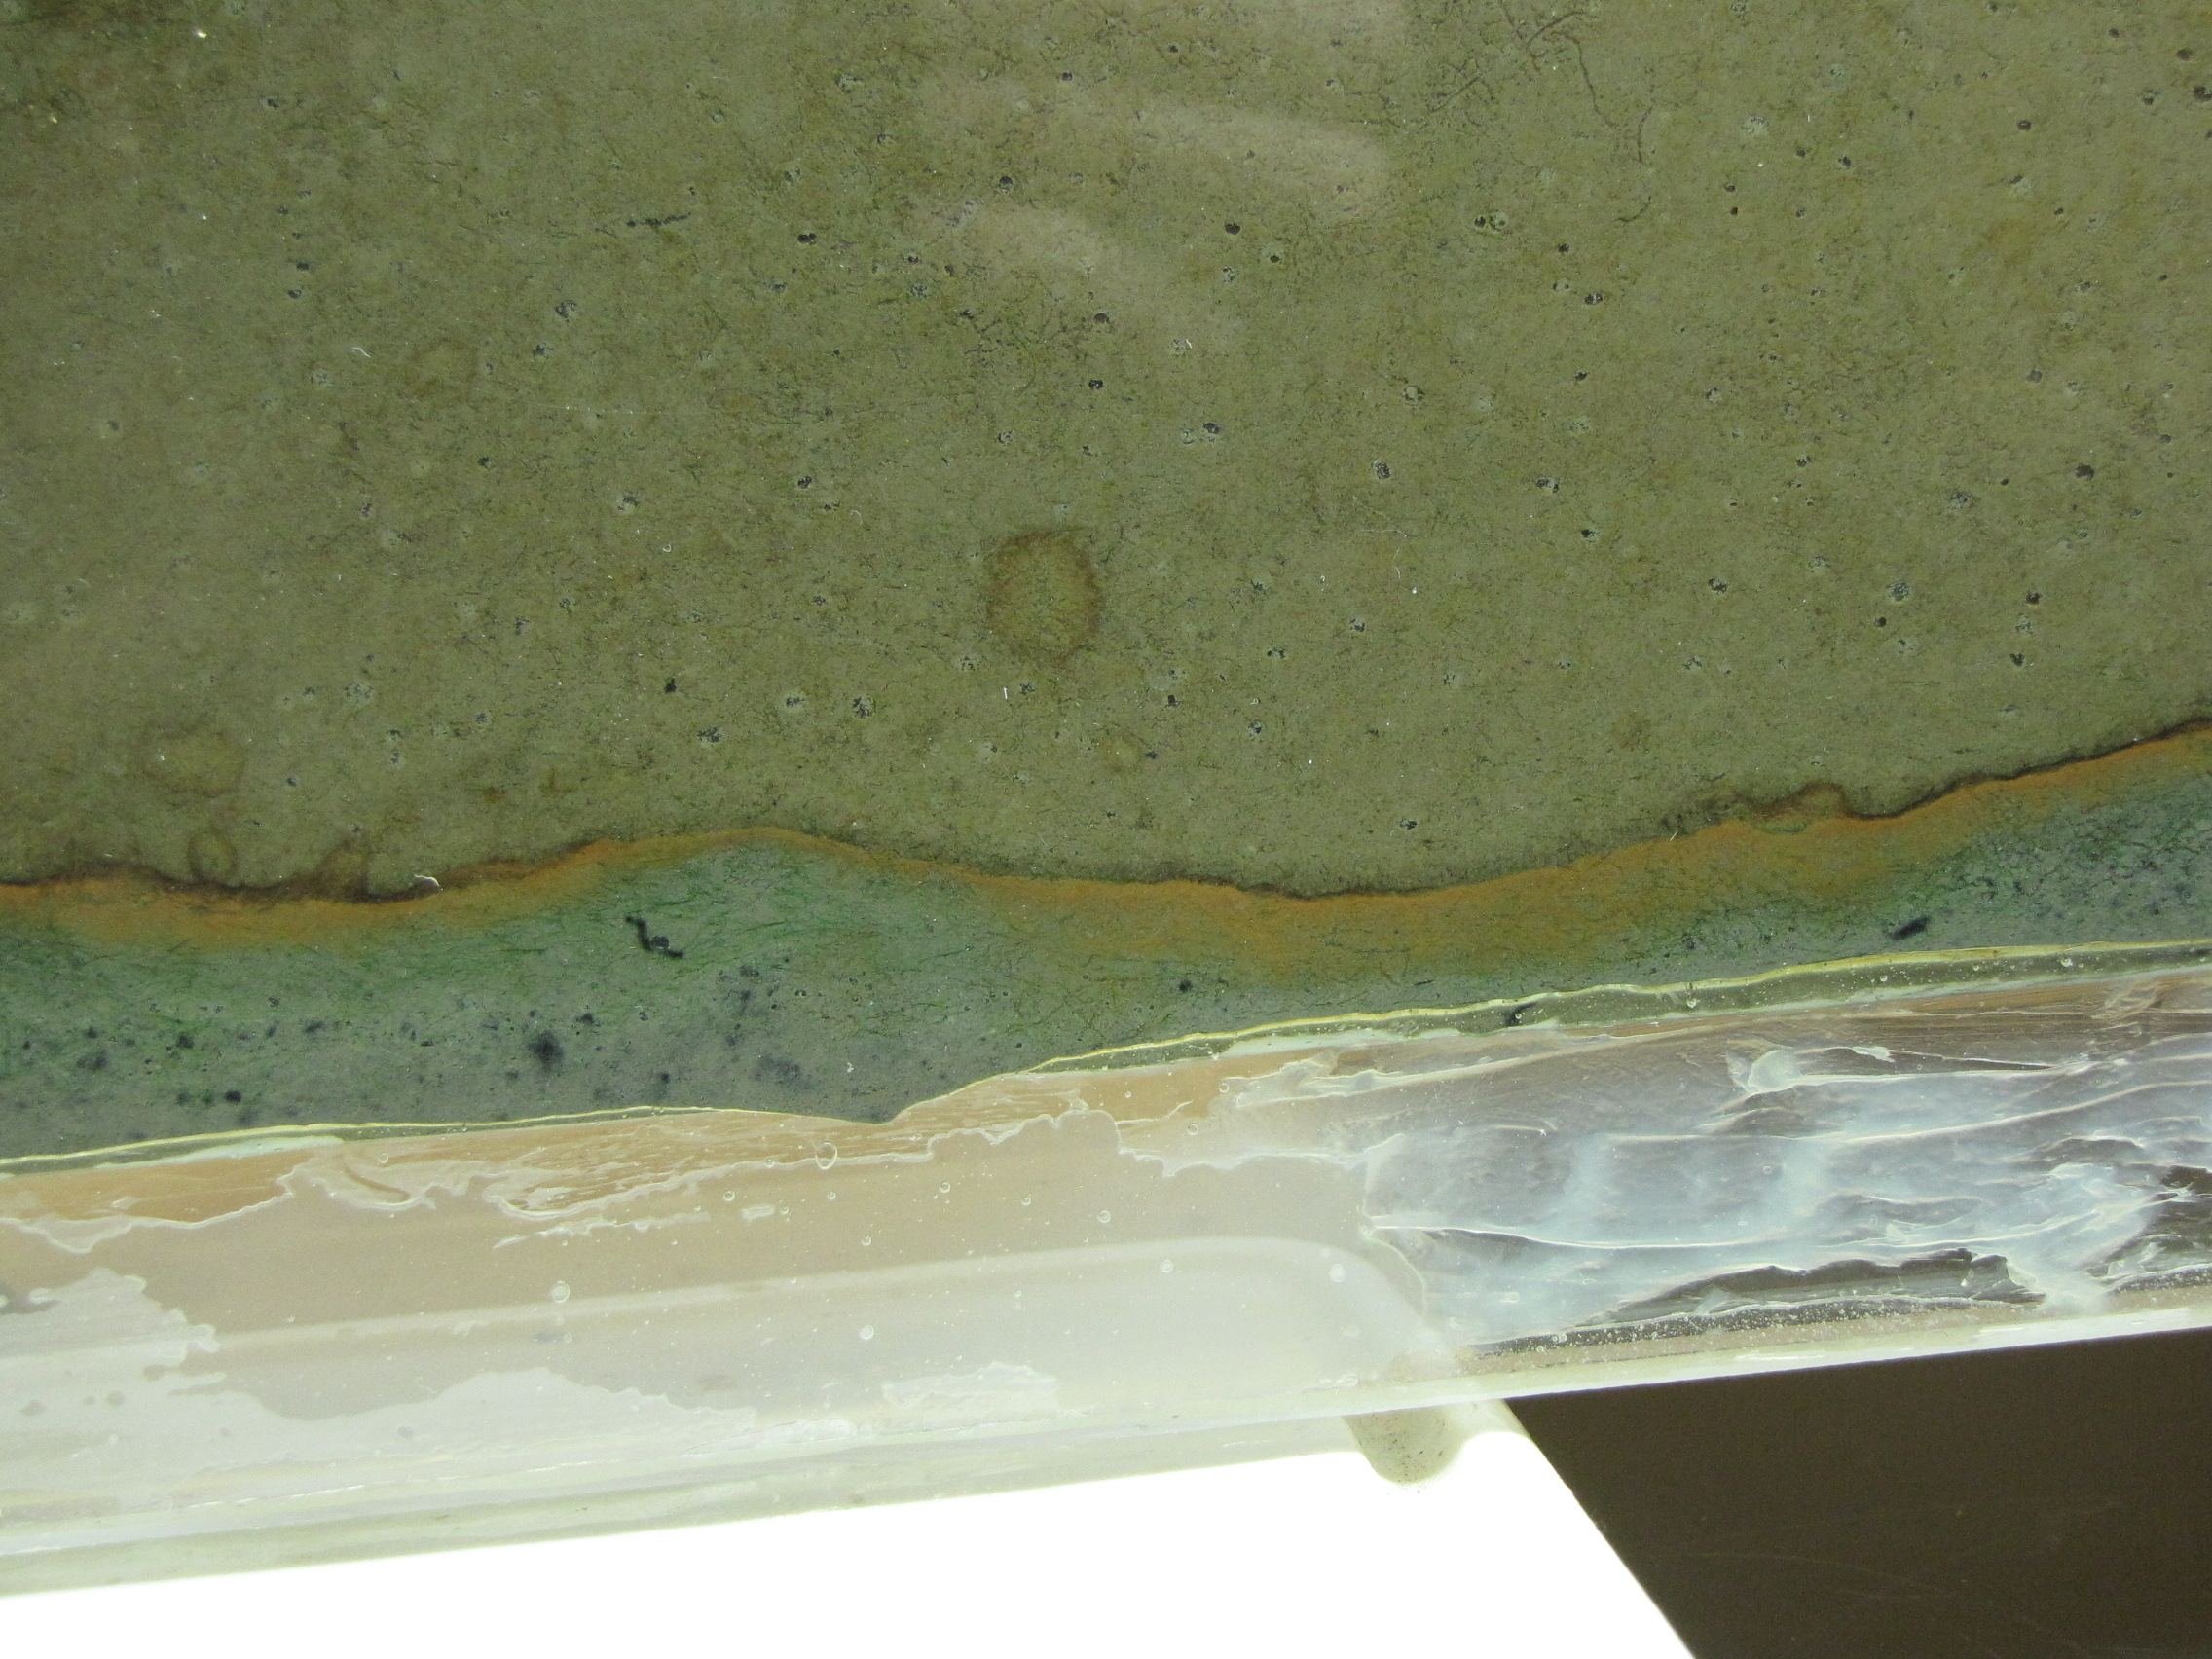
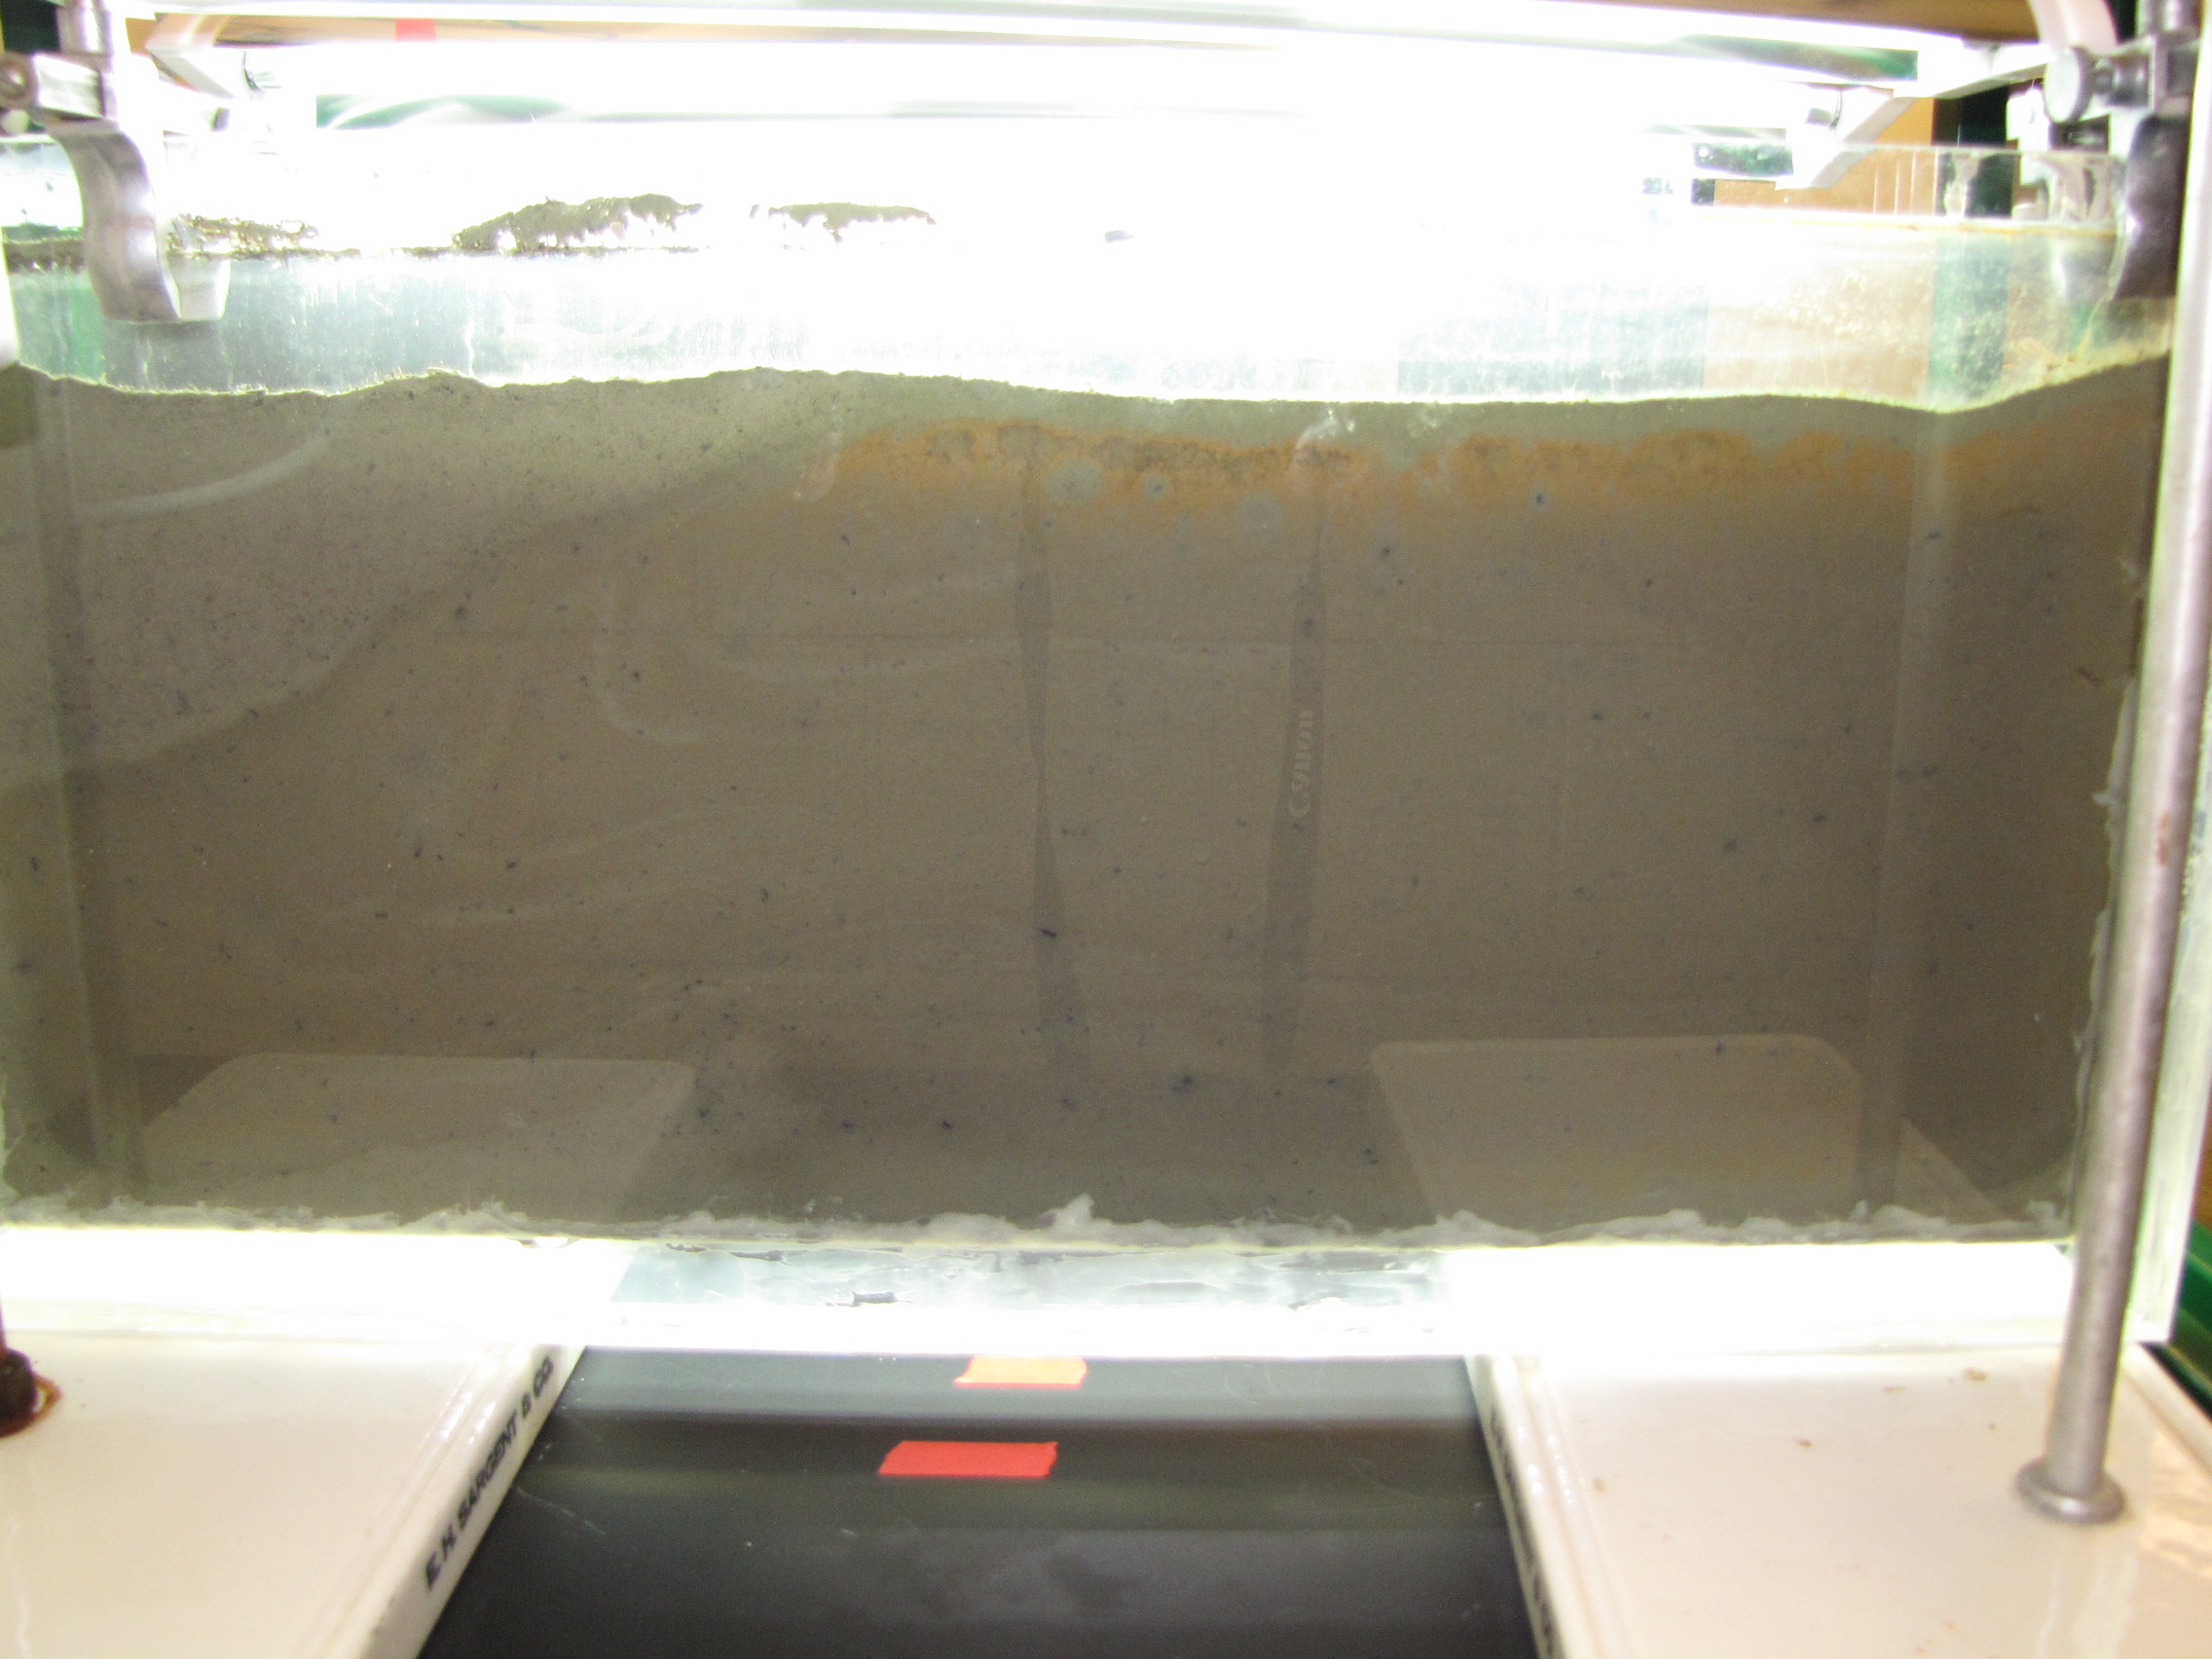 The back side of the panel. This side does not get direct light from the grow lamps. Some gets through on top and you can see the orange colored bacteria at the top. Note that the interface between the muds is less distinct here, showing that the colors on the illuminated side really are phototrophs.
