Roger Rothenberg
holograms
Using the LitiHolo Holography Kit (http://www.litiholo.com/hologram_kits.htm), I created transmission holograms and attempted to create a reflection hologram.
Transmission Hologram Procedure:
In the dark room, I assembled the LitiHolo kit as instructed (see image 1), with the object to be rendered in the delineated box on the black plastic base (with rubber foundation to reduce vibration). I turned on the laser, turned off all other light in the darkroom (save for a blue darkroom LED [the LED’s blue wavelength, while illuminating the room enough for me to get around, did not affect the hologram, which was produced by red light]), and used white paper to ensure that the laser spread to the whole surface of the spot I would place the photosensitive glass. I used a black cardboard “shutter” to block the laser’s path to the object so that I could position the photo glass without exposure. After waiting one minute for the setup to settle (LitiHolo instructions recommend three minutes for a clearer hologram), I removed the shutter. After waiting approximately five minutes (as recommended by LitiHolo), I removed the object and made sure the hologram had been recorded. At this point it was safe to turn the light back on, as the hologram was finished and would not be exposed further. See image 3 for an example transmission hologram.
Reflection Hologram Procedure:
There were no instructions on creating a reflection hologram from the LitiHolo kit, but I attempted to create my own setup (see image 2) based on more detailed procedures for reflection holograms. Other sets of instructions recommended a greater distance between laser and recording glass, so I increased the spacing between the laser mount and object base provided by LitiHolo. I rotated the base so that the slot for the photo glass was between laser and object. From this point, I proceeded as I did with the transmission hologram. After getting some unremarkable results, I tried again, this time with an additional non-photo glass placed behind the object, with the rationale that this might increase the amount of light scattered from the object onto the photo glass. This did produce a more visible reflection hologram.
Though the above procedures did result in visible holograms, several factors might have improved their quality:
- Decreasing ambient vibrations would have made for a sharper, more precise holographic image. While this might be difficult in the school’s darkroom, some kind of shock-absorbing foundation beneath the setup (such as sand) might help
- Further fine-tuning of the laser’s path of illumination would have made for more centered holograms. Many of those I created had blank space below or around the hologram, indicating unused parts of the photo glass
- Additional mirrors may have allowed for a more controlled setup of the direction of the interfering beams. LitiHolo did not provide additional mirrors
- A more powerful laser might have allowed for a decreased exposure time, which in turn would create a shorter window for vibrations to disrupt the image
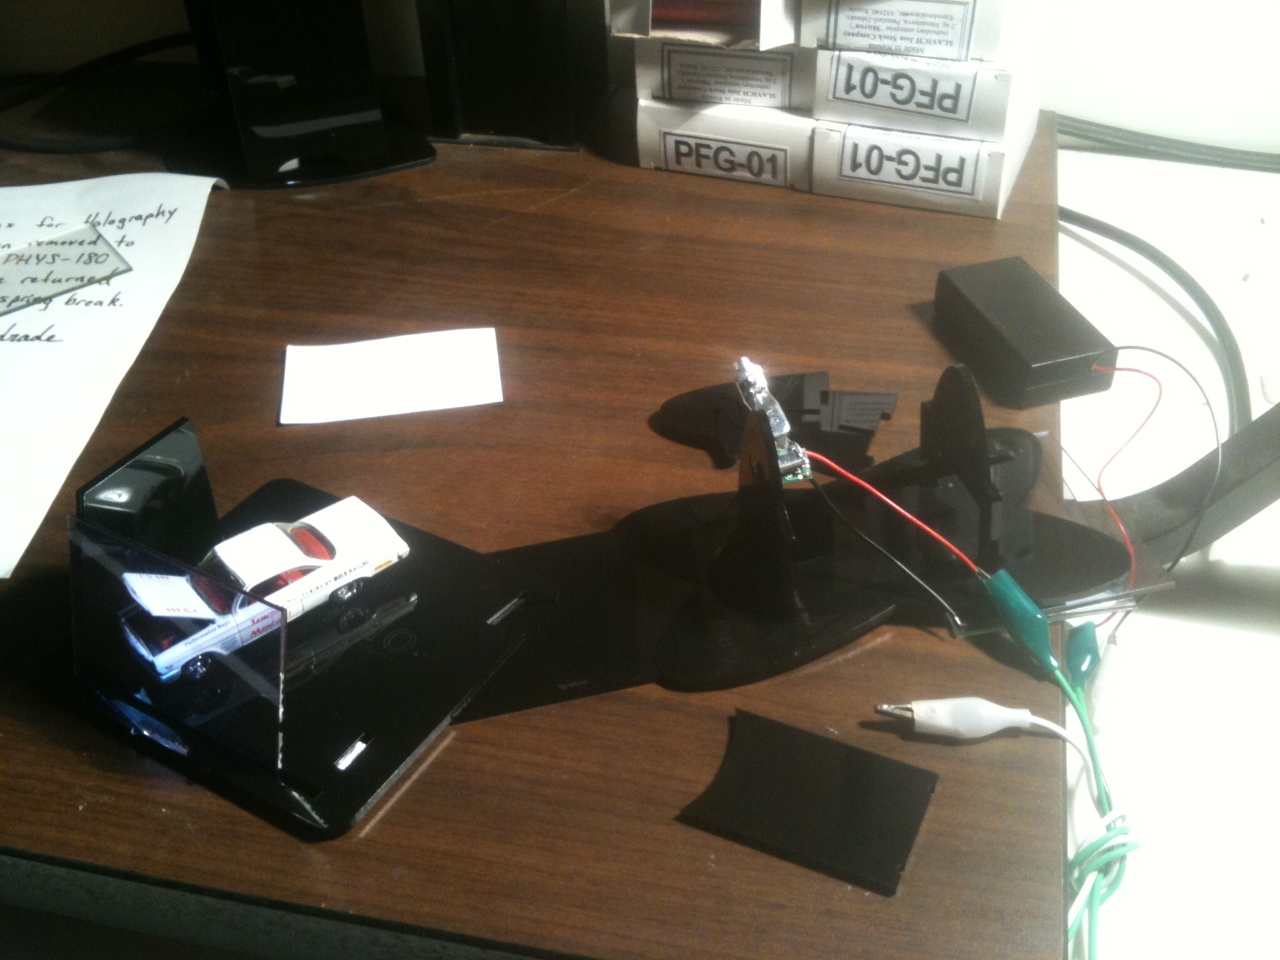
Image 1: Transmission Hologram Setup
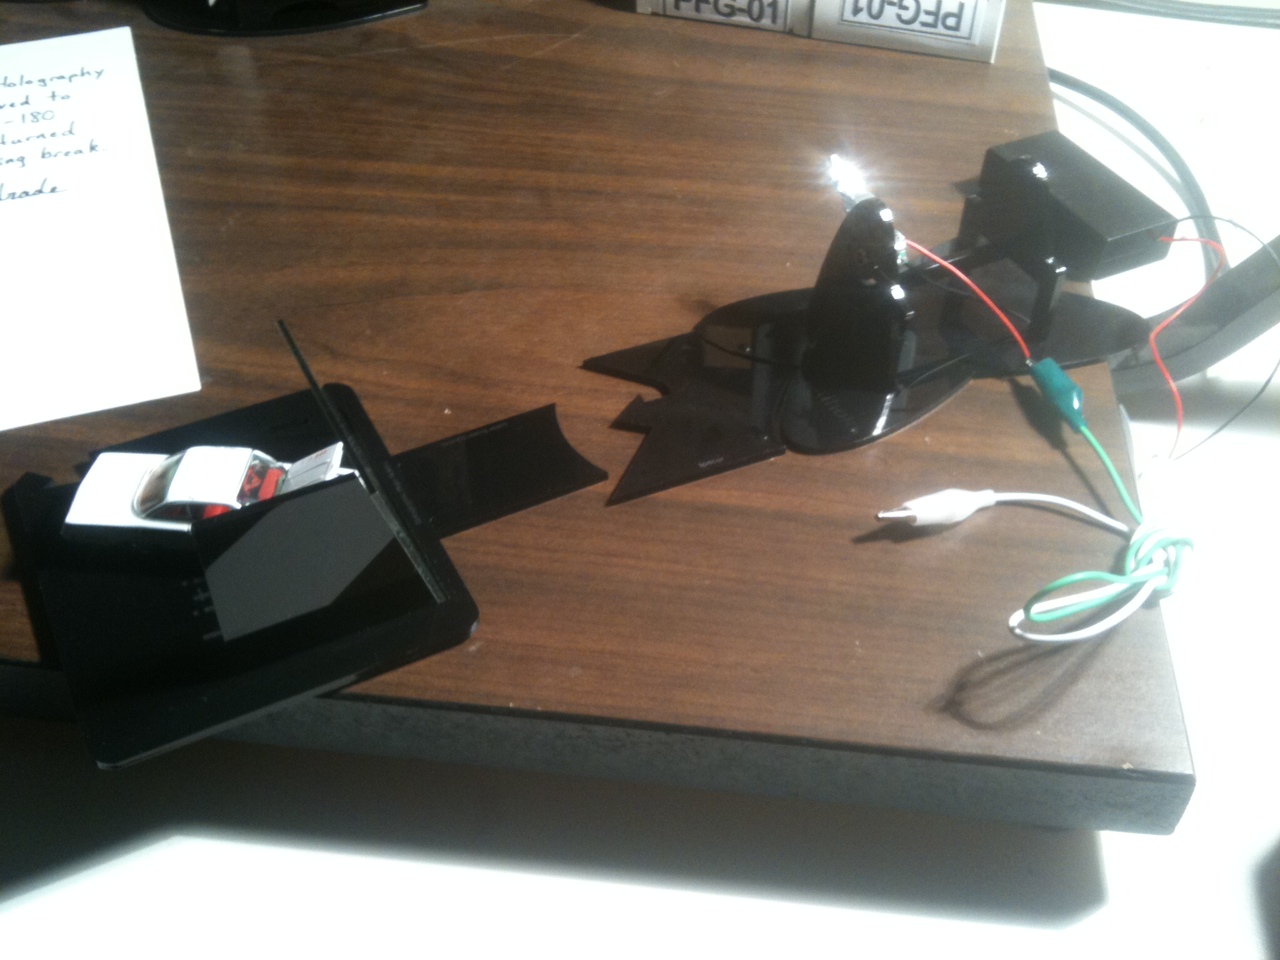
Image 2: Reflection Hologram Setup
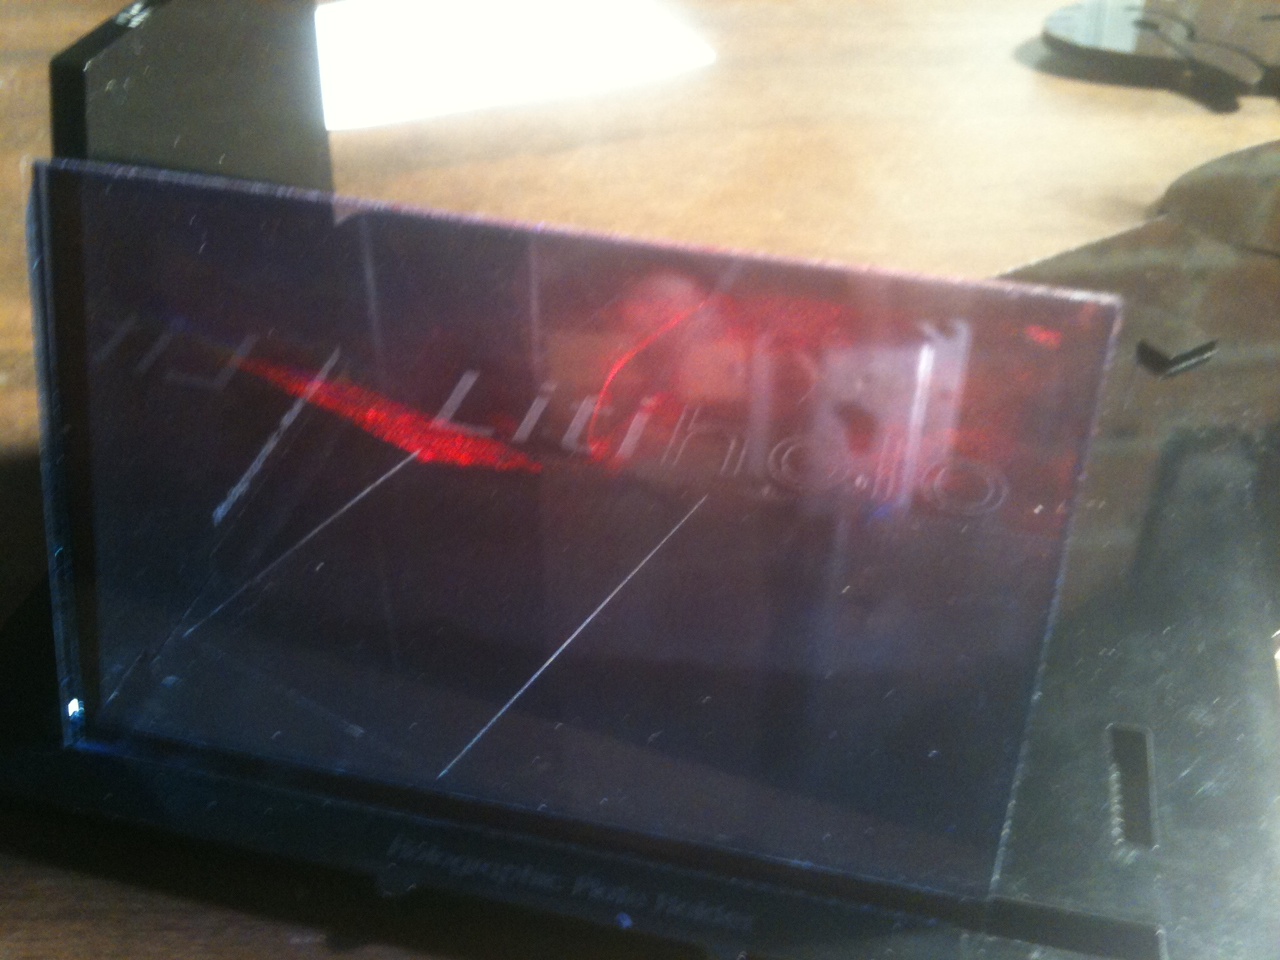
Image 3: Example Transmission Hologram of Car Figurine With Hood Open
This was a very impressive solo project. I liked how you tried two different kinds of holography, with many different trials. I was just wondering what you would change, or what further experiments you would like to try if you continued this project?
I like how you tried to make the reflection hologram on your own, without following prescribed instructions for the kit, and your resourcefulness at getting it to work more effectively after it failed the first time. I am also impressed with your understanding of what would increase hologram quality. Do you know why it is required to view it from a certain angle to correctly view the hologram? Good job. – Alex Campbell
It was interesting to learn about some of the basic mechanisms involved in the rendition of a, respectively, reflection and and transmission hologram. Given the do-it-yourself nature of the holography kit, I think that you did a pretty good job of rendering the images and even modifying the setup in order to render a reflection hologram, despite the lack of instructions available. Furthermore, your detailing of some of the limitations and difficulties in the rendering of your holograms was also a constructive addition. After having been exposed to some of the science behind holography, I proceeded to look up some more information and found some pretty cool videos and articles discussing the integration of sonic waves into the holographic experience that allowed for the ability to physically interact with the holograms. I’m much more invested in the development of the technology after this and will continue to follow any future developments in the field. Your information and presentation served as a helpful and fun introduction to the field of holography.