The finishing suite in Room 207 features a voiceover booth that is preconfigured for use with our Avid Pro Tools workstation.
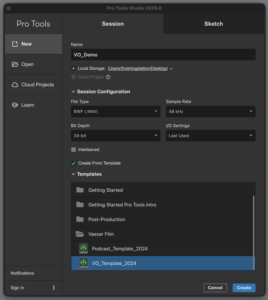
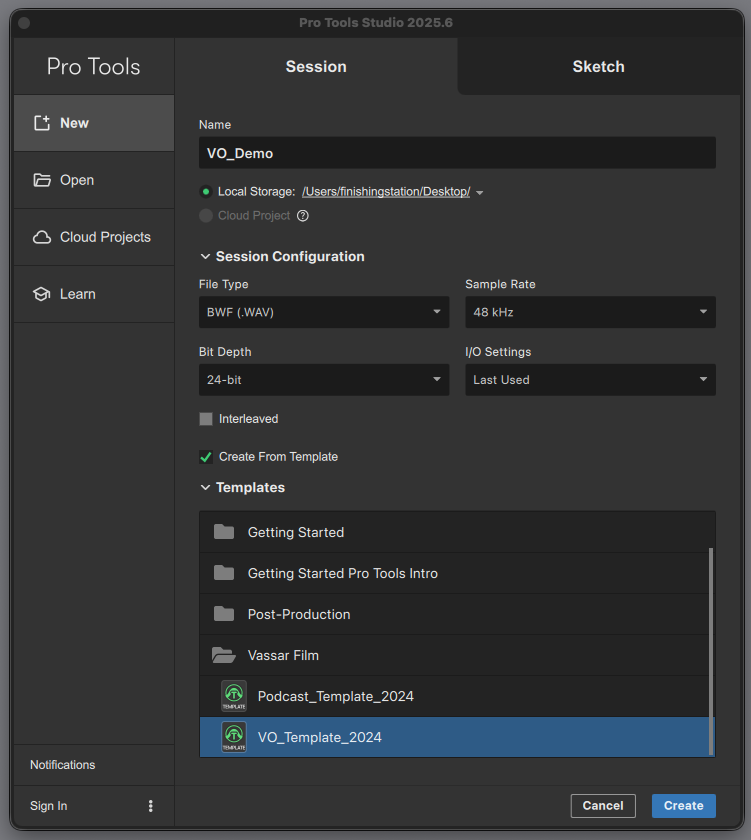
- Open Pro Tools. It will prompt you to create or open a project. Select the VO_Template and name your project. Be sure that “Sample Rate” is 48kHz and the “Bit Depth” is 24-Bit. Finally, chose a location for the project. ProTools automatically creates its own folder structure. so all you have to do is chose where you want to save it.
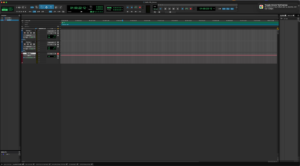
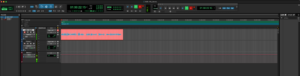
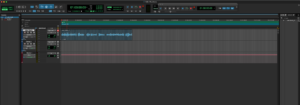
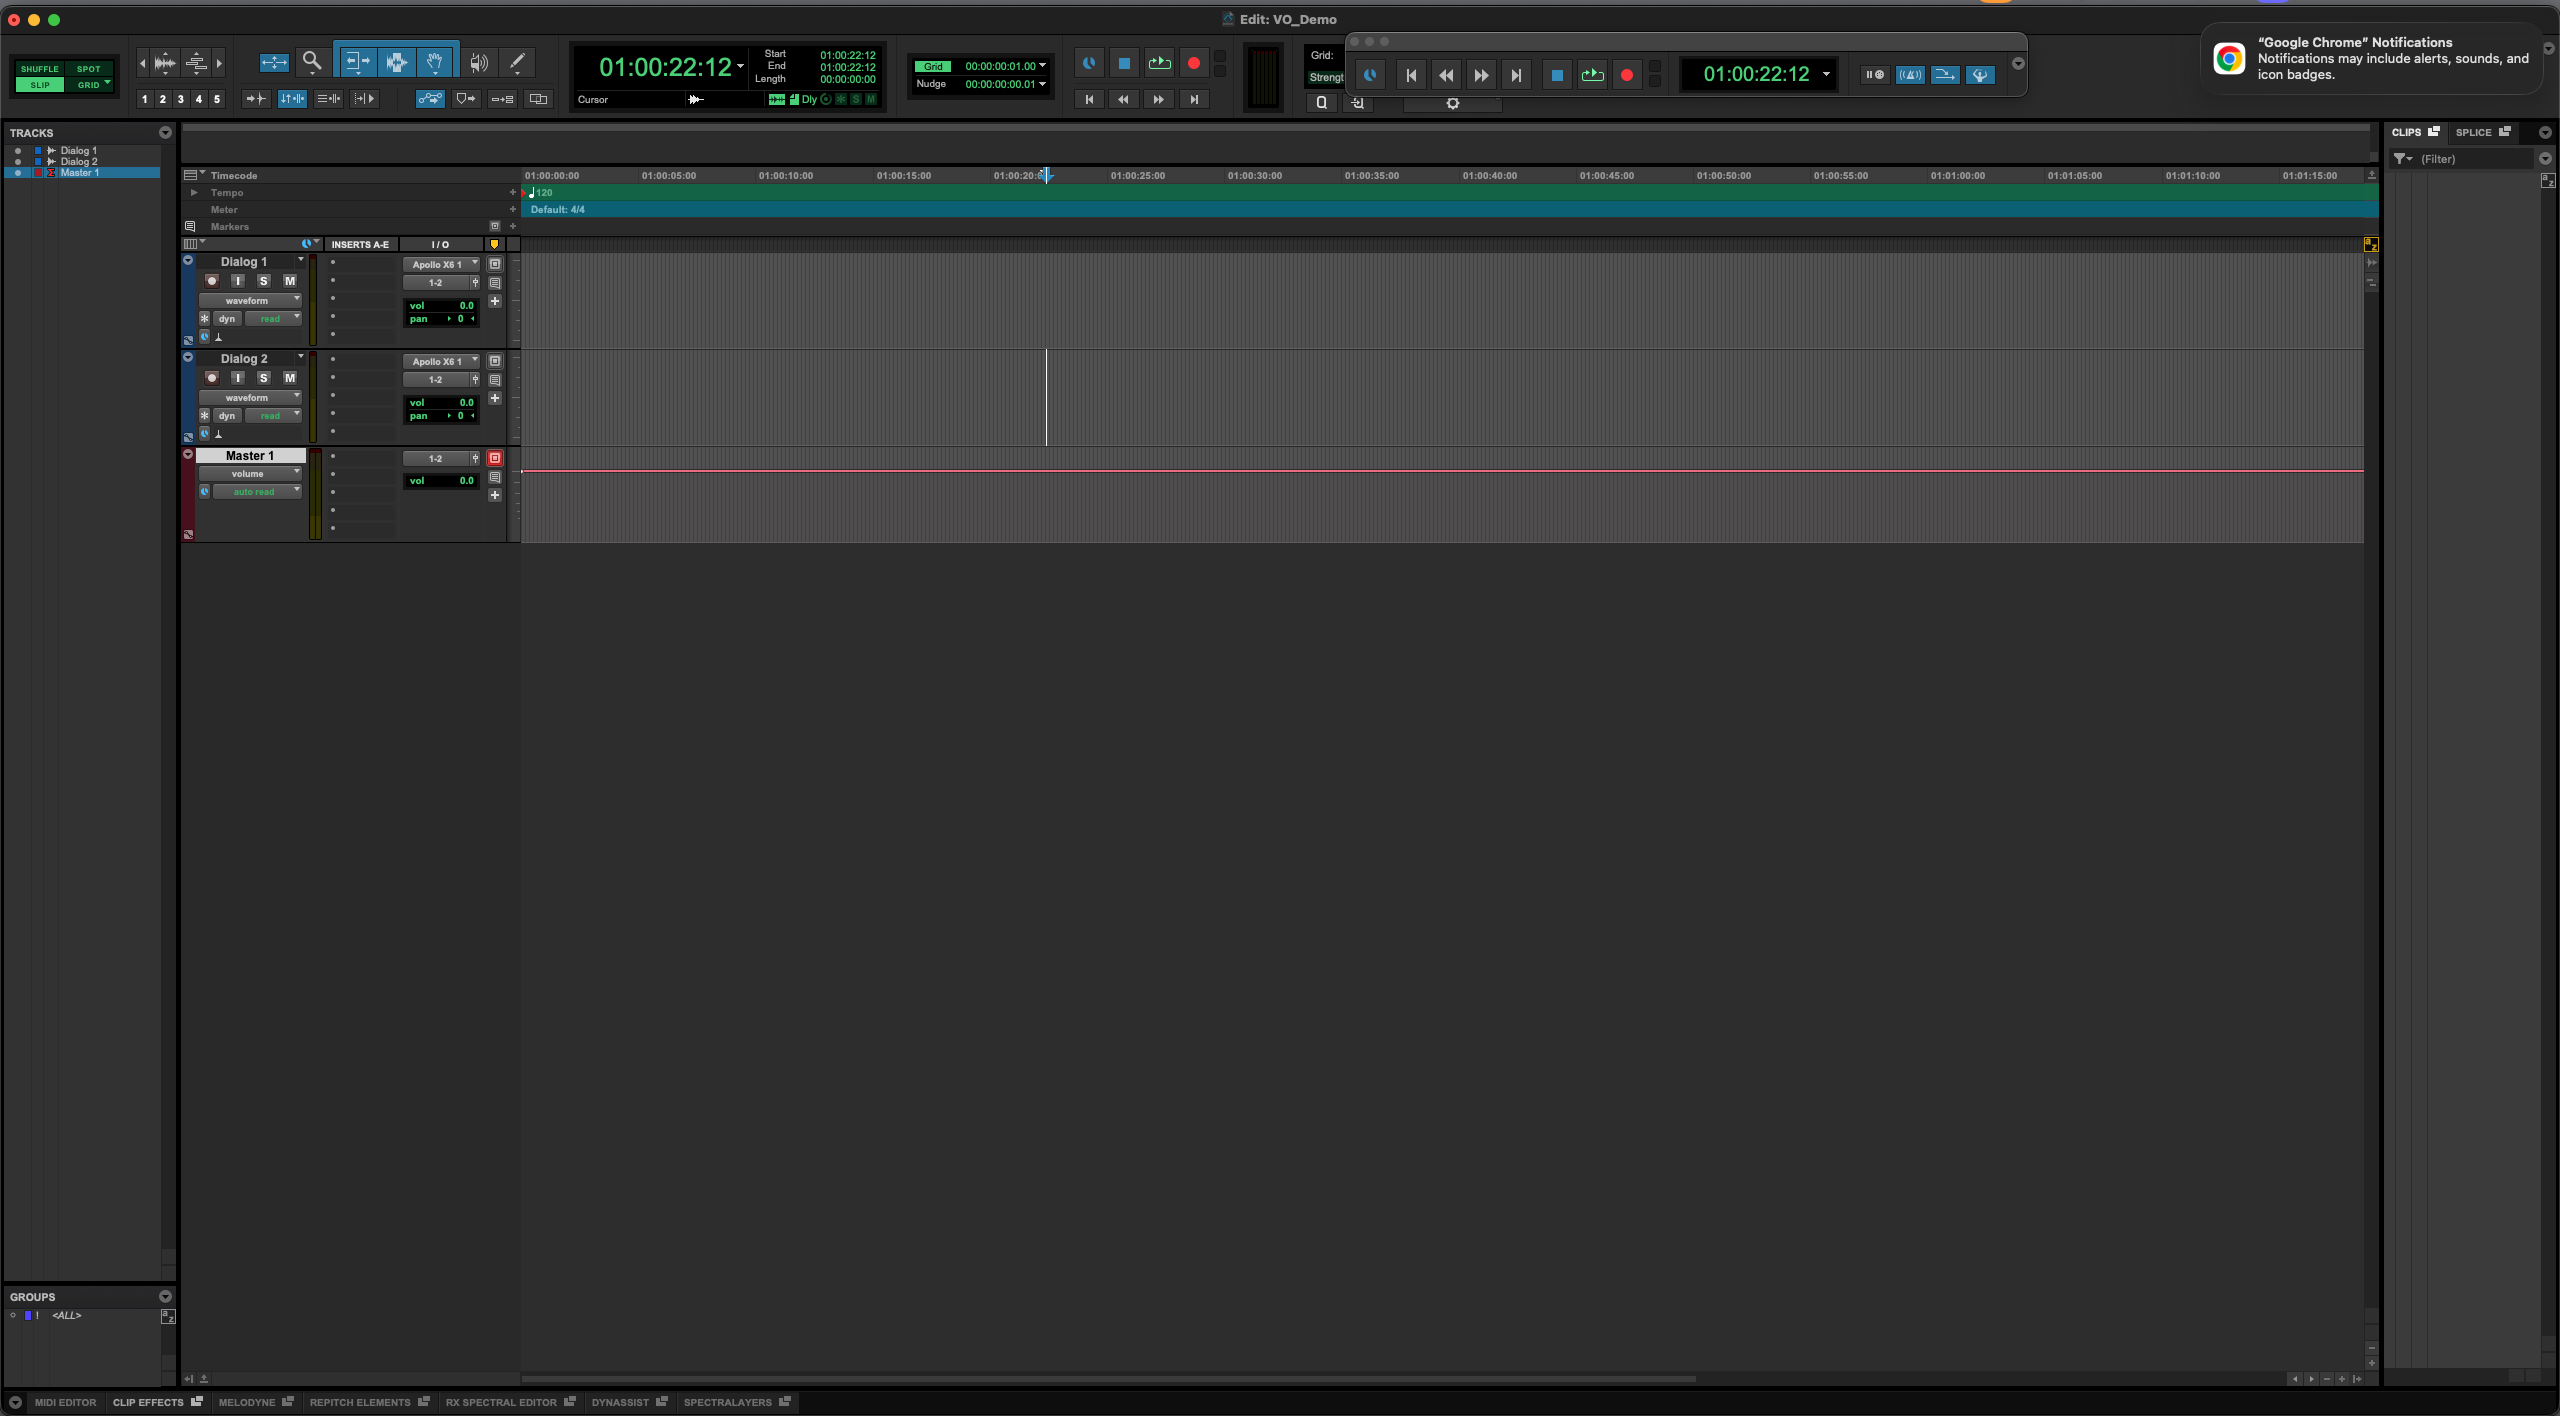
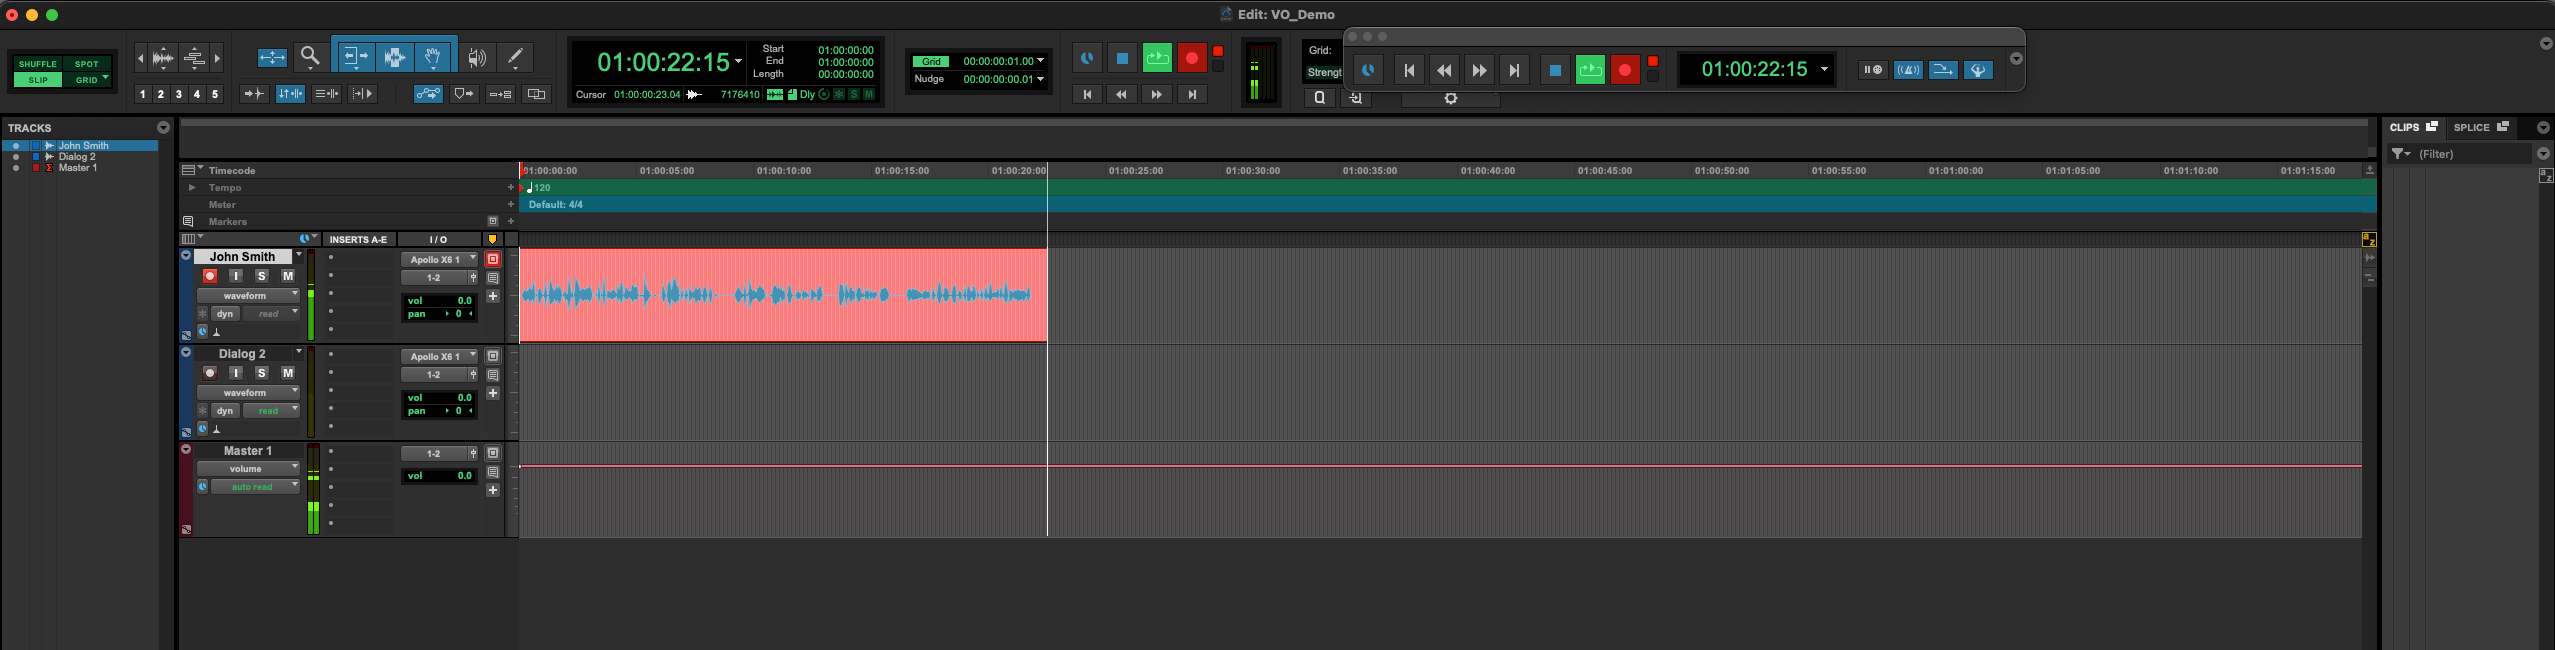
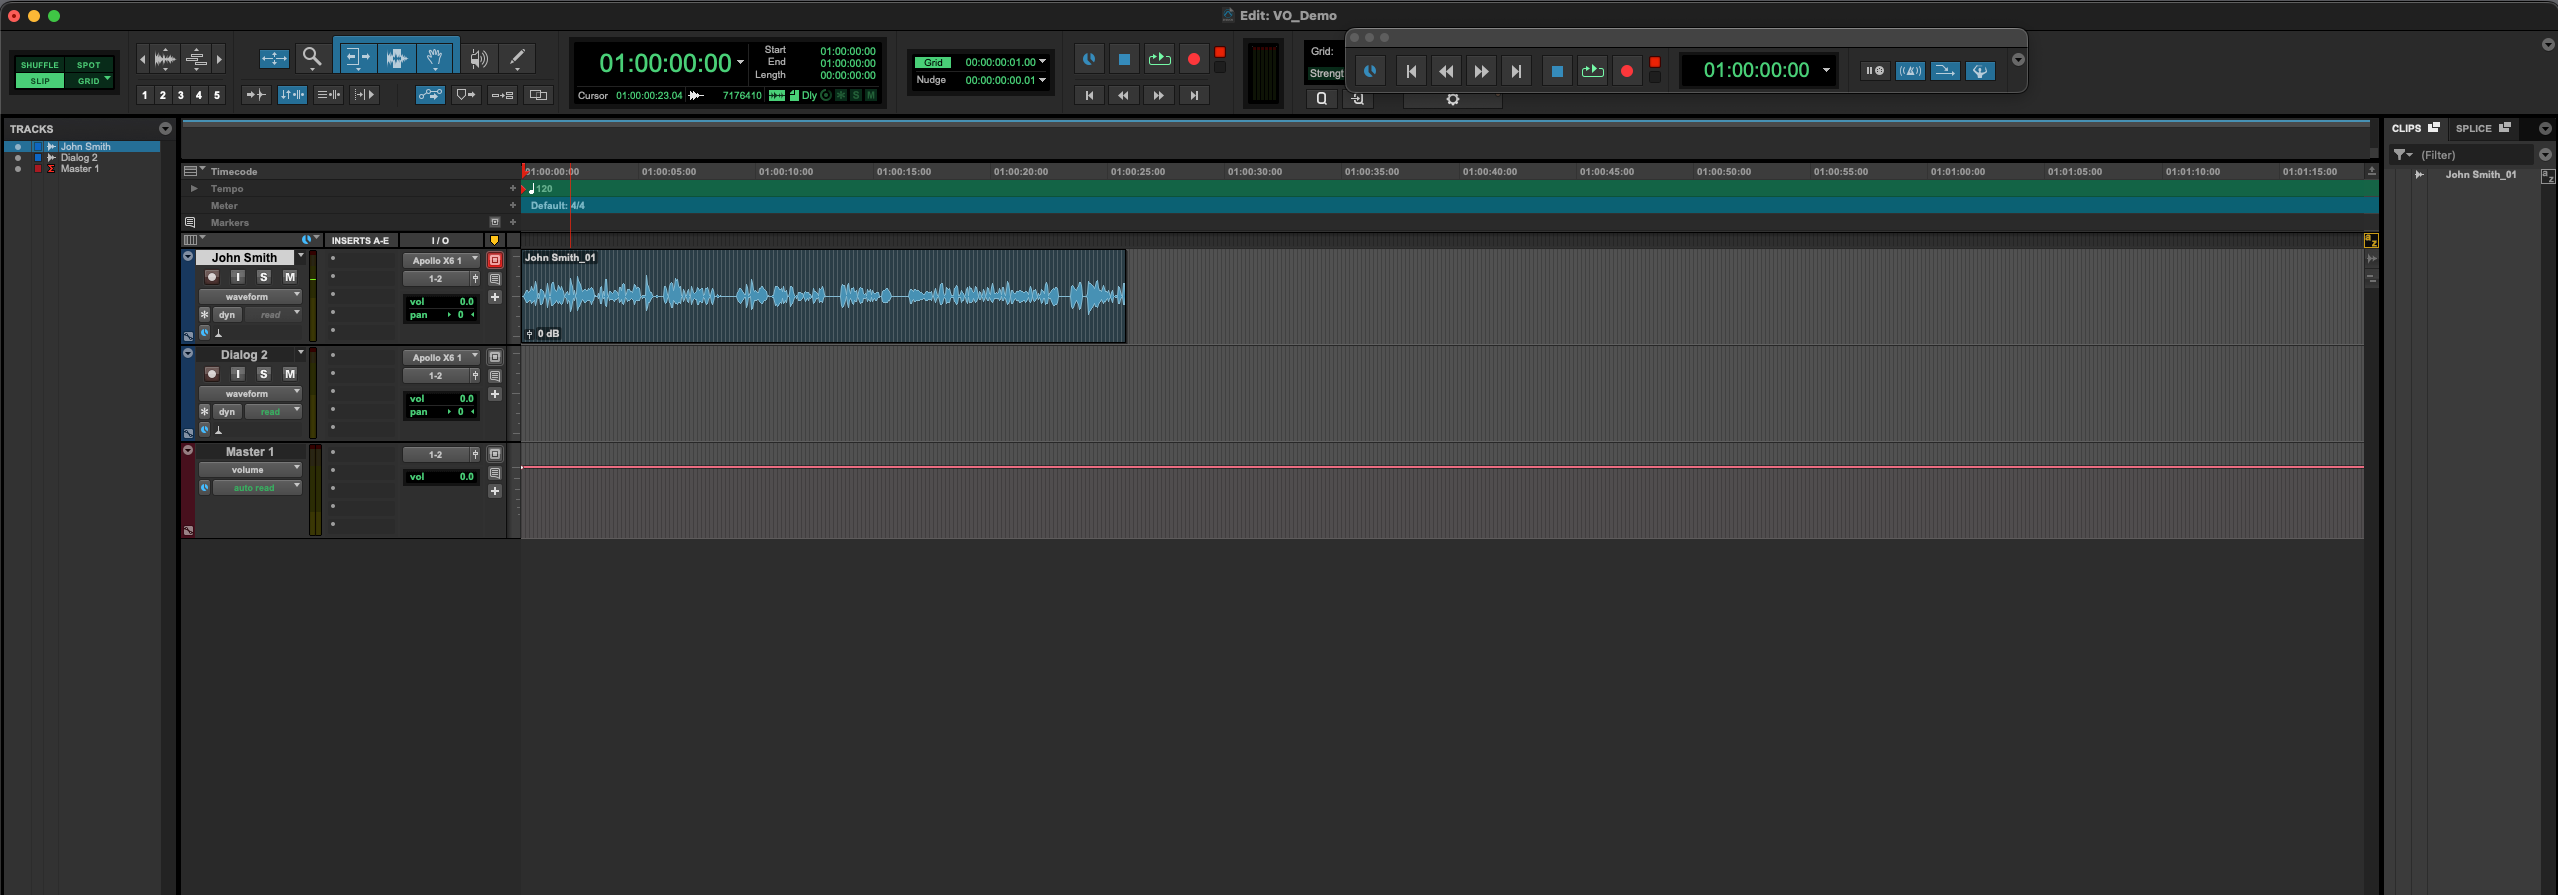
- Pro Tools will open up to the “Edit Window”. This is where recording is done. The template session comes with two audio tracks and a master fader track.
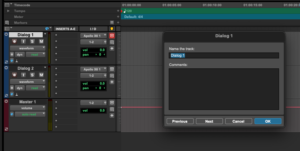
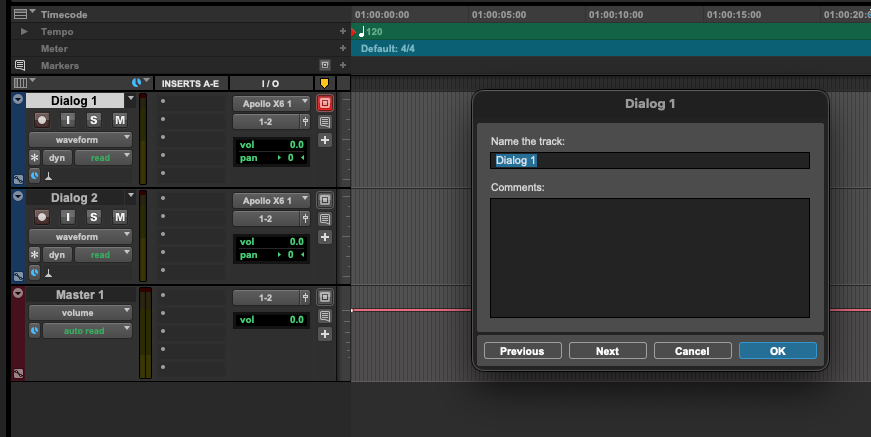
- The first thing to do after opening a session is to name your tracks. Double-click on any track name to change it.
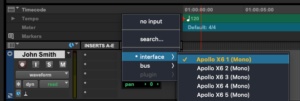
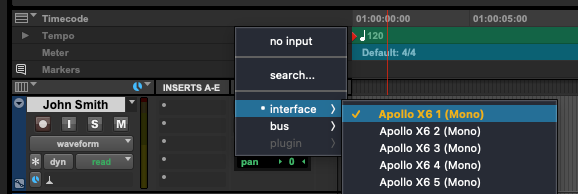
- Next, set the track input. In the “I/O” section, click on the input labelled “Instrument” and chose “VO Booth”
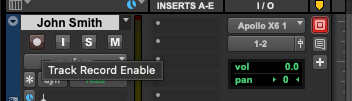
- Now we can “Record Enable” the track. Protools will only record tracks that are record enabled.

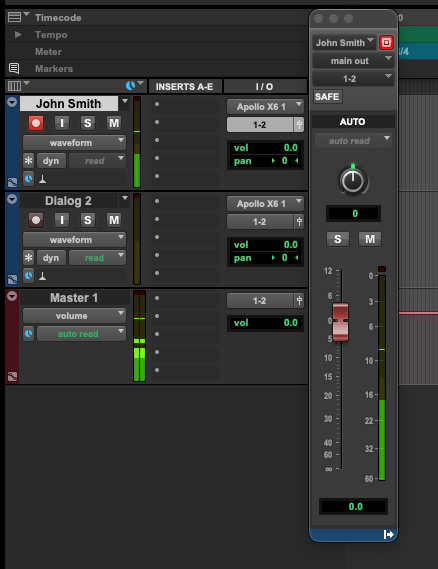
- To the right of the output channel labelled “1-2” there is a small fader icon, click this to open up the track fader and see a larger meter that is easier to read for setting levels.
- It’s time to record. Press Command + Space Bar to start recording.
- To stop recording press the “Space Bar” a second time.
To learn how to bounce (export) your recorded files from Pro Tools, click here.
For more help, check out our Pro Tools Voice Over Setup video on YouTube