1. Use Our Template Project
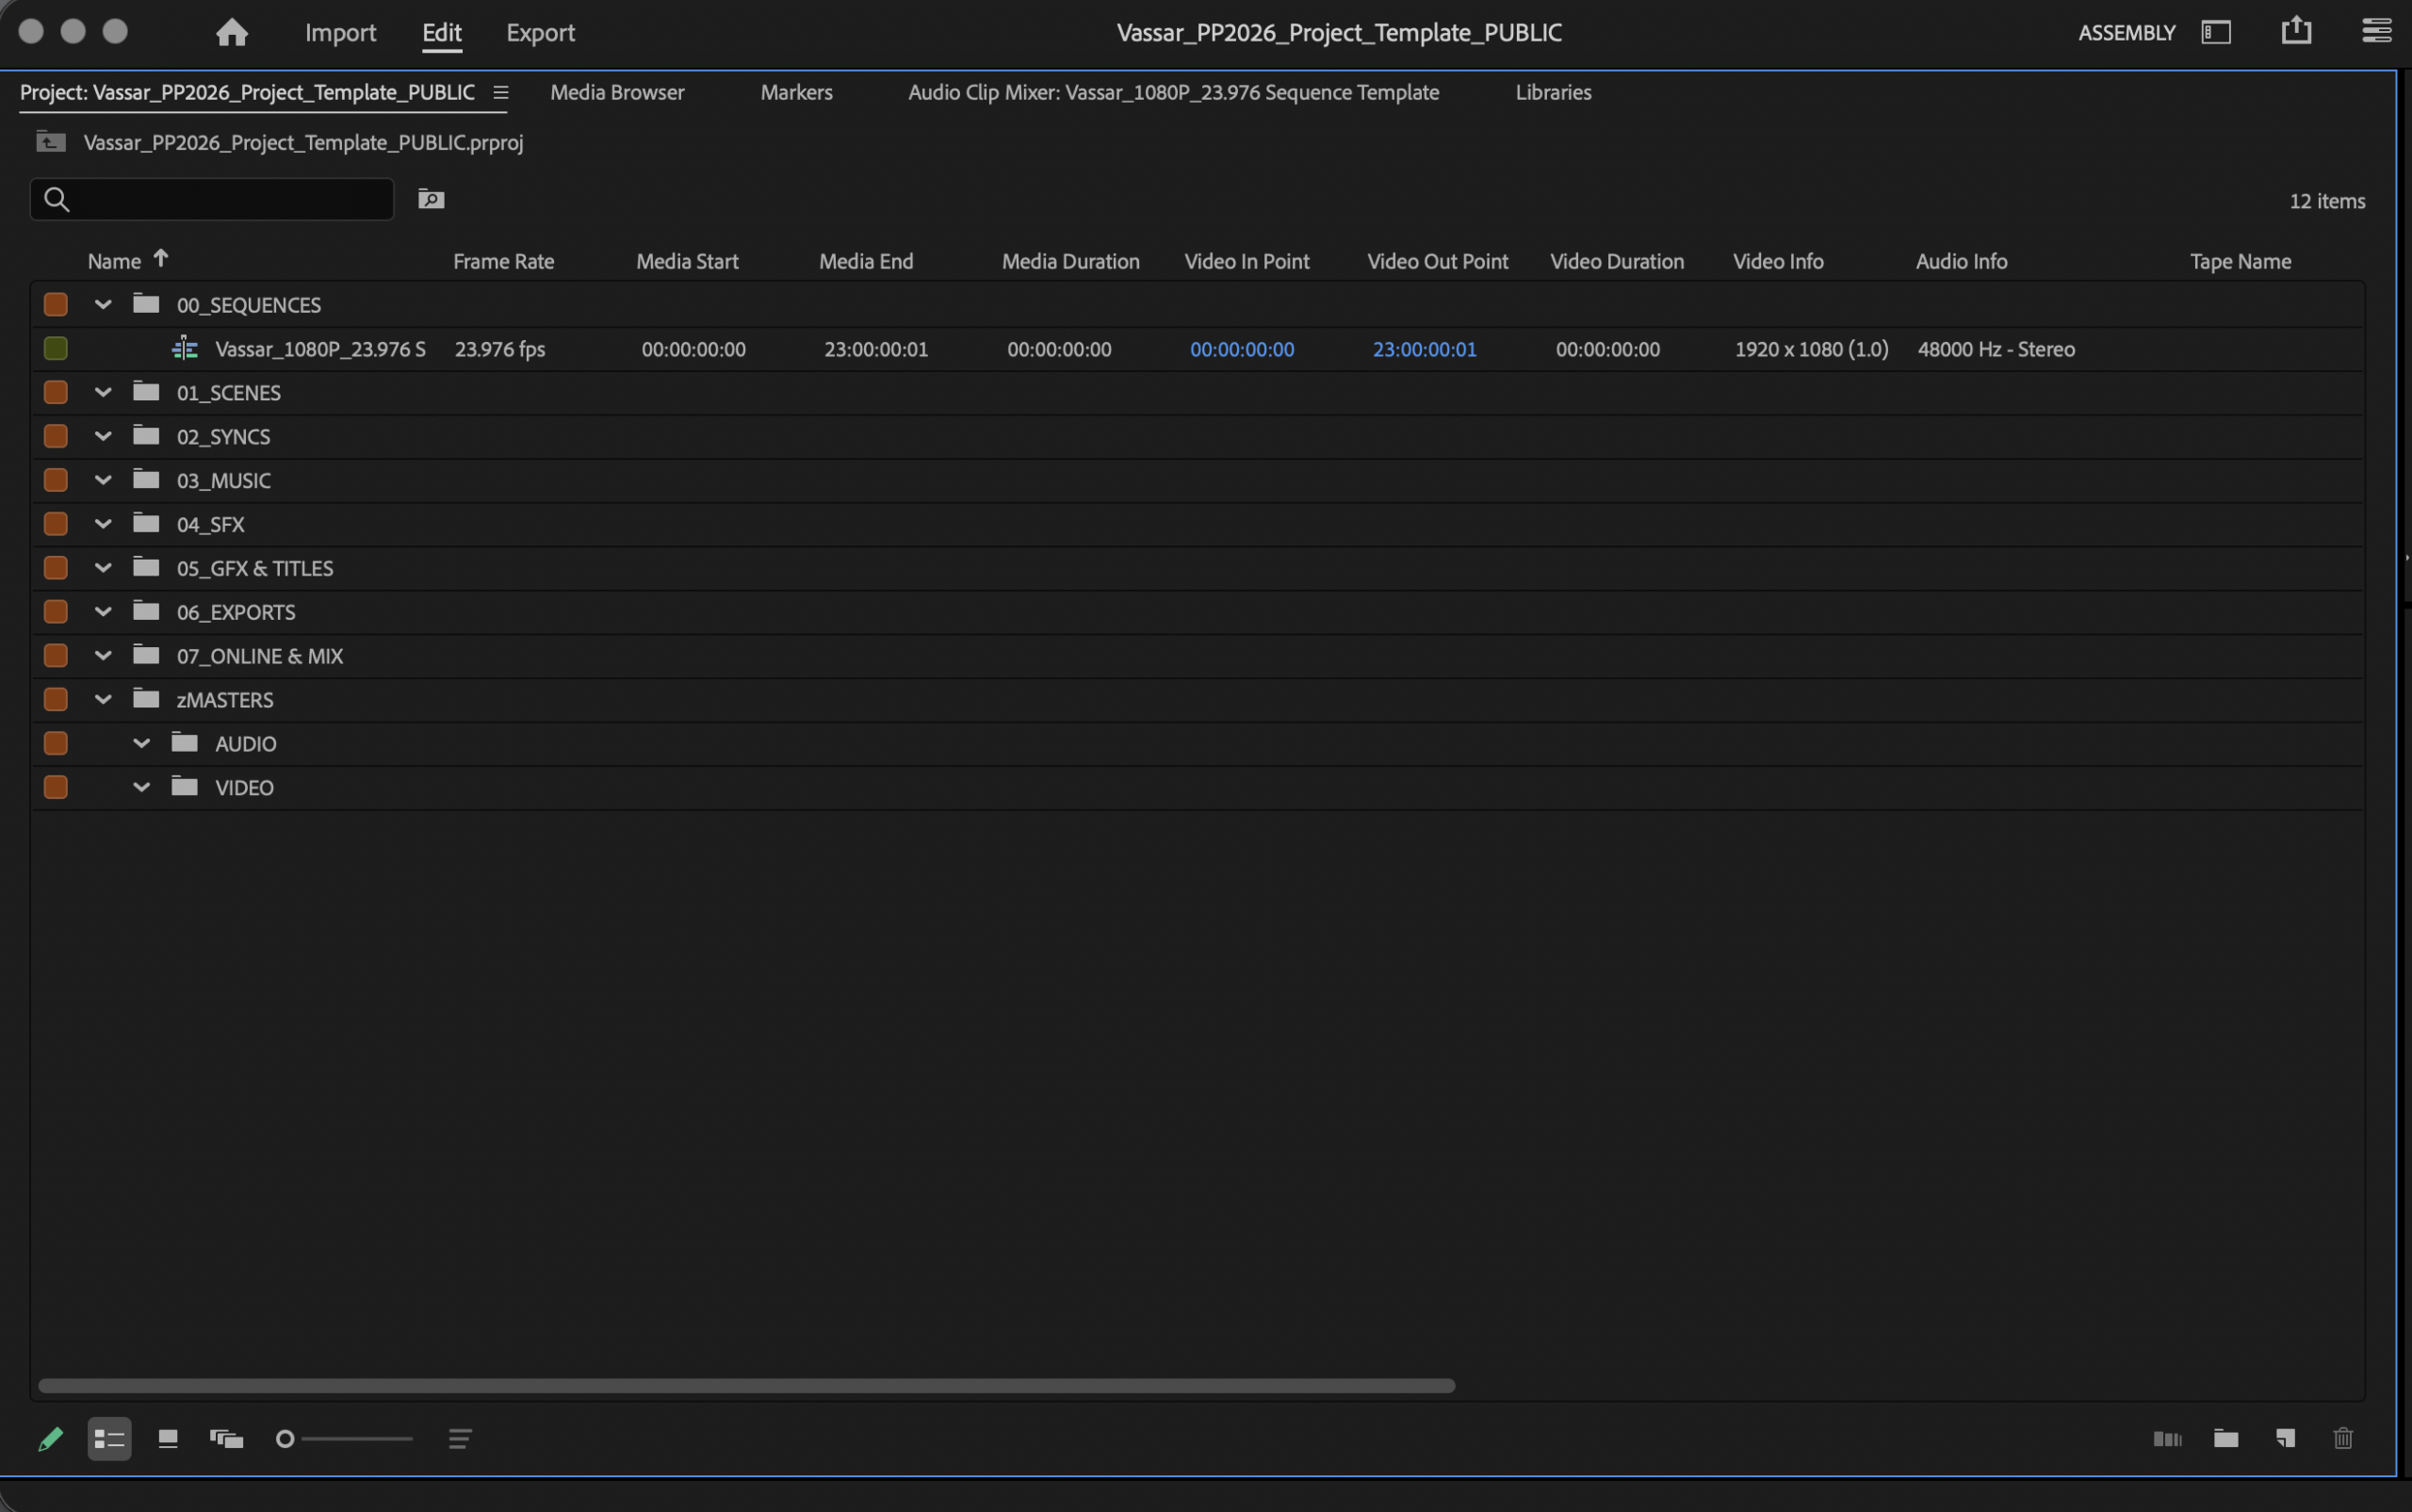
Want to get organized without spending a lot of time creating bins, moving clips, and setting sequence preferences? Just start your project by downloading our Premiere Pro Template project here. We’ve already created an organized bin structure with bins for syncs, scenes, master clips, named track layers, and a sequence optimized for working in the 23.976 frame rate.
2. Make Use of Bins
Is your Premiere Pro Project Manager is simply a giant collection of clips, sequences, and sound effects? Is it always a challenge to find the clip you really need? Use bins to sort them into separate separate folders to keep track of all your files. It’s really easy to do this in Premiere Pro.
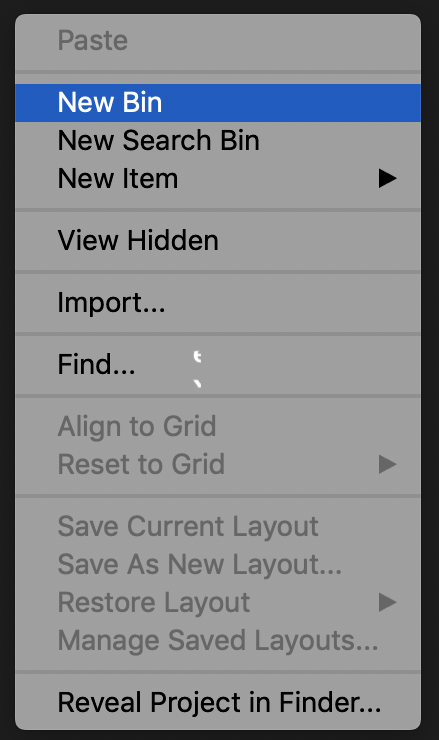
To create a new bin, right-click in the Project Manager and select New Bin (or click the New Bin icon in the lower right corner of the Project Manager)
Next, label it descriptively so you know what’s inside. “Sequences,” “Scenes,” “SFX,” “Music,” all work great. You can take it one step further and use numbering ahead of the bin name to keep all your projects looking sharp and staying in a sorted order. See our template project for a good example.
3. Use Colors for Identification and Organization
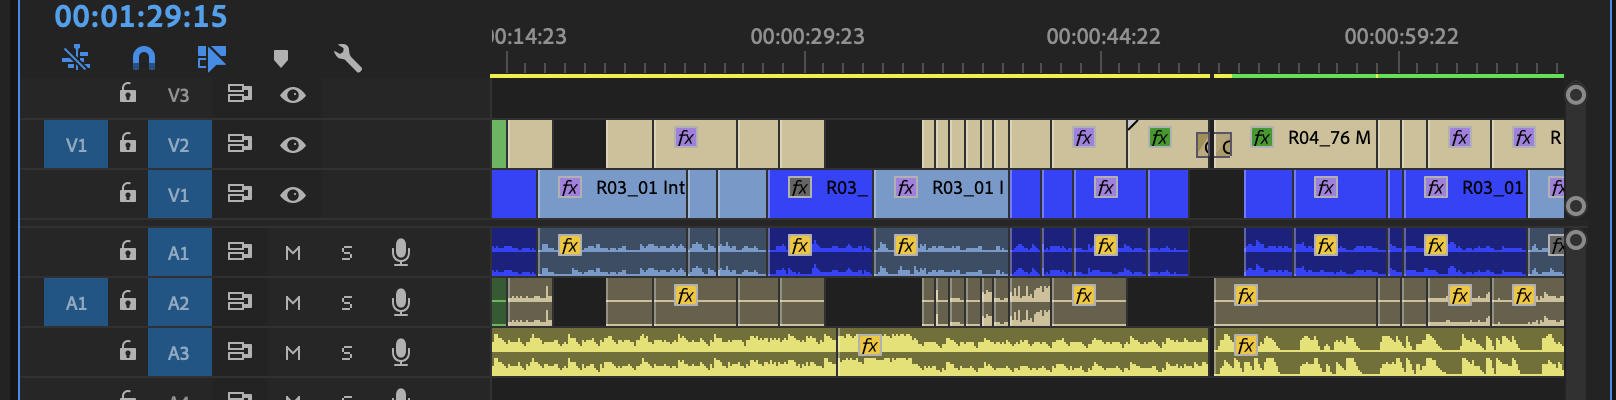
Use color coding to add a quick and intuitive layer of info to your project. No need to hunt down the “Good Take” column of metadata if all your good takes are marked in green.
Right-click on any clip (or on a highlighted selection of clips) go to Label, and select a color.
Once you’ve chosen your colors, go to File > Project Settings > General, and select the check box at the bottom for “Display the project item name and label color for all instances.”
Since this change is global, everything in your project manager, bins, and timeline will now take on the assigned label color.
Are the stock colors too bland for your palette? You can manually choose custom colors under Premiere Pro > Preferences > Labels.
4. Versioning Sequences & Projects
Ever find yourself at the end of a very complex edit that just didn’t work out? What seemed like a great idea three hours ago now clearly isn’t working on your timeline? Stuck because you just wiped out a perfectly good edit in the process? Protect your edits by versioning your sequence! What do we mean by versioning? It’s simple. Right-click on the sequence you’d like to version and select “Duplicate”. Now, rename the new sequence and open it in the timeline. If you spend hours honing it and it doesn’t work out, you can always go back to the original sequence. Versioning sequences is also a great way to prep scenes, keep a record of exports, and log your footage.
You can take versioning one step further and use it to protect your entire Premiere Pro project as well. We highly recommend you duplicate and relabel your project with a dated name (“200205_ProjectName”, for example) each time you begin working. This way, if your project gets corrupted (or accidentally upgraded to a new version of Premiere) you can always revert to your latest versioned copy. Better to lose a day of work than everything!

5. Rename Your Tracks
By default, tracks on your timeline are all labeled “Video 1, 2, …” or “Audio 1, 2, …” but you can customize these labels. It’s a handy way to keep different kinds of timeline video and audio easy to decipher.
Select the track you want to rename.
You may need to adjust the height of the track layer to see the name. Right-click the name, select Rename, and change it. For example, you can split out audio into Dialogue, Ambience, SFX, and Music while video is organized by Video, Graphics, and Titles.