To be cool and different, Pro Tools calls exporting audio “Bouncing.” There are a couple different ways of bouncing, used for different kinds of exports, and we’ll cover them here.
Way #1: Track Bounce
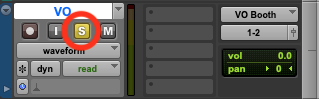
If you only need to bounce individual tracks, you’ll want to use “Track Bounce”. Be sure to solo each track you are bouncing by selecting the the “Solo” button underneath the track name. Also, be careful to un-solo the track after bouncing and before bouncing the next one
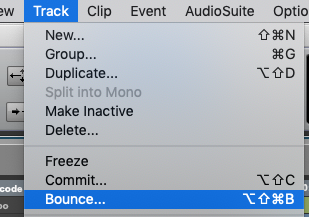
To “Track Bounce” navigate to Track > Bounce and select it or use the keyboard shortcut “opt + shift + cmd + B”.
In the Track Bounce dialog, you can configure output settings:
- “File Type” should be WAV,
- “Format” is Mono (Summed)
- “Bit Depth” and “Sample Rate” should match the project settings (usually 24 Bit & 48 kHz).
Select the “Offline” box for a faster export and be sure to name your file.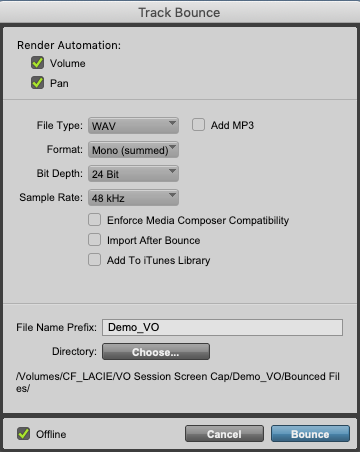
Way #2: Bounce to Disk
If you need to export a mixdown of several tracks, you’ll want to use “Bounce to Disk”
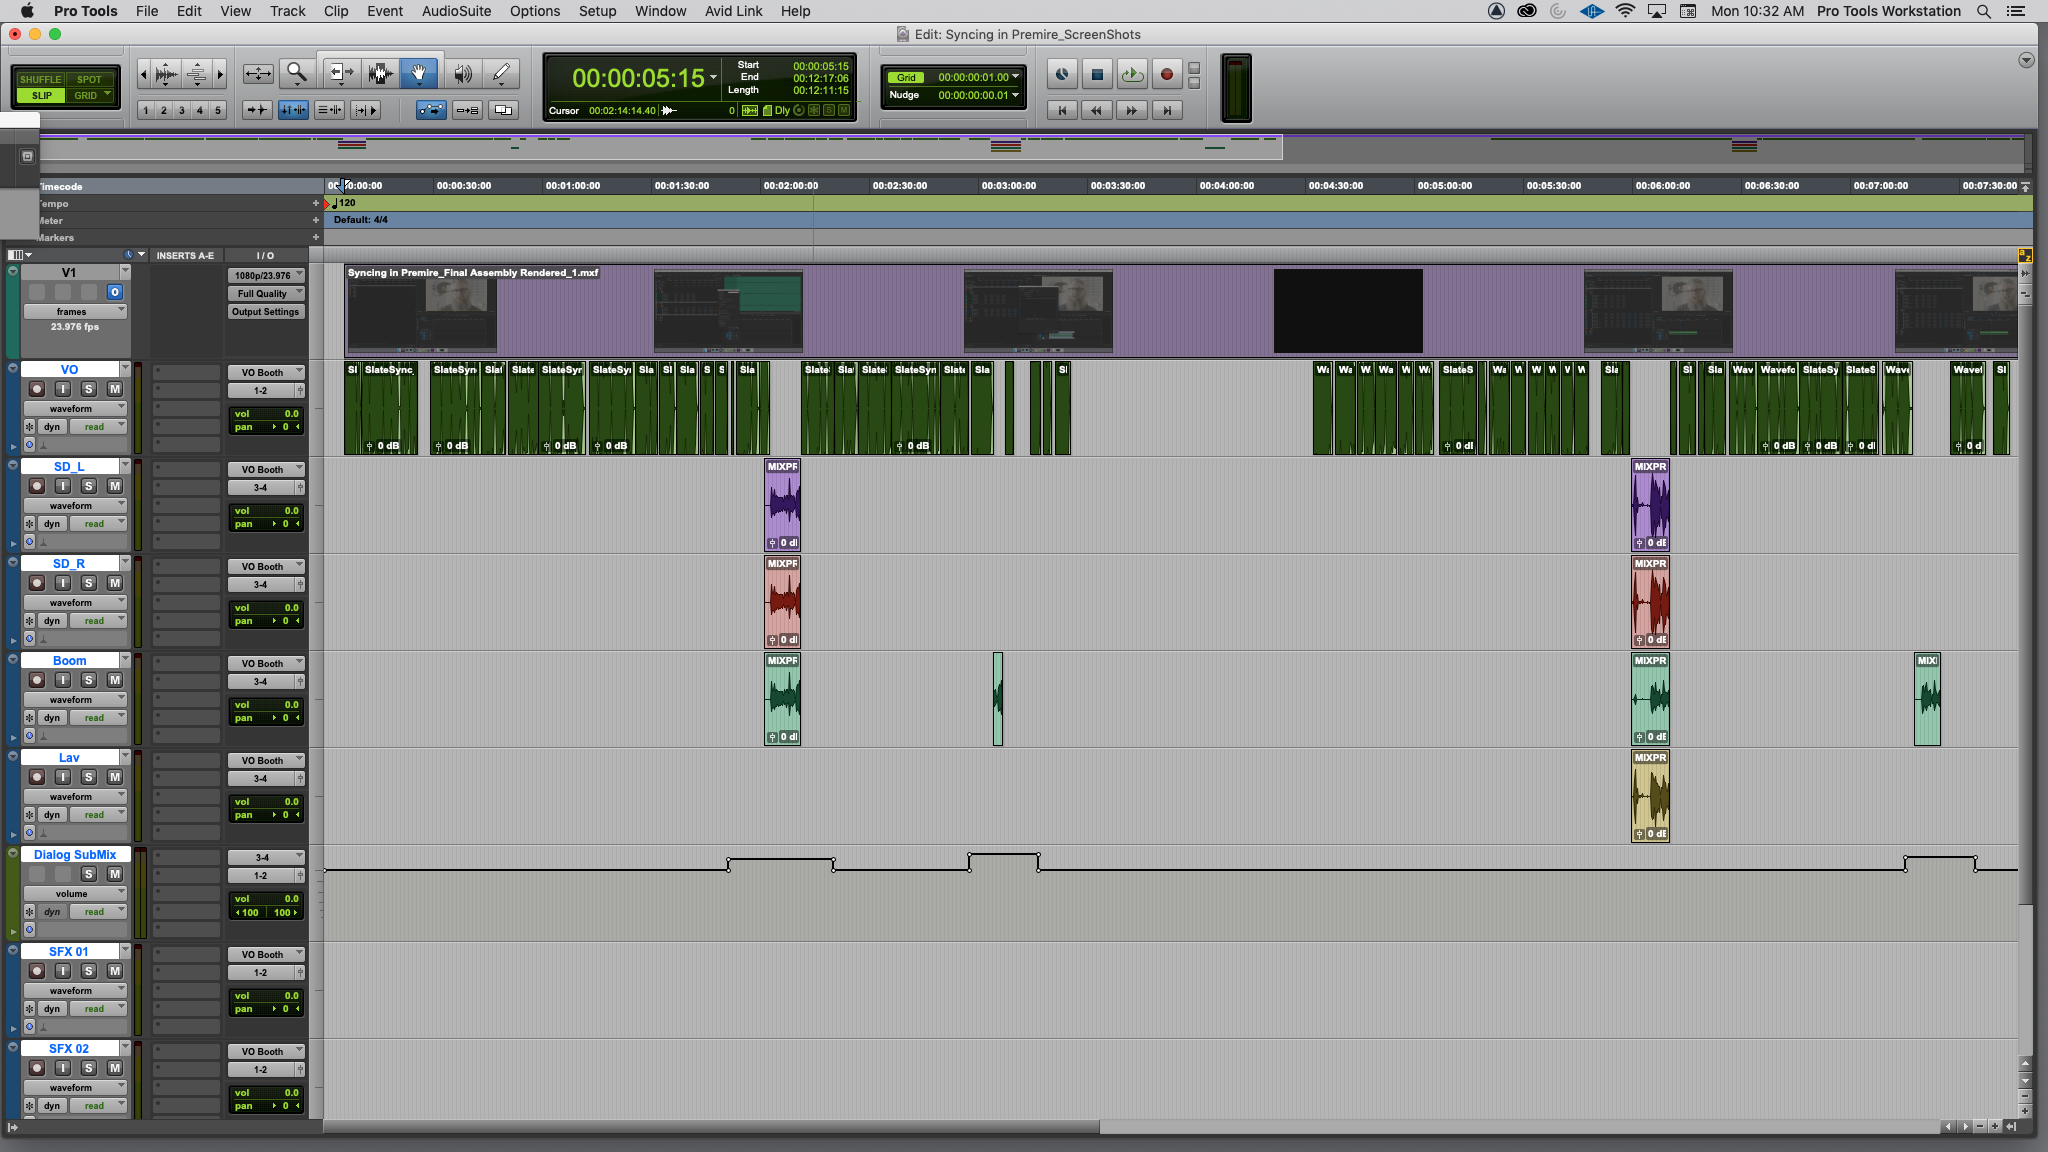
Highlight your Mix
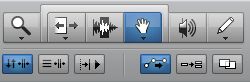
Use the “Grabber” tool to your video clip in the Timeline. The in and out points you set here will determine how long the exported audio file will be. If you are working on a mix for film or video, be sure your counter is in timecode so you don’t bounce a file with incomplete frames.
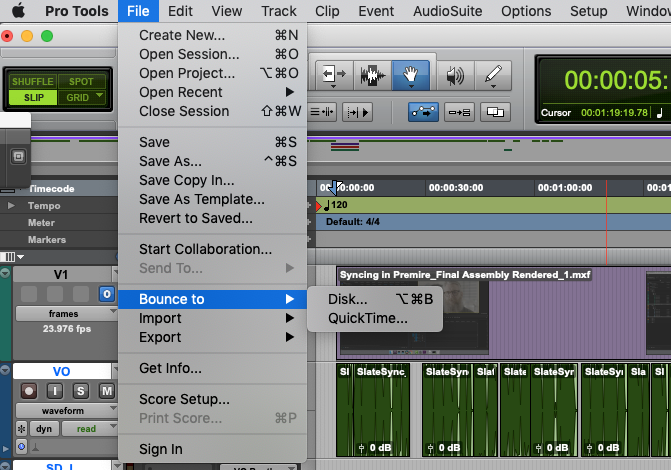
Bounce to Disk
Choose File > Bounce to > Disk… or use the keyboard shortcut “opt + cmd + B”.
The “Bounce Options” window opens. You can adjust your export settings here. See below for recommended settings.
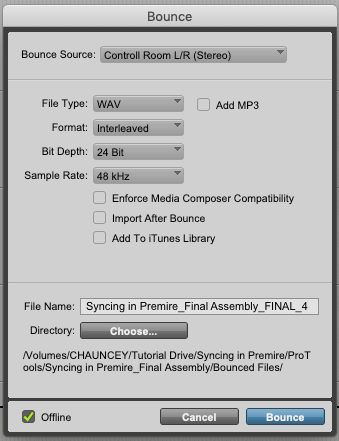
- Bounce Source: Control Room L/R (Stereo)
- File Type: WAV
- Format: Select Interleaved to create a stereo audio file.
- Bit Depth: 24 Bit
- Sample Rate: 48 kHz
- Offline: Click on this box! If you don’t select Offline, Pro Tools will export in real time.
- File Name: Title your exported file.
- Directory: By default, Pro Tools creates a folder for your exports titled “Bounced Files”. This folder can be found in your session folder.
Click “Bounce” to begin the export.
That’s it! To find the files you have bounced, navigate to the session folder and open the “Bounced Files” folder.
