 Narrated recordings of slides can be useful for providing supplementary information to students, or to help prepare for upcoming class activities. They can serve as a component of a flipped, or partially-flipped, classroom, or simply provide complementary material for a traditionally-structured classroom. Microsoft PowerPoint and Macintosh’s Keynote are two of the most popular software options for producing slideshows. In Keynote, narration of a slideshow results in a single audio file, whereas a PowerPoint slideshow narration produces individual audio clips for each slide. The single audio file model of Keynote introduces some difficulties when one wants to insert a slide, or rearrange slides, after the full presentation has been recorded. While one can generate individual audio clips in an external program, such as QuickTime Player, and drag them into Keynote, it is not a simple process and, in the end, PowerPoint wins out for the flexibility and simplicity offered by its model of an individual audio clip for each slide.
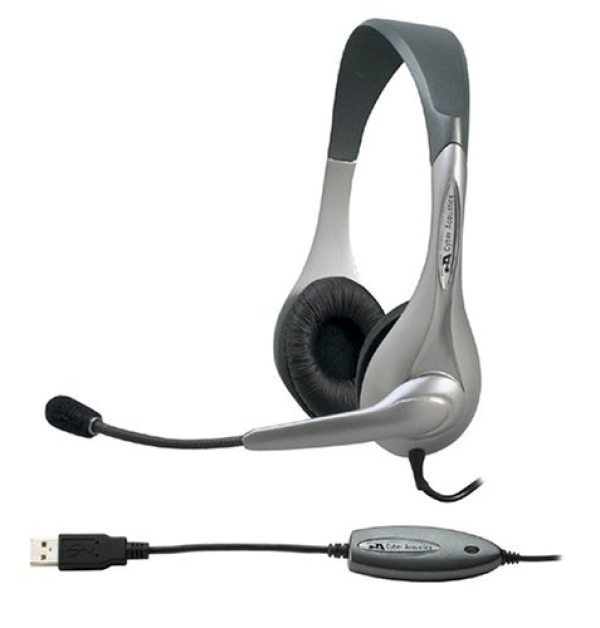
Using your computer’s built-in microphone or a USB microphone, you can create your own narrated slideshow. The following instructions are specific to a Mac, however the procedure is very similar when using a PC. After connecting the mic, if necessary, be sure to select the appropriate audio input/output source in system preferences. Open your PowerPoint file and select the first slide. Click the tab labeled Slide Show. Then, under Presenter Tools, select Record Slide Show. After selecting Record Slide Show, the audio recording screen opens and recording starts immediately. You can pause ( ll ), restart ( ↺ ) & continue ( ▷ ) as needed. Click on the forward arrow at the bottom of the current slide (or use arrow keys) to advance. Press the esc button or Exit Show at top-center to finish recording. Select yes when asked if you want to save your slide timings (this includes audio). As you can see, the procedure for creating a narrated slideshow in PowerPoint is quite simple.

Screenshot of audio recording in PowerPoint on a Mac.
Any subsequent editing is also straightforward. For example, to re-record audio for a single slide, simply select the slide, then select Slide Show → Record Slide Show. Make your recording for the individual slide and esc, or Exit Show, when finished. You may also insert a new slide anywhere in the lineup and add audio to that single slide without causing the audio to fall out of sync on the original slides. Another layer of multi-media that one may take advantage of is that of adding video/movie clips to slides. It is not a difficult task and may be worth exploring as an additional enhancement to your presentation.
It is important to save your presentation as PowerPoint Presentation with the filename extension *.pptx. The format designed to be compatible with earlier versions of PowerPoint (PowerPoint 97-2003 Presentation), which uses the extension *.ppt, has a number of features disabled. As a result, students watching the slideshow on a Windows machine will not be able to take advantage of the “s” shortcut for pausing and restarting the presentation. Finally, when you are ready to share your presentation with students by posting it on your Moodle site, for example, you may wish to save it as a PowerPoint Show (*.ppsx). When students double-click on the file icon, it will automatically launch into the show mode, and they won’t be able to edit your slides.
If you have any questions or would like additional information, please contact Shelly Johnson, ACS liaison for the Sciences, at x7866 or mijohnson@vassar.edu.
