by Amy Laughlin
Upload a PowerPoint or Keynote slideshow to Google drive and embed it in your Moodle site, and any changes you make to your presentation will be immediately reflected on your Moodle site. Your students will be able to view the presentation directly from within Moodle.
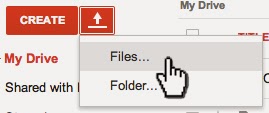
Click the upload arrow in your Google Drive and then choose Files
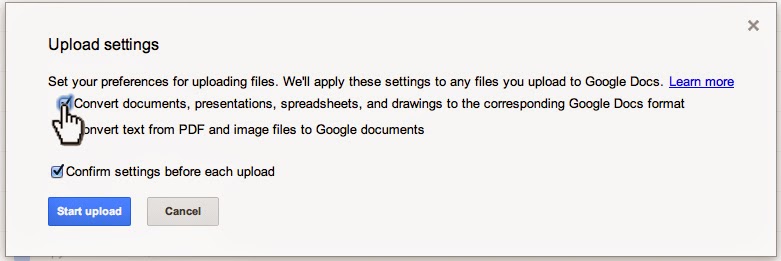
Make sure conversion is turned on:
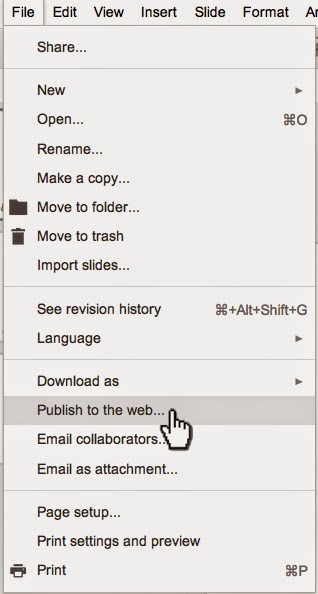
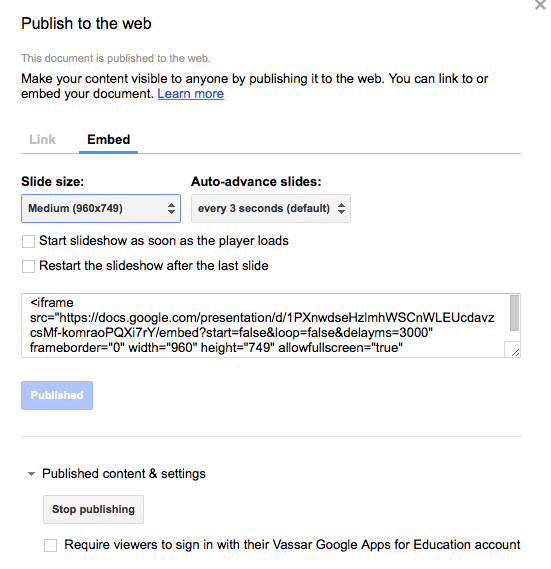
Once your presentation is uploaded, open it in your Google drive and click File > Publish to the Web.
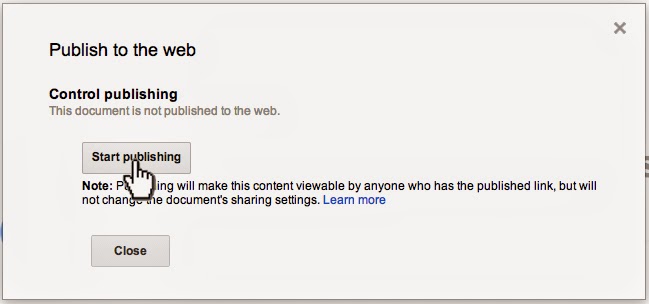
Then choose > Start publishing
You will then see a dialog box that allows you to choose the size of your presentation and whether to Link or Embed. Choose the Embed tab, and copy the iframe source code.
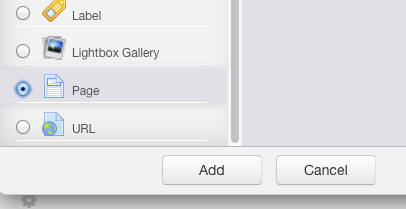
Now return to your Moodle site, turn editing on, and click on > Add an activity or resource.
Choose > Add Page
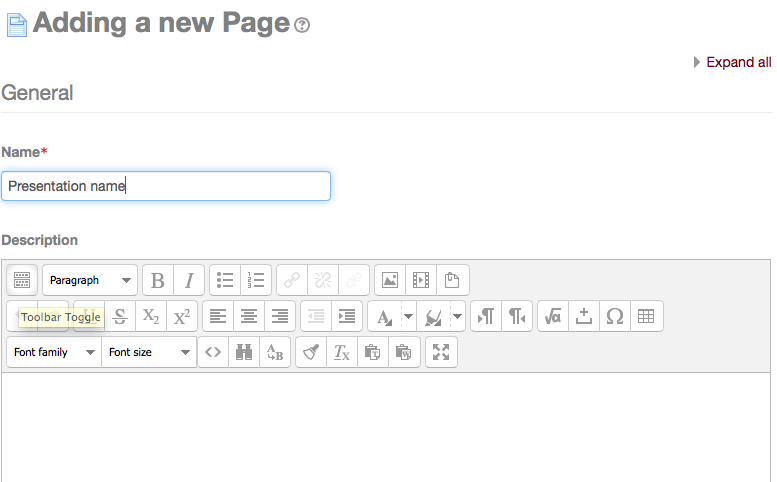
Add the name and description of your presentation. Make sure the toolbar toggle is turned on to reveal all the toolbar options. The toolbar toggle button is the first button in the upper left corner of the toolbar.
Scroll down to the Content section (below the page description).
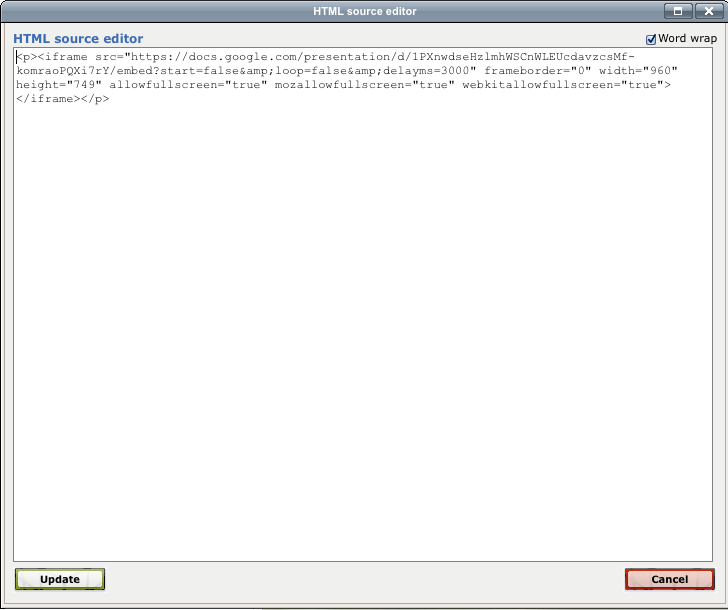
Click on the edit HTML source button (<>).
Paste in the Embed code that you copied from the Google Presentation Publishing page, then choose Update, to save.
Click either the “Save and Return to Course” or “Save and Display” button at the bottom of the screen.
Your Google Presentation is now live and published to your Moodle site. You can edit and update your slideshow from your Google Drive and your changes will automatically be reflected in your Moodle site. Note that you may need to refresh your browser page in order to see the slideshow.
From your course page in Moodle, your presentation will appear like this:
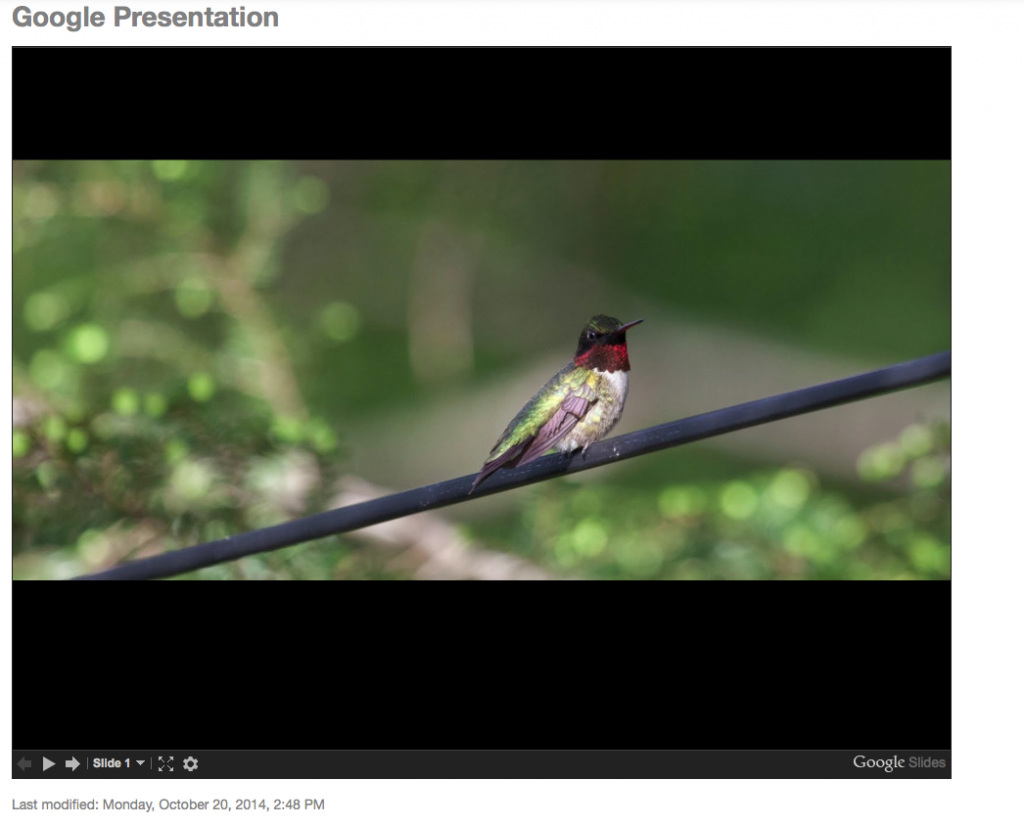
When your students click on the presentation file, a new Moodle screen will open displaying the slideshow:
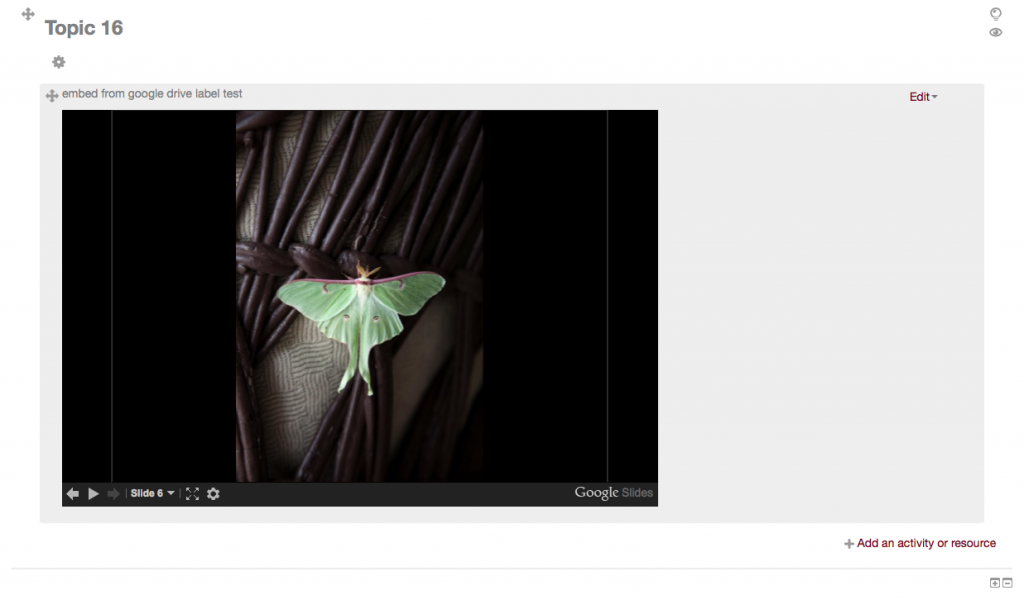
You may also embed your presentation as a Label instead of a Page in Moodle. When adding and Activity or Resource, choose Label instead of Page (all other steps remain the same), and your slideshow will be immediately visible from a section on your course page.
Works with video too.
If you want to embed video that is stored on your Google Drive you can copy the iframe code from the Google Drive Viewer. This is a great option if your video is not posted on YouTube or Vimeo.
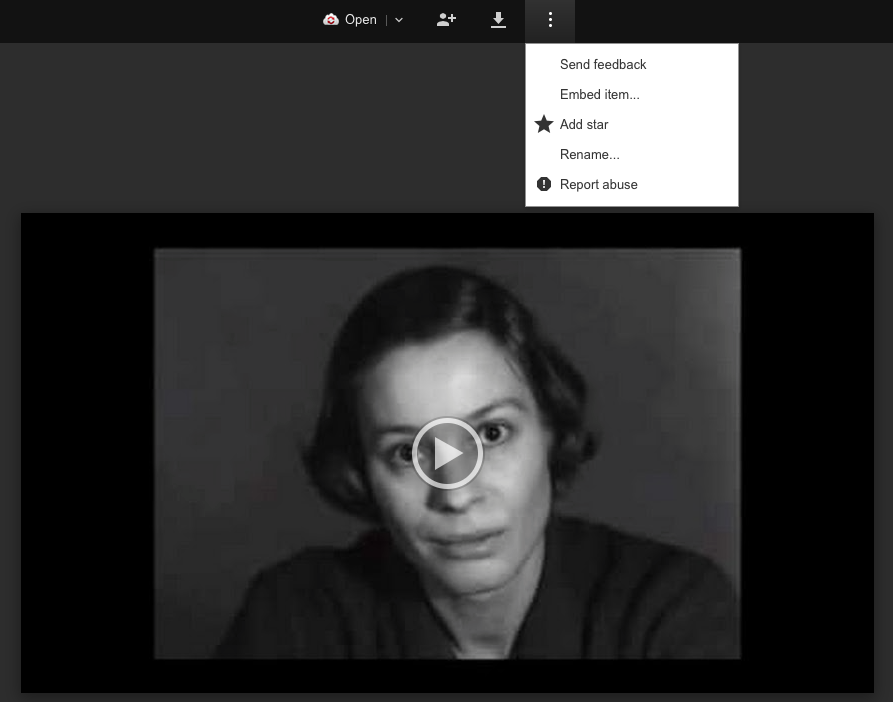
After uploading your video to Google Drive, select it and choose Open with > Google Drive Viewer, from the More drop-down menu. Once the video is open in Google Drive Viewer, click on the three vertical dots on the top menu, then choose Embed item.
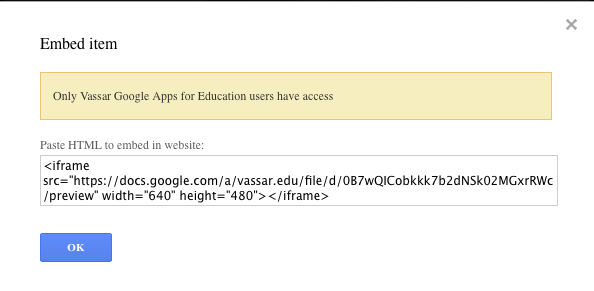
This screen will appear:
Copy the embed code into a page or label using the HTML editor button in your Moodle site, following the same procedure as described above, to embed a slideshow presentation.
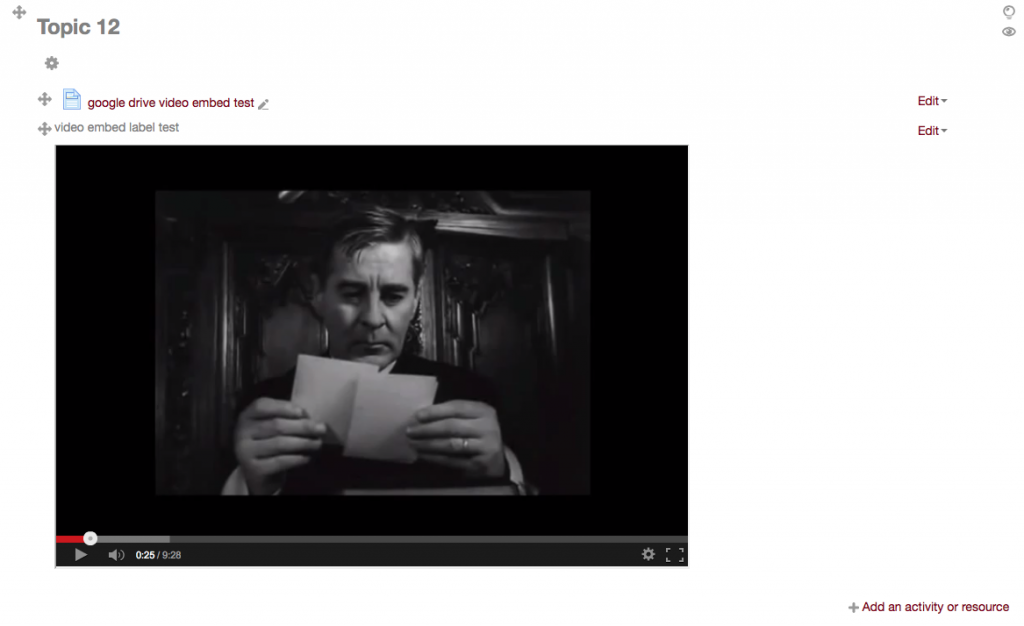
The resulting video will look like this in you Moodle site:
If you embed the video into a Moodle page then you will see the page icon. When clicked, it will open a separate window for viewing the video. If you embed the iframe code into a Moodle label you will see the video embedded in your course front page.

