0.417 pounds of copper per motor
Autodesk BUILD Space
Visiting Autodesk’s BUILD space on Tuesday got us thinking about laser cutters. This week we’ve been pondering nonlinear, nonrectangular shapes for the project to take advantage of the laser cutter’s capabilities. Also, talking with Ashay Sharma reinforced the idea of the project having a functional impact to the community beyond providing artistic beauty. Whether that function is providing real time wind currents or something else is yet to be decided.
Windswept (5)
On June 13th we went to Boston to visit Autodesk.
At Autodesk I learned about two softwares which i will use to create our next model. The first is Dynamo and the second is Fusion 360.
I also learned about a project called Phoebe’s Field which is similar to Windswept.
I will be looking for past work which is similar to Windswept and will be focusing on designing our next 3D model.
My next step is learning the basics of Autodesk’s Fusion 360 software and working on the design of our piece.
An example of what can be found at Autodesk:
Windswept (4)
On June 9th, Noah and I presented on Windswept. These are my take aways from that critique.
-Look for past projects with a similar concept
-A trip to Storm king might provide further inspiration
-Think about how the piece will be viewed and what the viewer will take away from the project
-Think about the materials being used in the piece
-As the project progresses ask people, who don’t know about the work, to critique and explain what they see in the piece
Row Design and Components
One row:
The Major Components:
Stepper motor — using NEMA 17 Stepper motor (40oz-in –>2.5 pounds) as of now
NEMA 17 Stepper Motor 40 oz-in
Motor driver — Was going to use the TLC5940NT’s I have from before, and just add H-bridges, but in order to save pins on the arduino boards I’m switching to Easy Drivers.
Arduino — One Arduino Uno to control each row so each motor can be controlled independently. To get around the limited ground pins I’m just going to cut up dupont jumpers and solder them back together in a Y.
Schedule:
Major Goal Dates:
6/11: Finish actuator design and programming approach.
6/25: Have chosen a economical motor that has enough torque to flex the copper and enough speed to achieve the desired effect.
7/9: Be finished at least one row and have the materials for the rest.
7/16: Assemble the rest of the rows.
7/23: Integrate the components that interact with the viewer(s).
Windswept (3)
The printed 3D model:
Noah will be painting the model and adding details, as well as describing the motors, with visual and technical detail.
Windswept (2)
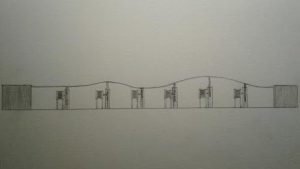
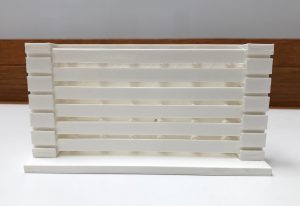
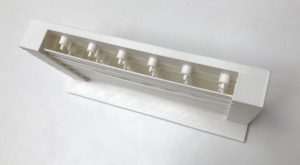
The first design required a few changes in order to be successfully printed as a 3D model.
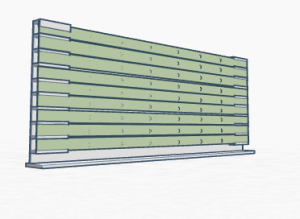
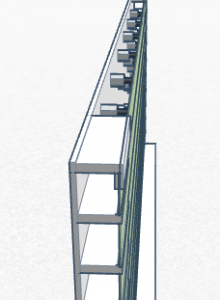
First re-design (showing the back of the piece, layout and number of motors, and the pieces which will support the copper strips):
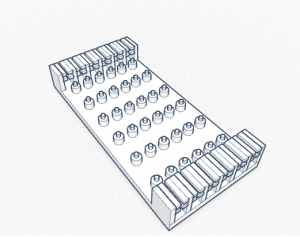
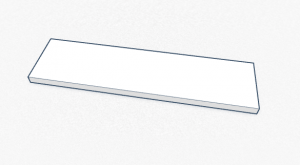
The possible base of the piece:
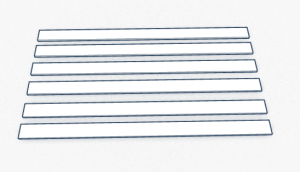
The copper strips:
After designing this in tinkercad, I previewed the piece, using the software CURA, and printed the model, using the lulzbot taz 5.
I also want to thank Amy for teaching me about the software and printing process of the 3D printer.
Windswept (1)
Today my focus was on creating a 3d model, with the software and resources Amy informed us of.
In tinkercad i created the first model:
Tomorrow i’ll be adding the ripples, as seen in the video Noah posted.
Initial Commit
Windswept documentation:
https://github.com/Noat/WindSwept
Prototype:
Inspired by wind sweeping through hay fields.