Windswept (8)

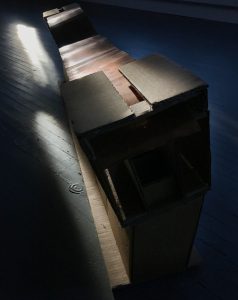
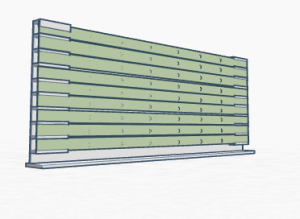
-We’re now working on a moving model

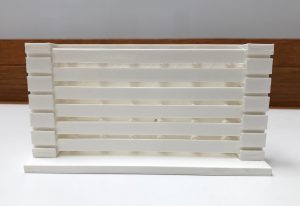
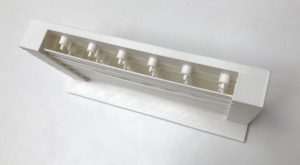
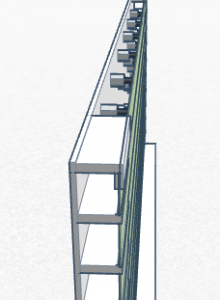
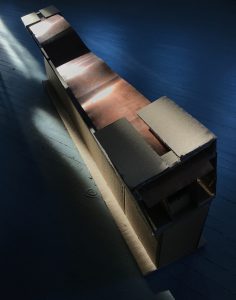
-Creating a cardboard structure which can be easily modified

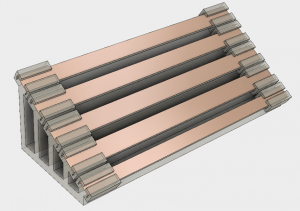
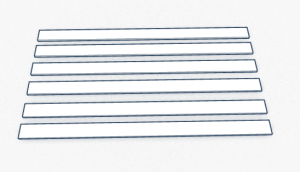
-Working on getting the motors and the copper strip moving properly

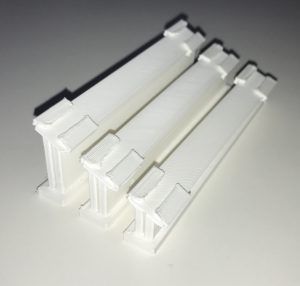
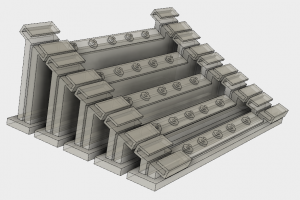
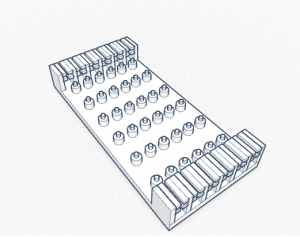
-Once we get the strip moving properly, we will work on creating a more minimal support structure

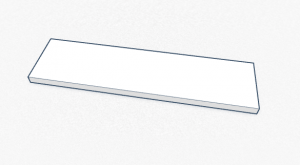
-The final cardboard design will be remade in plexiglass


Windswept (7)

Wind Moves Nature: https://vimeo.com/223604003

How Would Wind Move Metal?

Wind Data is Collected from Online Sources

Wind is Translated Through the Language of Code

Data Goes into an Algorithm Which Will Predict Future Wind Movements

Wind is Expressed in the Movement of the Copper Strips

The Copper Strip is Moved by Wind

Wind Moves Through Metal: Our 3D Model

-piece will have 1-3 copper strips, which will sit on a plastic support structure

-motors will be instructed by code which will be predicting the movement of wind through collected data

-Noah’s animation will show the movement


Windswept (6)

A redesign addressed the flatness of the initial design and placed the piece where one can walk around it:


-the current thought is copper strips and a plexiglass body

The next model took away some of the bulk of the piece and created a more natural curve:

-we’re still thinking about using plexiglass, but using plexiglass with a gray hue

-after meeting with Lisa, i’m looking to make changes which will lengthen the strips, decrease the number of strips, and lower the piece, with an alternative slope


Windswept (5)

On June 13th we went to Boston to visit Autodesk.

At Autodesk I learned about two softwares which i will use to create our next model. The first is Dynamo and the second is Fusion 360.

I also learned about a project called Phoebe’s Field which is similar to  Windswept.

I will be looking for past work which is similar to Windswept and will be focusing on designing our next 3D model.

My next step is learning the basics of Autodesk’s Fusion 360 software and working on the design of our piece.

An example of what can be found at Autodesk:


Windswept (4)

On June 9th, Noah and I presented on Windswept. These are my take aways from that critique.

-Look for past projects with a similar concept

-A trip to Storm king might provide further inspiration

-Think about how the piece will be viewed and what the viewer will take away from the project

-Think about the materials being used in the piece

-As the project progresses ask people, who don’t know about the work, to critique and explain what they see in the piece


Windswept (2)

The first design required a few changes in order to be successfully printed as a 3D model.

First re-design (showing the back of the piece, layout and number of motors, and the pieces which will support the copper strips):

The possible base of the piece:

The copper strips:

After designing this in tinkercad, I previewed the piece, using the software CURA, and printed the model, using the lulzbot taz 5.


I also want to thank Amy for teaching me about the software and printing process of the 3D printer.


Windswept (1)

Today my focus was on creating a 3d model, with the software and resources Amy informed us of.

In tinkercad i created the first model:


Tomorrow i’ll be adding the ripples, as seen in the video Noah posted.