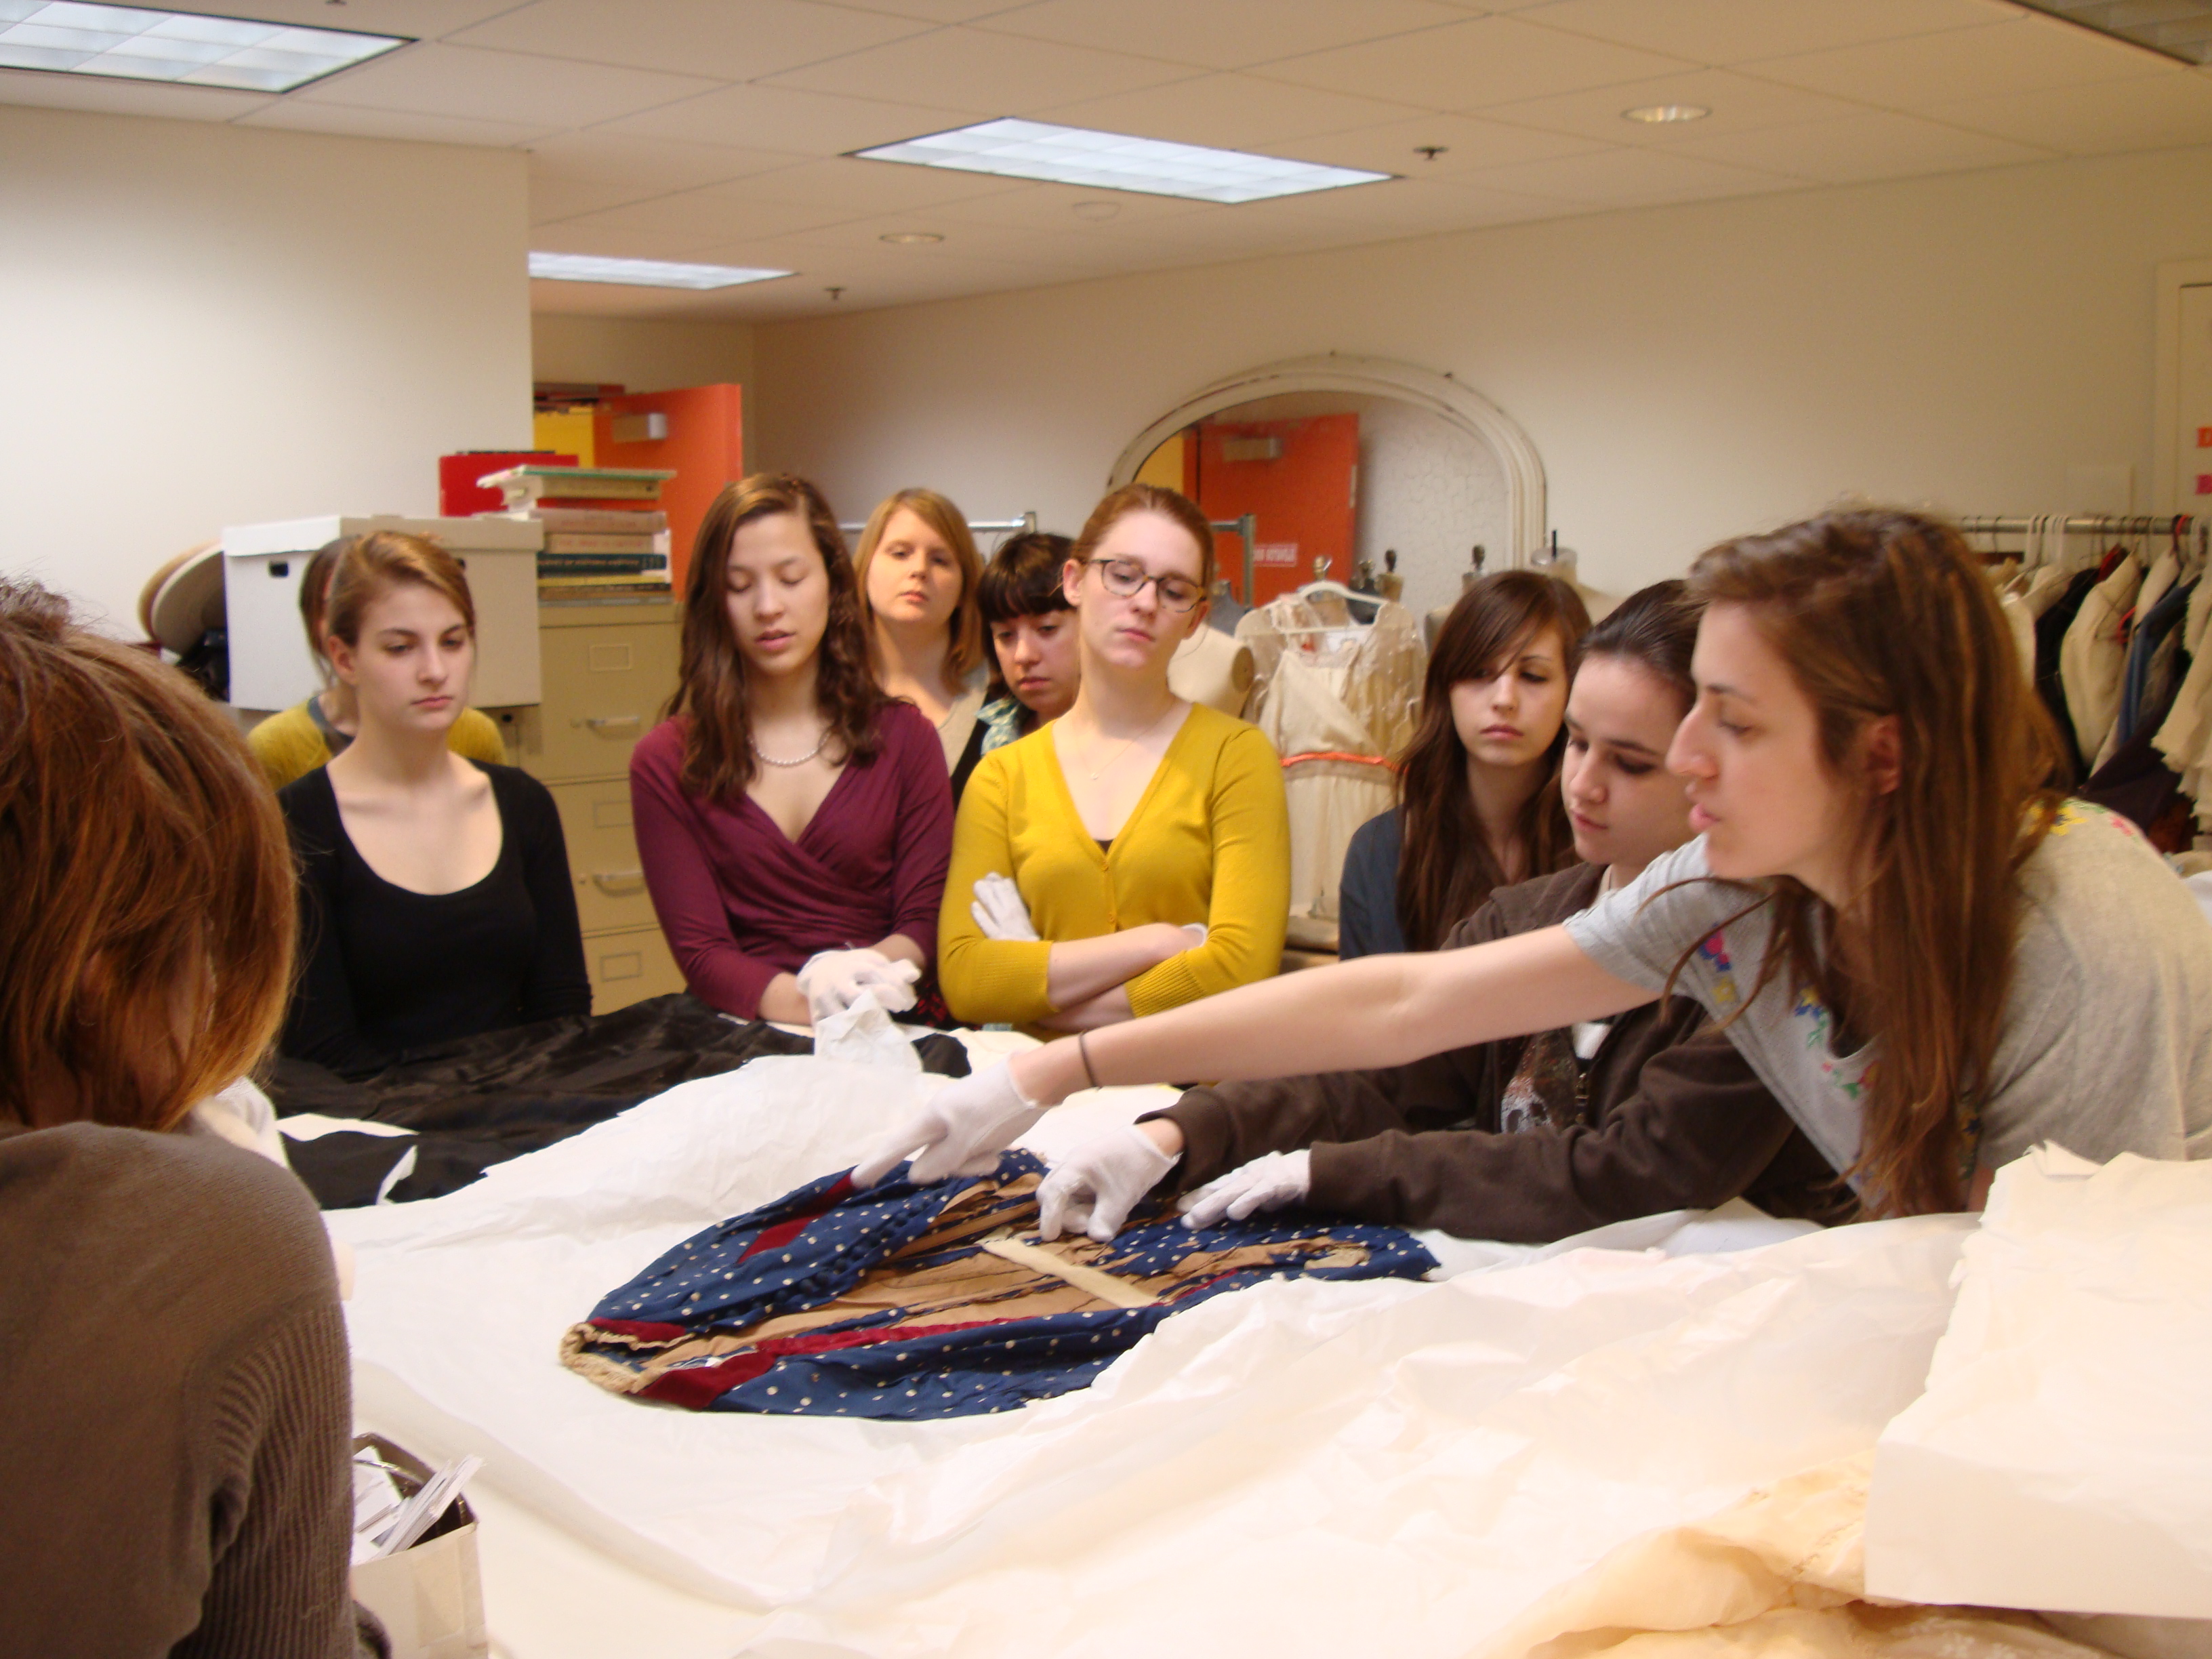
May 12, 2010
Brown silk teagown – Treatment Report
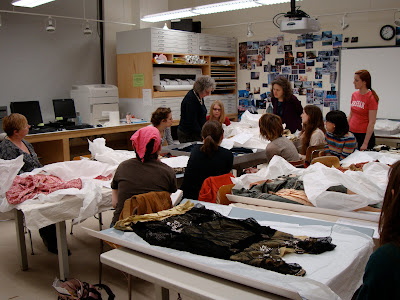
Posted by admin under Workshop | Tags: stabilization?, Workshop |No Comments
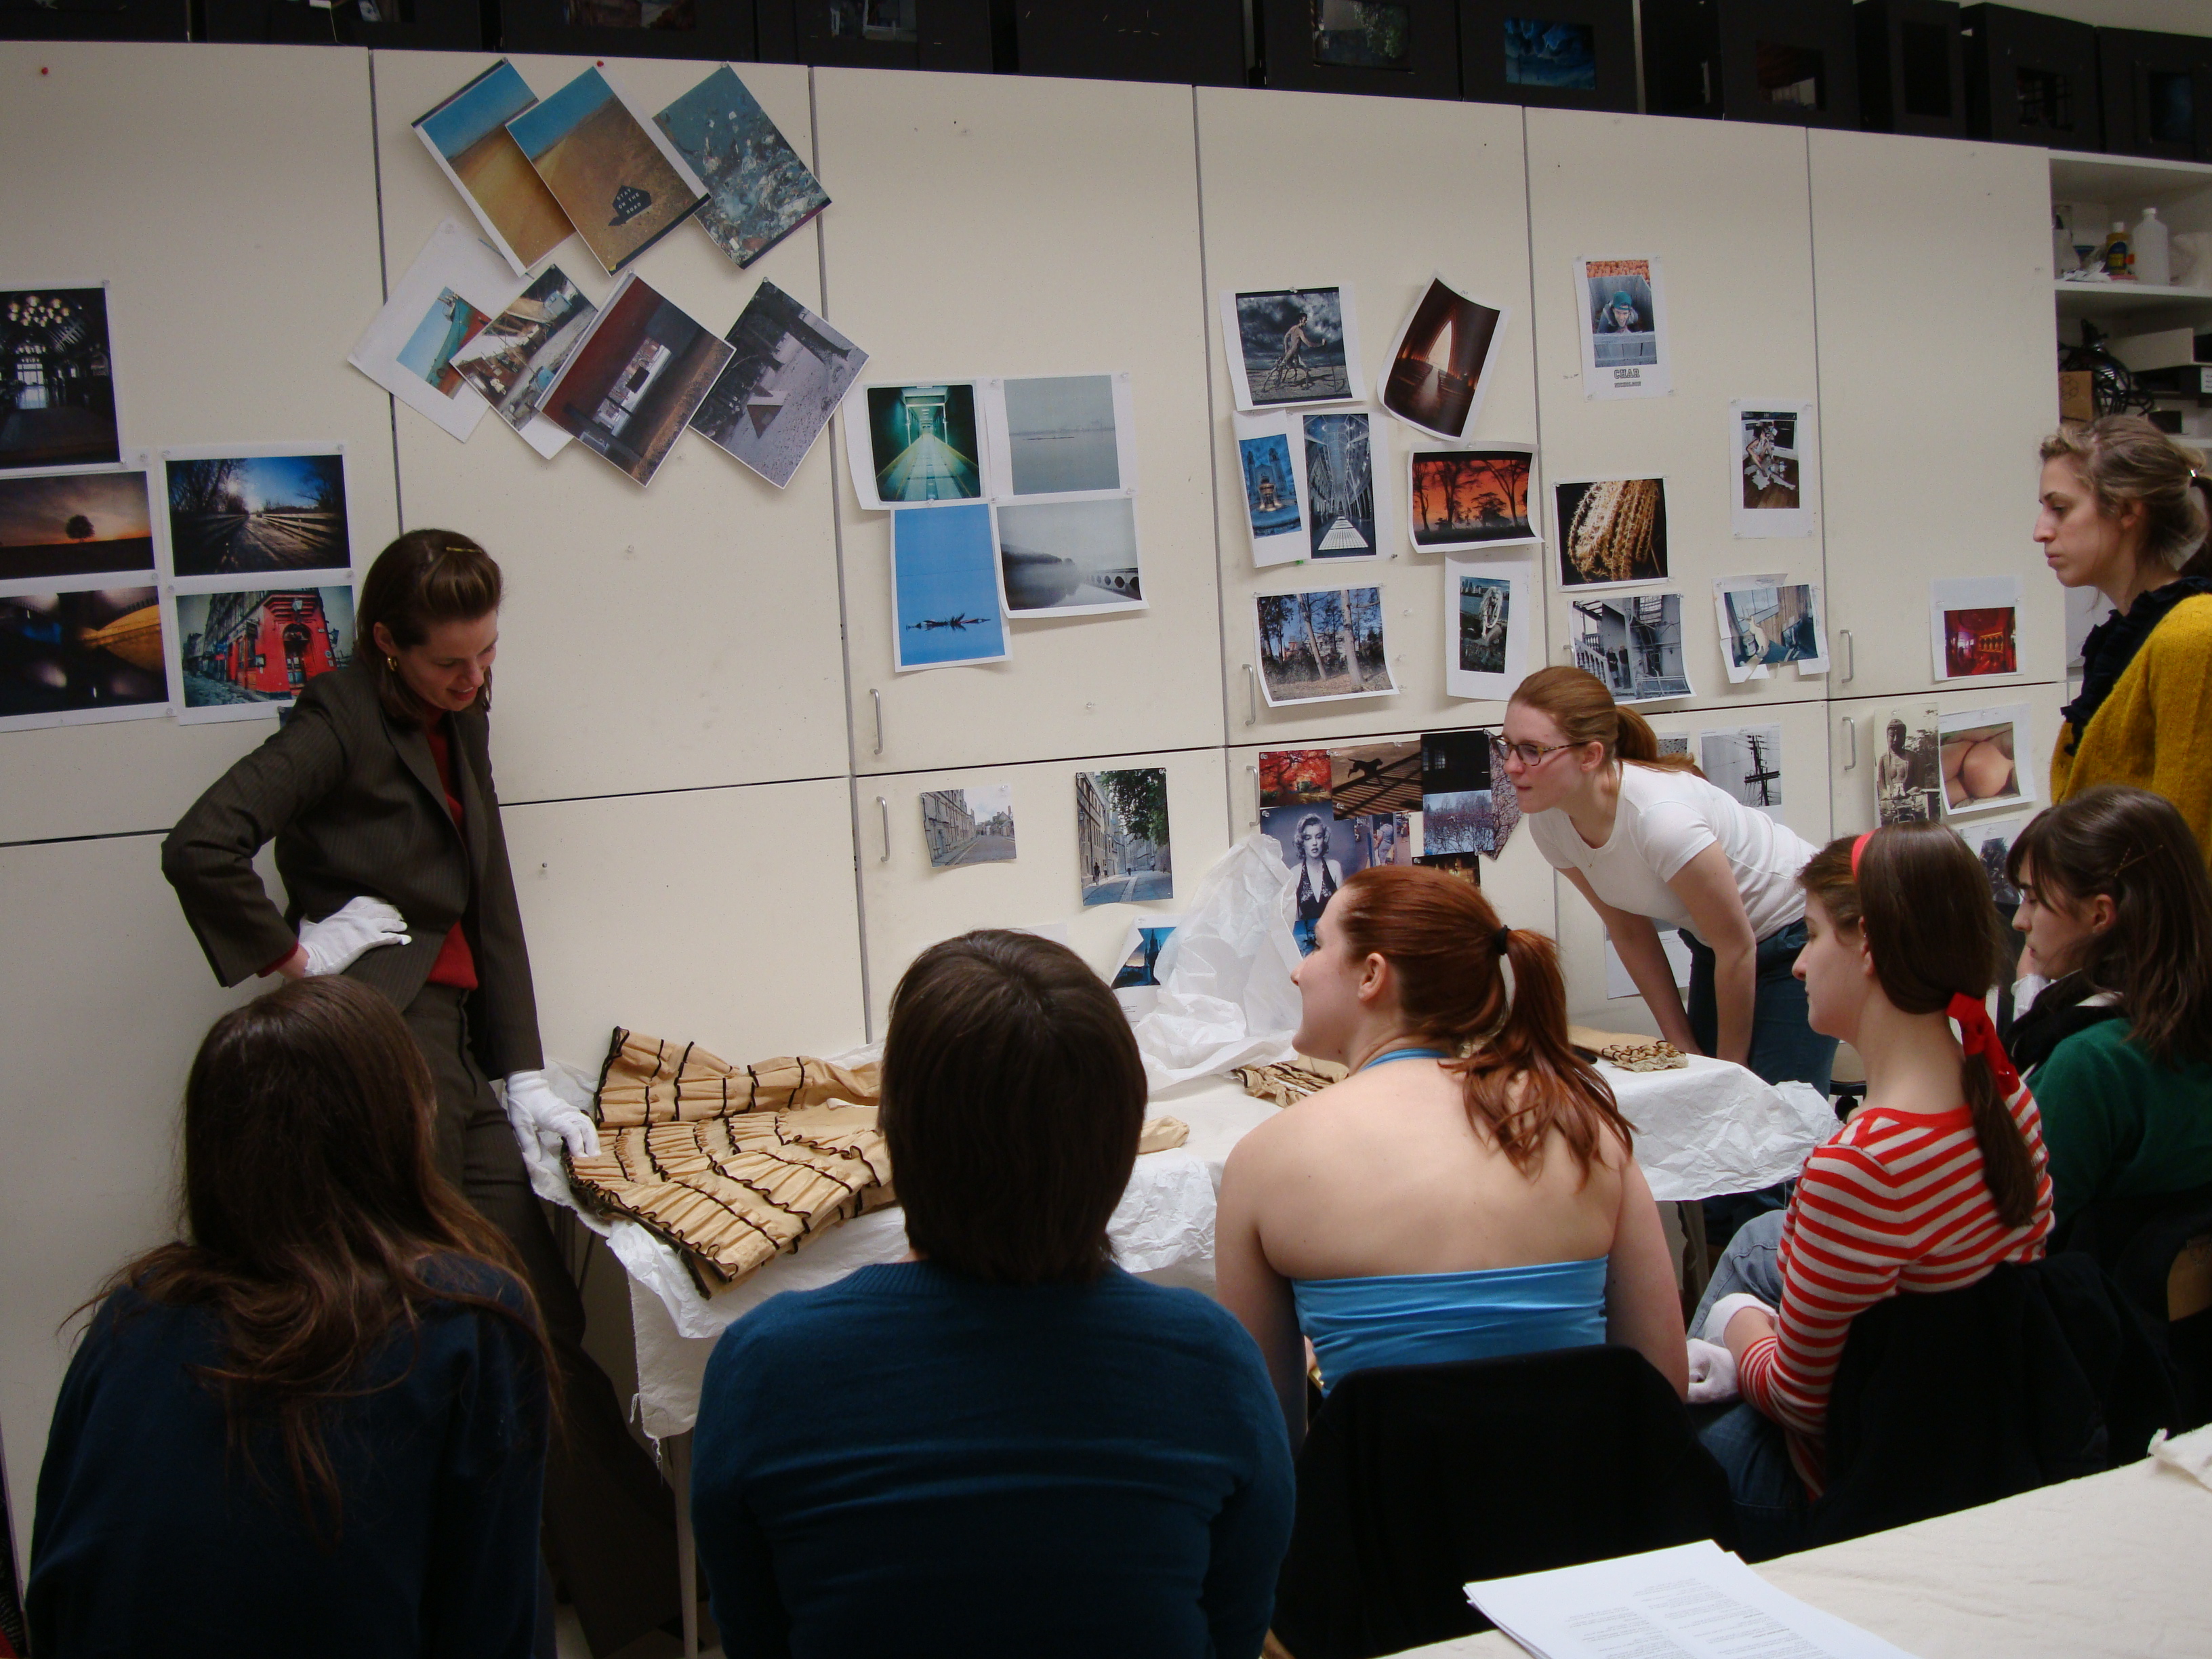
(having trouble viewing this slideshow? visit http://picasaweb.google.com/VassarHCPW/1992107# and click on “Slideshow” on the upper left, or just view the images one at a time, at your own pace)
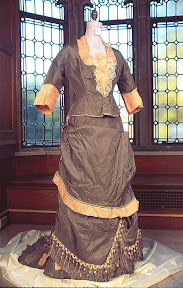
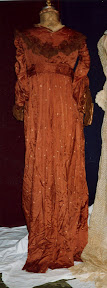
ACCESSION# 1992.107
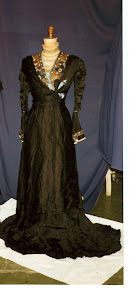
TITLE Brown silk dress with v-neck insert
BRIEF DESCRIPTION Dress of rust colored satin. Empire waistline. .75 length shirred sleeve with hanging cuffs. Full length skirt with train.
CONDITION OF ITEM
Lace added in between neckline and original lace inset
Chiffon ruffles and sleeves shattering
Chiffon portion of sleeves missing a china silk lining
Stays detaching from collar
Ribbon trim beginning to shatter and detaching from neckline
Reinforcement glued and tacked to skirt front bottom
Train hemmed up
Missing some hooks and eyes
TREATMENT PROPOSAL
Let down train to original length
Remove added lace at collar
Reattach stays to collar
Back lace collar with conservation net
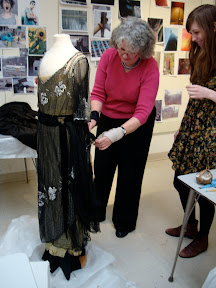
Put dress on form to asses lay of neckline/and reattach lace as appropriate
Make replacement lining for chiffon portion of sleeves
Steam out ruffles and reinforce with conservation net
Retack trim to neckline
Replace missing hooks and eyes
Will not attempt to reverse the reinforcement glued onto skirt front
TREATMENT.REPORT
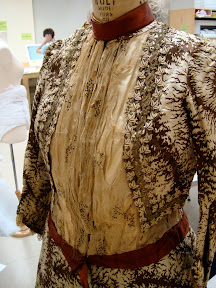
Removed added lace at collar. Put on form and discovered that the collar fit neatly with the original lace remaining inside the neckline. Surmised that the lace had simply been
cut out. Backed original lace with conservation neck, leaving enough extra conservation net around the edges so that the lace collar could be stitched back into the neckline
abutting the original lace inside the dress. Covered silk band at top of collar with net.
Replaced missing hooks and eyes and reinforced hooks and eyes that were coming loose.
Put dress on a form again to pin the collar into the neckline as it originally lay. Stitched the lace collar back into the neckline.
Discovered some tearing in the silk by the front hooks and in the sleeves along the armscye. Used hair silk to sew up tears.
Discovered alterations in bodice. Was taken in at side seams and darts were added at center front. Let out one dart at center front and found that the needle had left
significant holes in the silk. Decided with input of Colleen Callahan that the benefits of restoring the garment to its original state did not outweigh the downside of unsightly
needle holes, and restitched dart. Noted that the front bodice piece had been gathered into the waistband creating somewhat of a pigeon-breasted effect, but that the dart
eliminated that portion of the bodice.
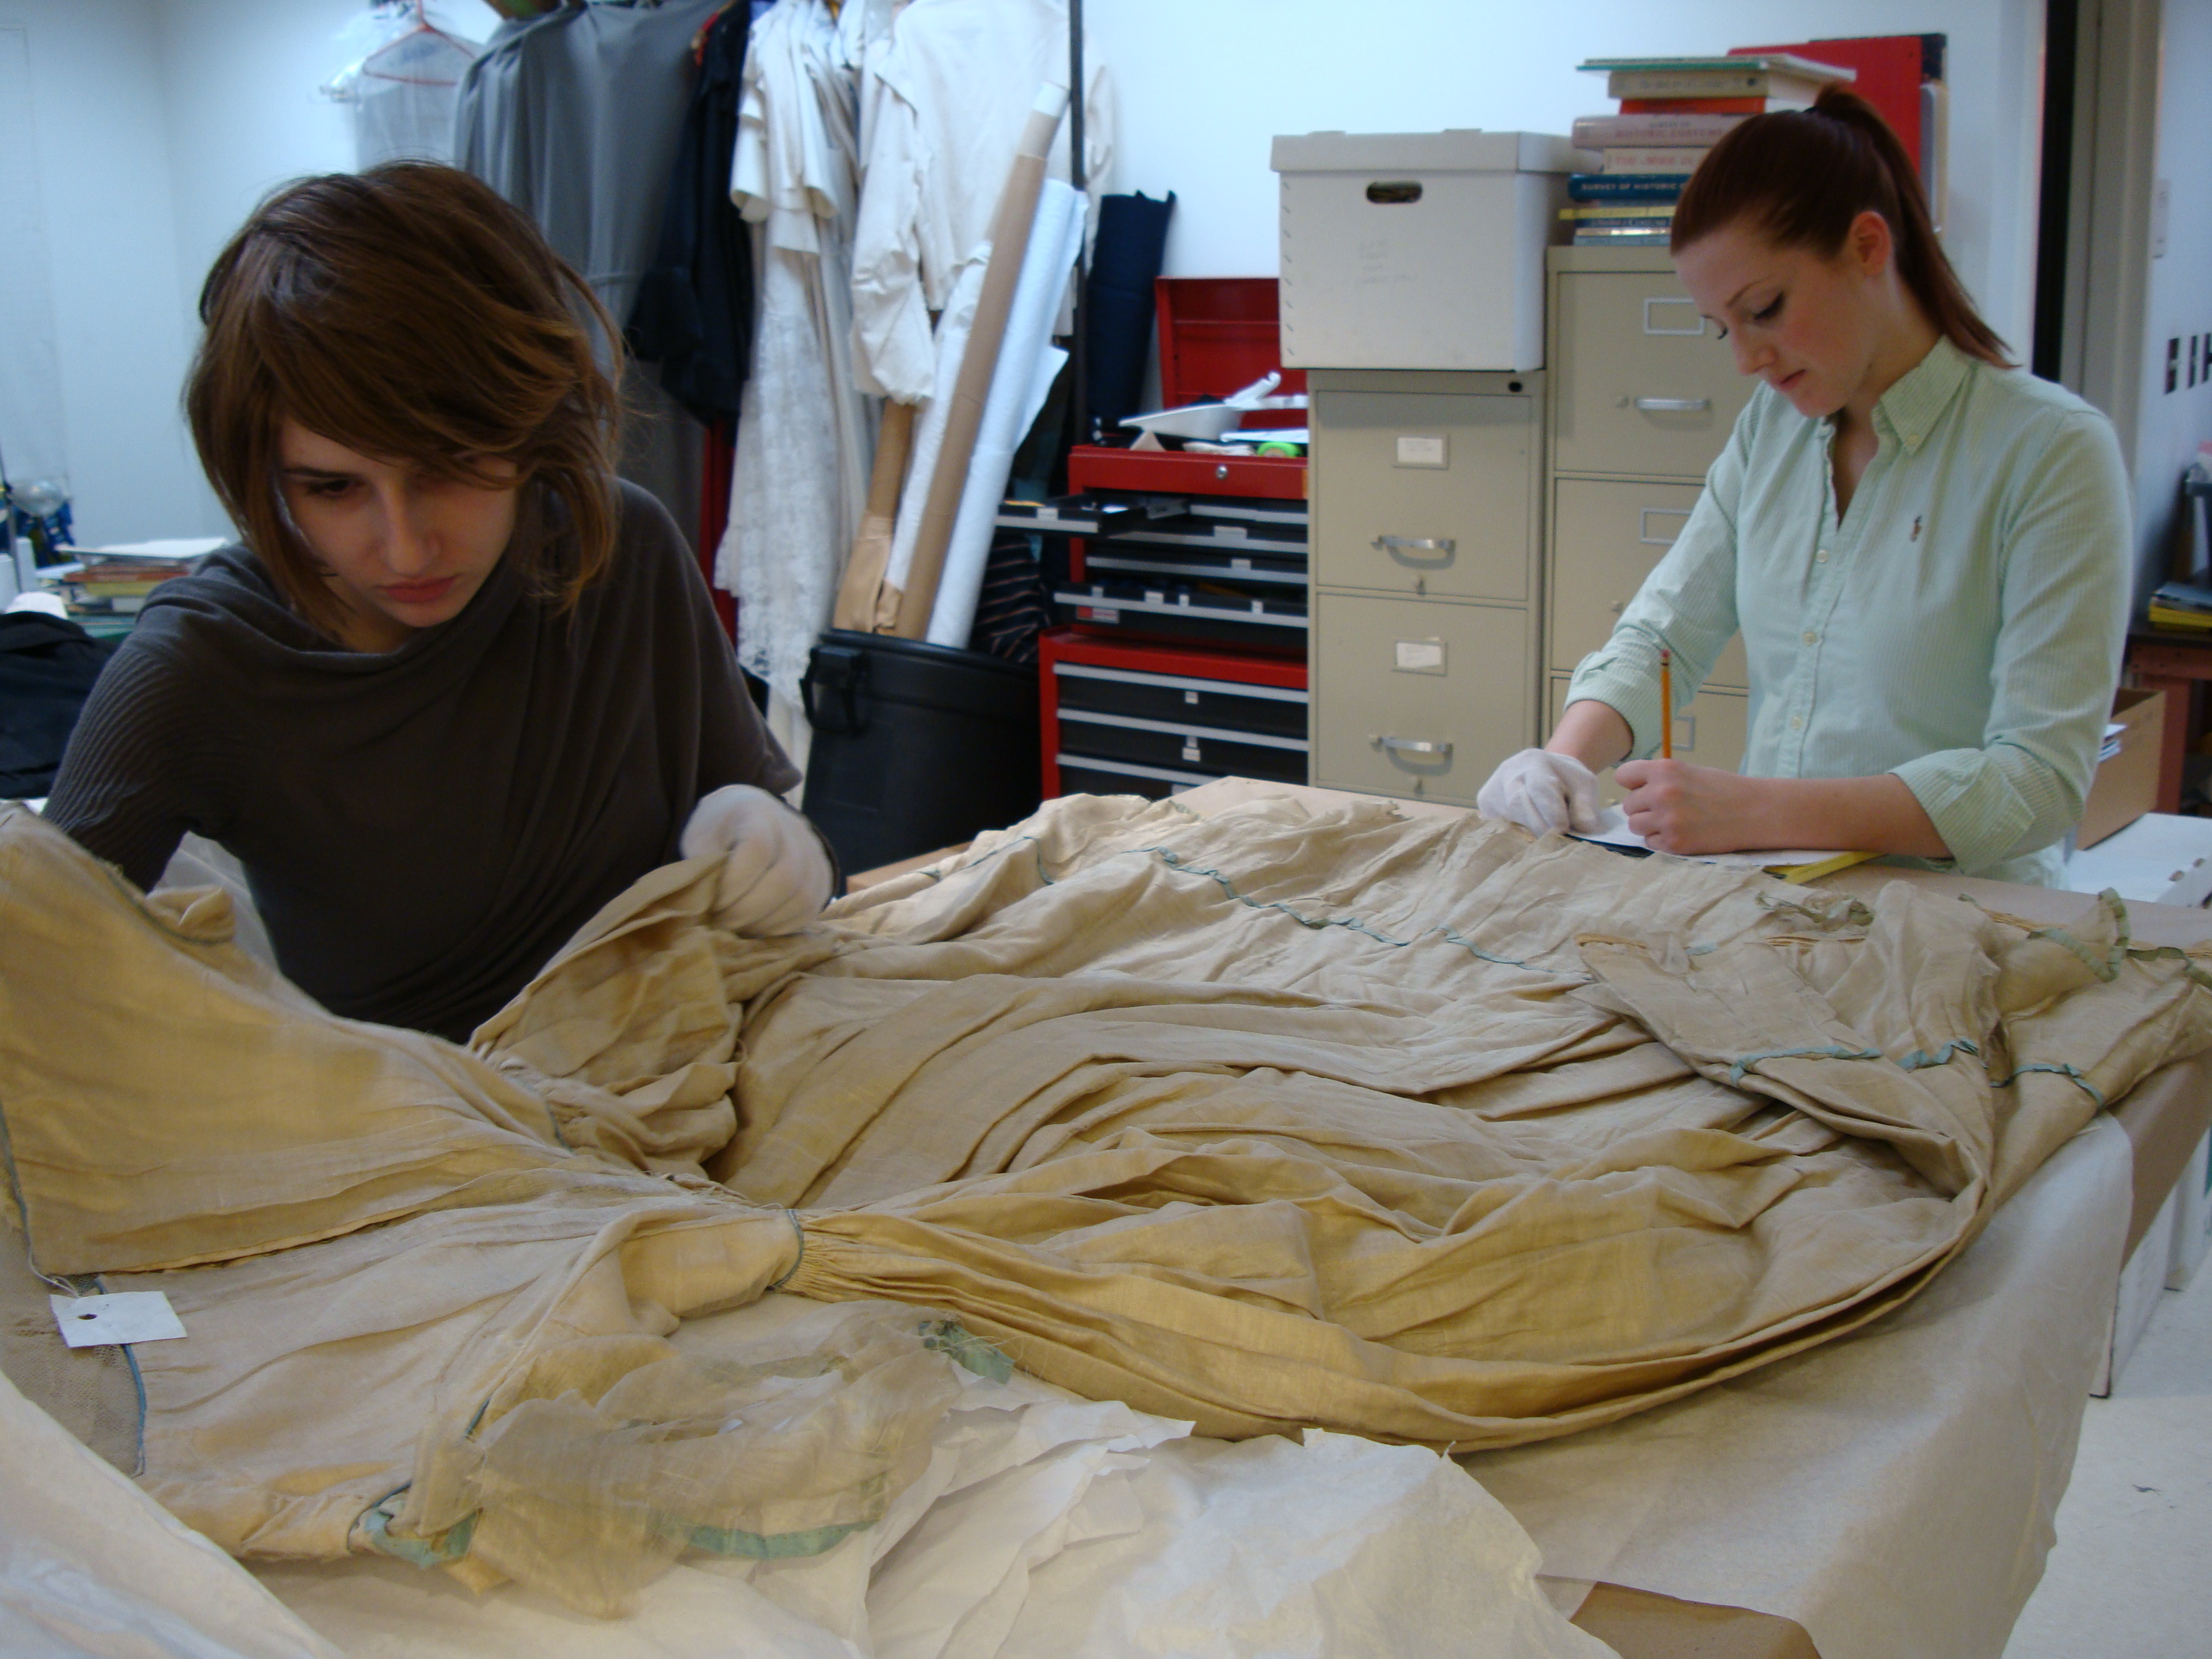
Let down the train where it had been hemmed up.
Put the dress on the form again. Noted that the center front was mostly covered by the collar and ties and the underarms were mostly covered by the sleeves. Determined that
the dress’s later alterations could be let out without detracting from the overall look. This would have the added benefit of restoring the original pigeon breasted silhouette.