How to Stretch A Painting
November 8, 2015 by hawu
Vassar Haiti Project holds stretching parties regularly before our sales. During stretching parties, we stretch paintings onto wooden frames, giving them the support necessary for display at art sales. The following is a stretching tutorial from Melanie Lai Wai ’16, our VP for Merchandise.
_______________________________________________________
A stretching party is a VHP tradition. Several times every semester, after VHP receives a new order of Haitian paintings, we hold a stretching party where members from all initiatives and committees come together to assemble the painting canvases with their wooden frames and produce the beautiful products that our customers see in art sales.
If you are wondering about what goes on behind the scenes of Vassar Haiti Project, this fun tutorial on how to stretch a painting will give you a peek into our internal activities!
>>Step 1
Prepare the work surface that you will be working on. Stretching a painting will involve a lot of staples so we want to make sure that you do not damage your furniture.
Lay out a thick piece of fabric on the table if you are working indoors or if the weather is sunny, simply bring your tools outside in the yard!
>>Step 2
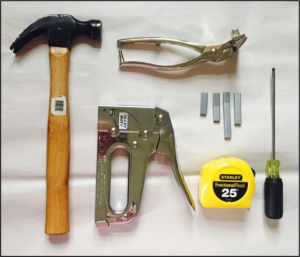
Gather your tools.
>>Step 3
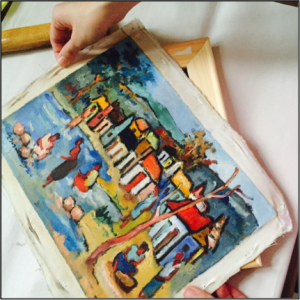
Paintings are usually shipped to us rolled up like giant Swiss rolls and it is our job to lay them out (stretch them) on wooden frames (a.k.a. “stretchers”)
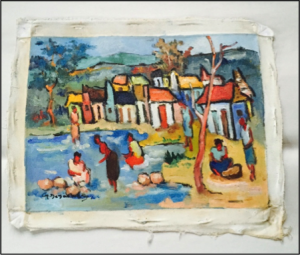
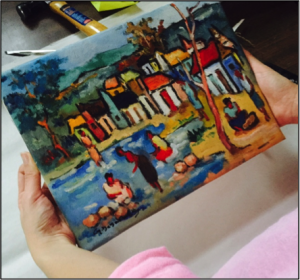
Pick a painting. Today we will be stretching “Village Talk” by Georges Desarmes.
>>Step 4
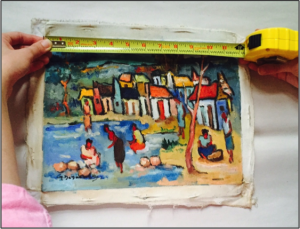
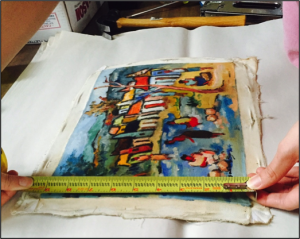
Measure the length and width of your painting and gather four stretchers of the same dimensions as the painting, one for each side. Ours is a 10-inch by 12-inch painting.
>>Step 5
Assemble the stretchers.
>>Step 6
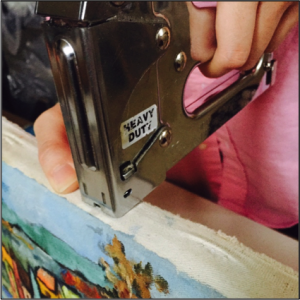
Center the painting canvas on the stretchers. Holding the canvas firmly on one side of the rectangular frame, staple it.
>>Step 7
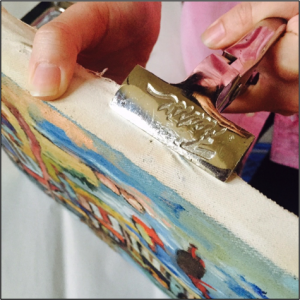
Now flip the painting. We will attempt to staple the opposite side of the canvas. Using the canvas pliers, pull the fabric as much as you can over the stretcher bar and staple it.
>>Step 8
We can now staple the other sides of the painting. Make sure that the fabric is pulled very tightly before stapling it to the stretcher, otherwise the end result will not have a smooth surface. Staple each side as many times as you think necessary; you are the best judge!
However, if you happen to see that the surface of the painting is still loose after adding a staple, fear not! Remove the staple very carefully with a screw driver (don’t hurt yourself!) and start over.
>>Step 9
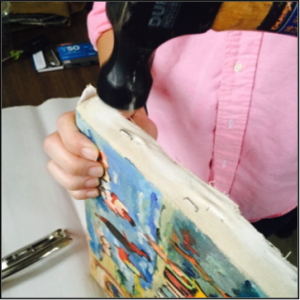
After stapling each side of the canvas to the stretcher bars, check to see whether the surface of the painting is tight enough (you should feel it pushing against your fingers when you apply a slight force). If it is to your liking, secure the staples by hammering them in.
>>Step 10
Now secure the corners.
>>Step 11
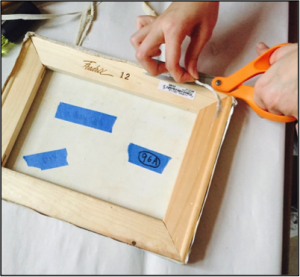
Trim the excess fabric on the sides for a cleaner look.
>>Step 12
The final step is to add a sticky label at the back of the painting, specifying the name of the painting, the artist, the size of the painting and its price.
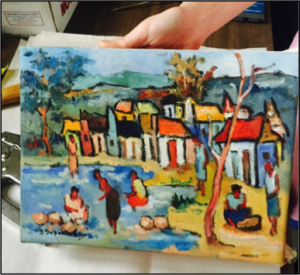
Village Talk by Georges Desarmes. To see more of his work, please visit our website
Voilà! Our painting is ready to be displayed on a wall!
We hope that you have enjoyed this brief tutorial.
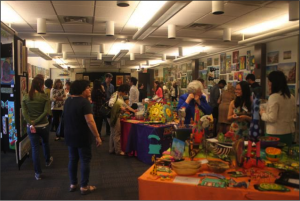
Every year, hundreds of paintings are stretched by VHP volunteers. It is thanks to their dedication and hard work that our art sales look as beautiful as this :
Please stop by if you are ever in the area!






…VERY impressive…..!!!!!
who is the current master?
I think Zoe Walker
Stretching parties are one of my most favourite VHP memories. Such a wonderful occasion to feel close to the art and to bond with fellow VHP-ers!