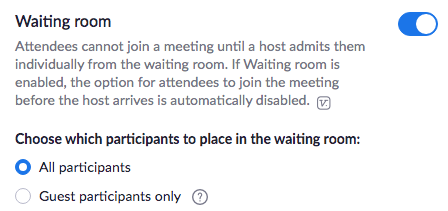
When you enable the “waiting room” feature in Zoom, students attempting to join your meeting will appear in the Waiting Room list and won’t be able to join your actual meeting until you manually approve them. This way, you can be sure to keep out anyone who doesn’t belong in your meeting.
To use the waiting room feature, you first have to enable it in your profile settings. Log in to vassar.zoom.us, choose Settings in the sidebar, and click on the Meeting tab.About 3/4 of the way down the page is the Waiting room setting. Make sure the toggle switch for this is toggled on and that it’s set to apply to All participants.

After doing this, you’ll still need to set specific meetings to require a waiting room. You can do this when scheduling a new meeting or you can edit the settings of an existing (recurring) meeting.

This video will show you how to use the waiting room function once your meeting has begin:
