Second Semester Update

The start to the second semester saw slow progression. With new experiments being held in the lab, we now have to share part of the lab table, as well as some of the equipment. Near the end of first semester we were having trouble with the table set up and had to change it to re-align the blue laser. We spent the first week of this semester cleaning up the lab and finishing what we had started with the table set up.

Next we had to adjust to the move of the biology lab from main building over to the renovated Olmsted hall. Although it is nice to be in the new labs, this took so time to adjust to because the supplies need for the worms was all over the place. We also had to gain card access to the building to access the lab on the weekends.

After we spent approximately the first two weeks finishing the lab set up we had to harvest a new culture of worms. Since Elias and I have different schedules this semester, and the fact that he is devoted more time to the worms this semester, we decided to harvest two plates of worms. This works better because we can now run data on worms three days a week, depending on the life cycle of the worms as they are on a four day life cycle. We run data on the fourth day of the cycle to keep consistence throughout all the trails.

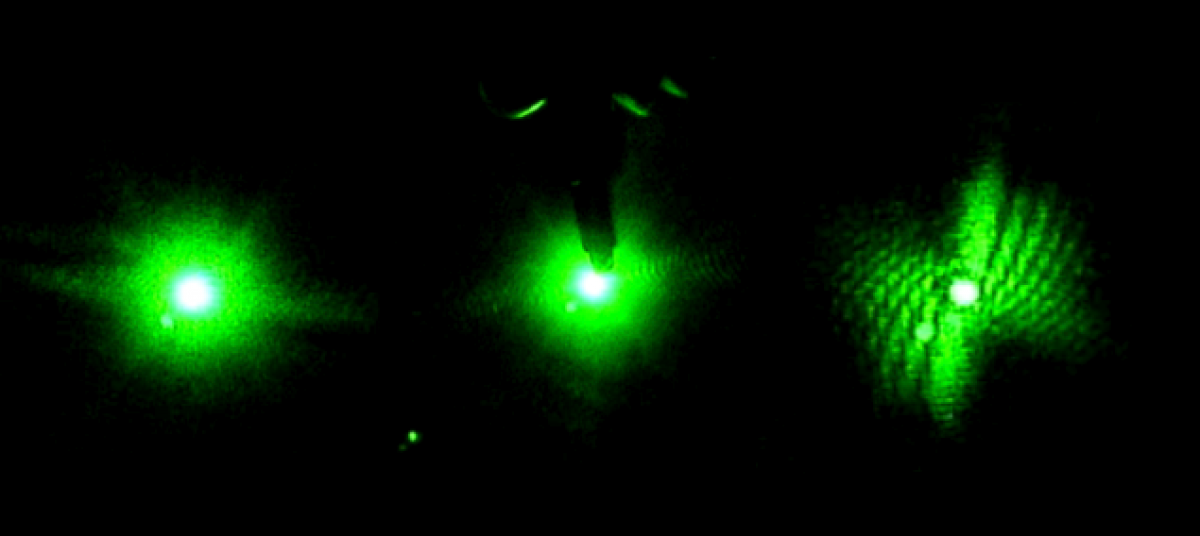
Next it was on to starting to run data. We realized that last semester we were having problems with too much ambient light coming into the lab space from the outside windows. To fix this we repositioned the curtain in the lab to better block out the light. This helps get a better reading on the true thrashing frequency of the worm because there is less disturbance from outside light.

This semester, with added practice and a better set up we have become much more efficient with our time in the lab. We have been running a lot of data on the worms twice a week. However at times, it is still frustrating that we don’t get as much done in the lab each week as we may like. Since I am only spending 4 hours a week in the lab, the whole semester is equivalent to the amount of time spent in the lab over one week during the summer. It is difficult to get a lot done in some of the sessions because some of the time is spent harvesting the worms, and readjusting the table alignment if it was disturbed.

We have also developed a solid procedure to analyze the data using MatLab.  We have a code that we insert the data from the Picoscope into MatLab and it analyzes the frequency.  This frequency is equivalent to the thrashing frequency of the C. elegans. We have begun to gather a large amount of analyzed data, and are working to hopefully get enough data to better the consistency of our results.

Weeks 5 & 6

Week Five:

This week saw exciting progress in the lab. The parts needed for the band-pass filters finally arrived, so Lily and I got to work building the high band-pass filter. After a lot of fiddling, we finished the circuit. We spent the rest of the time in lab testing it, a task that proved more difficult than we expected. After struggling to get code working on the PC, we realized that for some reason the Arduino was not connecting properly to the computer. When we used my laptop instead, the code worked perfectly. Since the optical chopper could not create frequencies low enough, I wrote code for the Arduino that turned an analog pin on high then turned it off, thus creating a known frequency. We passed the pulse through the HBF and read it using the oscilloscope. The HBF was designed to allow frequencies above 0.5 Hz through. When we tested various frequencies, the graph appeared to flatten out at very low frequencies, and displayed a square graph with slight distortion at frequencies close to but above 1Hz. At the time, this seemed very promising.

However, the next day in lab, I discovered that the Arduino is incapable of producing frequencies below 1 Hz. I researched ways around it in hopes of finding a simple solution, and tried different things to make it work. I discovered that there are two ways of doing it, but both have significant drawbacks and did not seem worth it. Professor Magnes said I could buy a frequency controller, which would make testing much easier. Until it arrives, we won’t know if the HBF is working or not.


Week Six:

Today in lab, Lily and I met and talked about the project. We found a frequency generator online to buy. Since we couldn’t test the HBF without it, we decided to work on getting the Arduino to graph. I talked to Lily about the different options I had found, their pros and cons, and some of what would be necessary to create them. Right now, there is a very basic graphing function through Processing. It is possible I could edit the code to add axes and be able to save the data. A second option is trying to get the graphing code from last semester to work again, and get rid of all the bugs. The third option used the Control Panel and produced higher quality graphs, but would only work on PCs. I showed her this software, and she started researching how to use it. We also discussed the possibility of using Matlab or Logger Pro. A preliminary online search made the prospect of real-time graphing seem unlikely in Logger Pro. However, Lily found some information on graphing in real-time using Matlab, which seems our best option as of right now. After spring break, we plan to explore this option further, and talk to Magnes about the types of programs that she would prefer.

Weeks 3 & 4

Week three:

This week, I began to build the high band-pass filter based on the online instructions I found last semester. I calculated the resistor and capacitor values I would need for the desired passing frequency range of 0.5-4.0 Hz and assembled a list of parts I still need and set to work building what I could of the circuit. I will not know if it works until I have all the required components, but it was a really good start.

After talking to Professor Magnes about the goals and requirements for the project, I got to work finding all the additional parts I would need. She wanted the device to be small, inexpensive, and portable so it could be used in a classroom setting or out in the field. This meant that I needed to find a way to store large quantities of data with the Arduino using an external hardrive. I found a data-logging shield that saves Arduino data to an SD card for this purpose. I also found a portable power supply, and a cable that connects the Arduino to an iPhone, iPad or iPod touch that could potentially provide a cool alternative to data storing.

Finally, I looked into light sensors that are Arduino-compatible. Most were variations on the same, tiny sensor we already have in the lab, so I decided to test if it could handle the laser light. According to the product specs, it should be able to. Sure enough, when I hooked it up to the Arduino and shone the blue laser light directly on in from a very close proximity, the sensor values were not at the maximum. It is likely that this simple sensor will be sufficient for our purposes.


Week Four:

Since the parts I needed to create the band-pass filter had not yet arrived, I spent this week working on graphing with the Arduino and catching up on the blog posts. Although the code from first semester is still giving a lot of trouble, I found an Instructables about real-time graphing with Arduino that seems promising. It uses the software Bridge Control Panel, which was released as part of Cypress Semiconductor’s PSOC Programming Utilities. After downloading it on my computer, I discovered it only works on PCs. I downloaded it on the PC in lab, but as of yet have not been able to get it to work. Unfortunately, the Instructables does not give instructions on how to actually use the software. I will have to look more into this as a graphing option or find another way.


Link to the Instructables: http://www.instructables.com/id/Plotting-Data-From-Arduino/

Social Widgets powered by AB-WebLog.com.