Due to a whole bunch of work that piled up over the past 2 weeks, I am combining weeks 3 and 4 into one post.
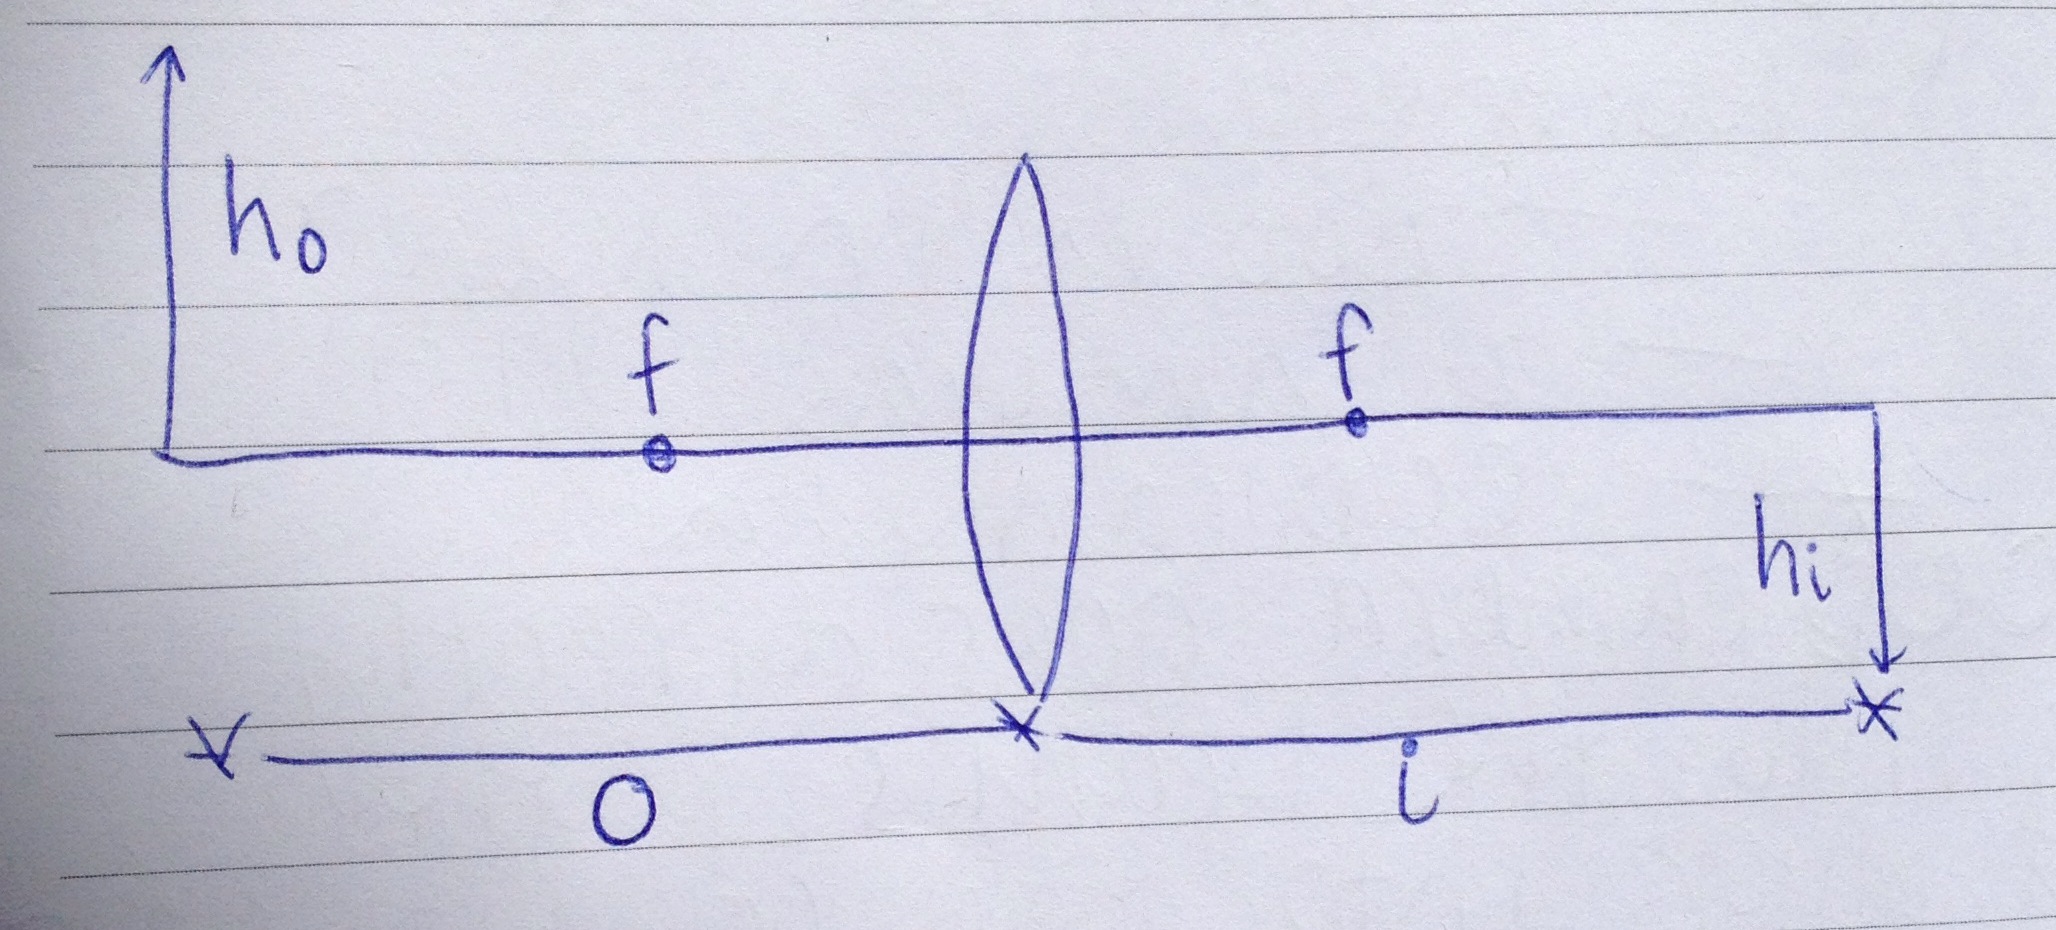
During week 3, Brian showed me a basic intro to analyzing diffraction patterns of c elegans and we spent some time attempting to optimize our optical table. On this blog site there is some data on the diffraction patterns of c elegans and how to analyze them through mathematica. We also watched a video attempting to match the patterns in the video to known patterns on the site to analyze the position and movement of the worms.
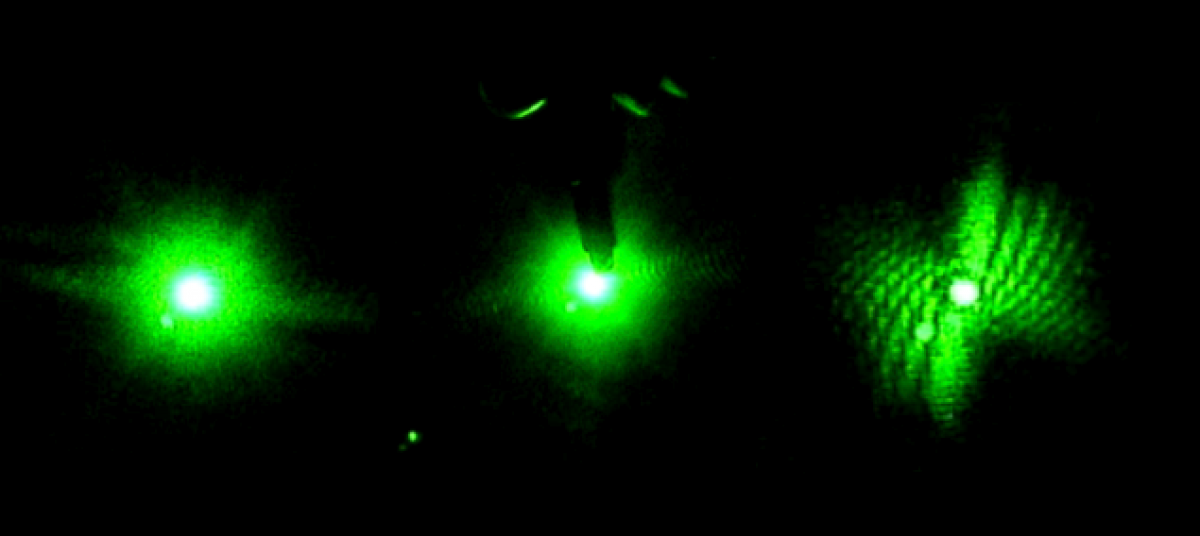
On day 2, we went into the actual lab and attempted to analyze data by dropping worms into the split red/blue laser light. Everything was going smoothly until the worms entered the blue light, where we could only see a small blurry circle on the blue image. We repeated our tests a few times and even on the recording you could not clearly see the worms. This was “solved” just before we left the lab by moving the focusing lens for the blue laser closer in the beam path before the final mirror. This change seemed to help immensely with the focus of the image from the blue laser and we could then, for the most part, tell where the worms were.
When week 4 started we once again didn’t have a lot to do because we couldn’t get into the lab and the worms were not ready to be tested. So instead of any hands on testing, Brian showed me how to analyze data from tests he and Tewa ran earlier in the week. Analyzing seemed kind of simple by just using logger pro to view the videos and clicked where the worms are once every 15 frames. You want to always try and click either the head or the tail of the worm each time and not switch back and forth to get the most accurate data set.
Day 2 started with a meeting with Professor Magnes, where she suggested using a CCD camera to record the data instead of the camera now that just recorded the images. We went into the lab after and immediately began setting up the CCD camera to run some tests. We made sure to not place the receptors for the camera in the most intense point of the beam, but the problem was we were not getting the full image that we needed to test. When we moved the camera farther away to get a better view of the image, the receptors stopped transmitting data. We were in a constant battle between trying to find a working distance for the CCD camera to display data, and the distance needed to see the full image we needed to test.
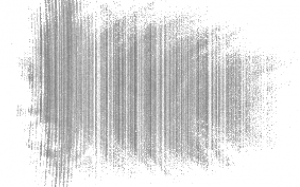
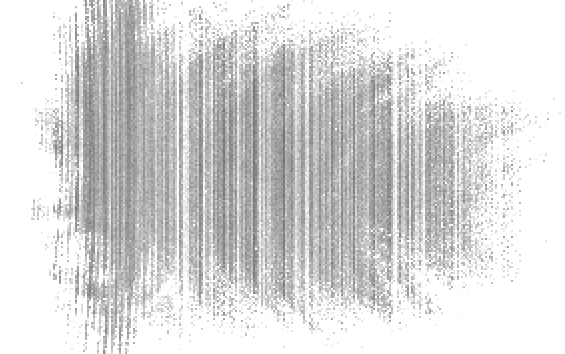
(An image of what the CCD camera was displaying) (Taken by Tewa Kpulun)
Next week we will hopefully get the CCD camera working the way we want it to so that we can record the data accurately. Accurate data is necessary to see if the c elegans have any reaction from the transition from the red into the blue laser light.